Hey everyone, it’s your boy back at it again. Today, I’m diving into something a bit different, but definitely cool – getting that Zach Lavine haircut. Yeah, you heard that right, the Chicago Bulls’ high-flyer himself. I’ve always admired his style, both on and off the court, and his haircut is just iconic. So, I thought, why not give it a shot? Let’s get into it.
Getting Started
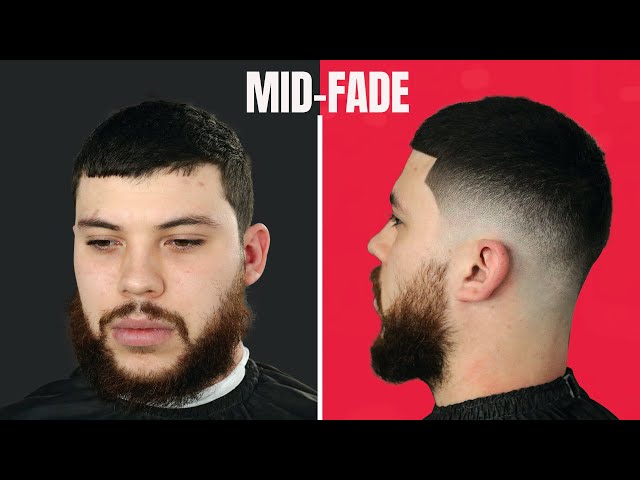
First things first, I did some digging. Scrolled through tons of pics and watched a bunch of videos just to get a good look at Lavine’s hair from all angles. It’s kind of a fade, but not too high, not too low. It’s neat but still has that effortless vibe, you know?
So, I grabbed my clippers. I’ve been cutting my own hair for a while now, so I’m not a total newbie, but trying a new style always feels a bit daunting. I made sure my clippers were all charged up and I had a good mirror setup. It’s all about getting those angles right, especially when you’re doing it yourself.
The Process
I started with the sides. Now, Lavine’s fade is pretty subtle. It’s not a skin fade or anything too drastic. I used a longer guard to start, just to take off some length. The key is to take it slow. You can always cut more, but you can’t put it back on, right?
- Used a #3 guard for the initial trim on the sides.
- Gradually moved to a #2 to blend it in, making sure there were no harsh lines.
- Cleaned up the edges with a #1, but just a little bit to keep it sharp.
Then came the top. This was a bit trickier. Lavine’s hair on top is short but not too short. It’s got some texture, some movement. I used a #4 guard on the top, just to keep some length. I also used scissors to point cut into the top. This is where you snip into the ends of your hair to give it that textured look. It helps to take away some of the bulk and make it look more natural.
Blending was the most time-consuming part. I had to make sure the sides transitioned smoothly into the top. I used a #2.5 guard in between to really get that gradient effect. It’s all about those small details, making sure everything looks seamless.

The Final Touches
After the cutting came the styling. Lavine’s hair always looks fresh, so I wanted to capture that. I used a bit of hair wax, worked it through my hair, just to give it some hold and texture. Nothing too heavy, just enough to keep it in place and give it that slight sheen.
I took a step back, checked myself out in the mirror. Not bad, not bad at all. It wasn’t a perfect replica of Zach Lavine’s haircut, but it was pretty darn close. And you know what? I was feeling it. It’s a clean, stylish look that’s easy to maintain. Plus, it’s always fun to try something new.
So, there you have it, folks. My journey to getting the Zach Lavine haircut. It was a fun little experiment, and I’m pretty happy with how it turned out. If you’re thinking about switching up your style, I say go for it. It’s just hair, it’ll grow back. And who knows, you might just find your new favorite look.
That’s it for today’s adventure. Catch you guys in the next one. Peace out!