
Okay, so today I messed around with creating a digital portrait of this model, Bianca Alexandra. I’ve been wanting to practice my digital art skills, and I figured a portrait would be a good way to do it.
Finding the Right Reference
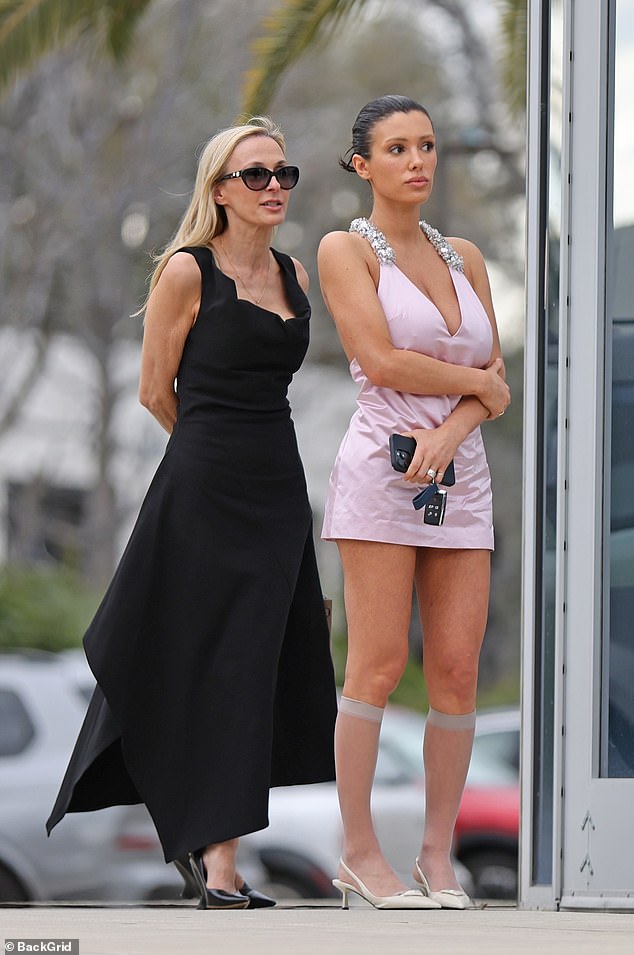
First, I scoured the internet for some good, high-quality photos of Bianca. It’s super important to have a clear reference, especially when you’re trying to capture a likeness. I needed something with good lighting and a pose that wasn’t too complicated.
Setting Up My Canvas
Once I found a photo I liked, I opened up my art program. I usually go with a standard-sized canvas, nothing too crazy. The important thing is to make sure it’s high enough resolution so the details won’t get all pixelated when I zoom in. I used usual digital art program that I used to use.
The Sketching Phase
This is where I block in the basic shapes and proportions. I don’t get bogged down in details at this stage, it’s all about getting the general structure right. I started with the head shape, then moved on to the placement of the eyes, nose, and mouth. It looked kinda rough at first, but that’s okay.
Laying Down Base Colors
After I was happy with the sketch, I started adding in the base colors. I picked colors directly from the reference photo using the eyedropper tool. Again, no shading or anything fancy yet, just solid blocks of color to establish the foundation.
Adding Shadows and Highlights
Here’s where the magic starts to happen. I started defining the form by adding shadows and highlights. I carefully observed where the light was hitting Bianca’s face in the reference photo and tried to replicate that in my painting. This part took a while because I kept going back and forth, making small adjustments.

Detail Work
- Eyes: I spent a lot of time on the eyes, trying to capture that sparkle and depth. I added multiple layers of color and used a smaller brush for the finer details like the eyelashes.
- Hair: Hair can be tricky, but I tried to keep it loose and not get too caught up in drawing every single strand. I focused on the overall shape and how the light and shadow played on it.
- Skin: Smooth skin texture is always a challenge. I used a soft brush and blended the colors carefully to create a natural look.
Final Touches and Tweaks
I zoomed out and looked at the painting as a whole. I made some final tweaks to the colors, contrast, and overall composition. Sometimes it’s helpful to step away from the painting for a bit and then come back with fresh eyes to see if anything needs adjusting.
In the end, I was pretty happy with how it turned out! It’s definitely not perfect, but it was a good learning experience. I learned practice a lot of things. I will practice more often.