
Alright, so I finally got around to swapping out the tires on the old car this weekend. Been needing it for a while, and frankly, the shop quotes were making my eyes water. Figured, how hard can it be, right? Got myself a tire changer and a balancer set up in the garage a while back, mostly collecting dust. Time to earn their keep.
Getting Started – The Setup
First thing was dragging everything out. The changer, the balancer, my impact wrench, torque wrench, sockets, the whole nine yards. Oh, and the new rubber, obviously. Had those stacked up ready to go. Pulled the car into the garage, made sure it was on a flat spot, chalked the wheels I wasn’t working on first.
Safety first, sort of. Jacked up the first corner, put a jack stand under it. Always use jack stands, folks. Seriously. Loosened the lug nuts before lifting it all the way, makes life easier.
Off with the Old
Got the wheel off, rolled it over to the tire changer. Let all the air out – important step, don’t forget that. Then came the fun part: breaking the bead. That seal between the tire and the rim? Man, it can be stubborn. Took some grunt work with the bead breaker arm on the machine. Had to push down pretty hard, work it around both sides. Heard that satisfying ‘pop’ eventually.
Once the bead was loose, used the machine’s arm and a tire iron – careful not to scratch the rim too much – to pry the old tire up and off the wheel. Took a bit of wrestling, especially the bottom bead. Sweated a bit, not gonna lie.
On with the New
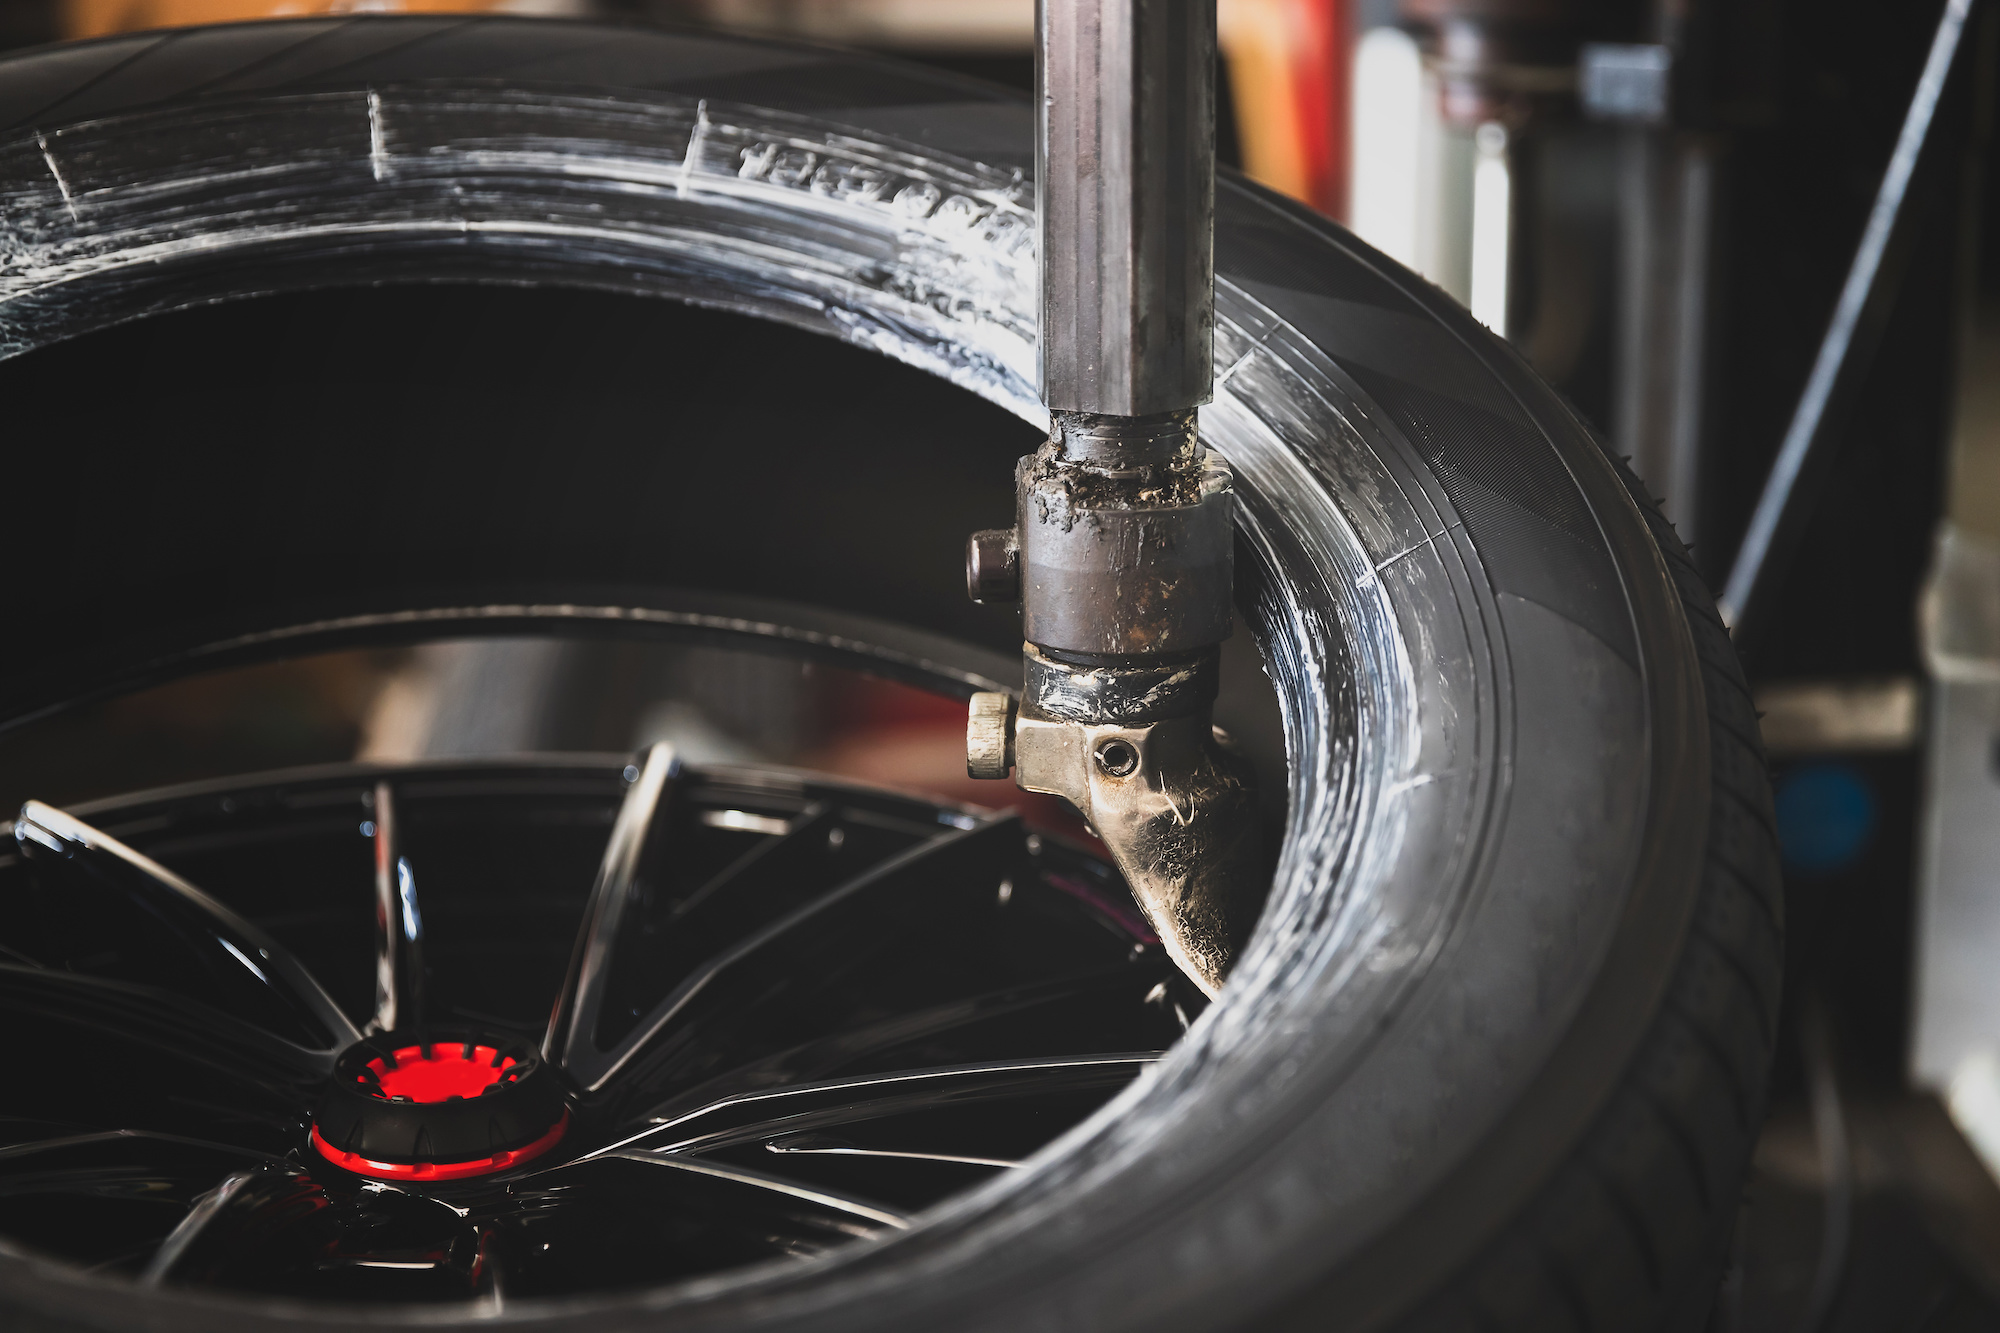
Cleaned up the rim edge a little. Then grabbed a new tire. Lubed up the bead with some soapy water mix – helps it slide on easier. Pushing the first bead on was simple enough. The second bead, again, needed some careful work with the tire iron and the machine’s helper arm. Just gotta guide it on without forcing it too hard or pinching anything.
Once it looked like it was sitting right, time for air. Hooked up the compressor. You get that second ‘pop’ sound as the beads seat themselves onto the rim. That’s what you want to hear. Brought it up to the pressure listed on the car’s door jamb, maybe a little over initially to make sure it was seated good, then adjusted down.
The Balancing Act
Next up, balancing. Moved the newly mounted tire over to the balancer. Clamped it down. Punched in the rim size measurements. Gave it a spin. The machine tells you where it’s heavy and how much weight to add. Stuck the sticky weights on the inside of the rim where it indicated. Spun it again.
It’s usually a bit of trial and error. Sometimes it takes a couple tries to get it perfect, adding a bit here, maybe taking a bit off there. You want that machine showing zeros, or pretty damn close. Took me maybe two or three spins per tire to get it right.
Rinse and Repeat, Then Finish Up
Did the same dance for the other three tires.
- Jack and stand
- Wheel off
- Old tire off
- New tire on
- Inflate
- Balance
It got faster as I went, got into a rhythm.
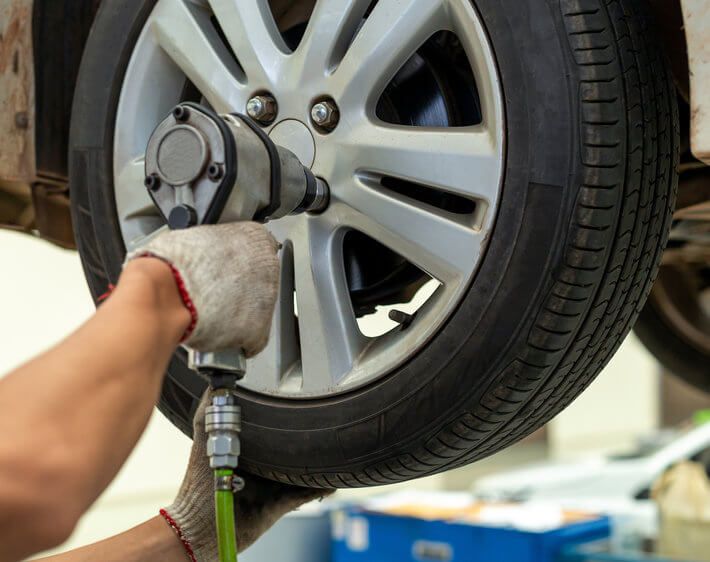
Once all four were done, put them back on the car. Hand-tightened the lug nuts in a star pattern first, then lowered the car so the tires just touched the ground. Got out the torque wrench and tightened them properly to the spec in the owner’s manual, again using that star pattern. Lowered it the rest of the way, removed the jack.
Cleaned up the mess. Tools away, old tires stacked for disposal. Took a step back. Felt pretty good, actually. Saved some cash, learned something, and got my hands dirty. The car feels smoother on the road now too, which is the main thing. Worth the effort, I’d say.