
Okay, here’s my take on creating “backroom images,” based on my own attempts and what I’ve learned along the way.
Alright, so I got kinda hooked on the whole “backrooms” thing lately. You know, those creepy, liminal spaces with the yellow wallpaper and buzzing fluorescent lights? Figured I’d try making some images myself. Here’s how it went down.
Phase 1: The Setup (Trying to be Clever)
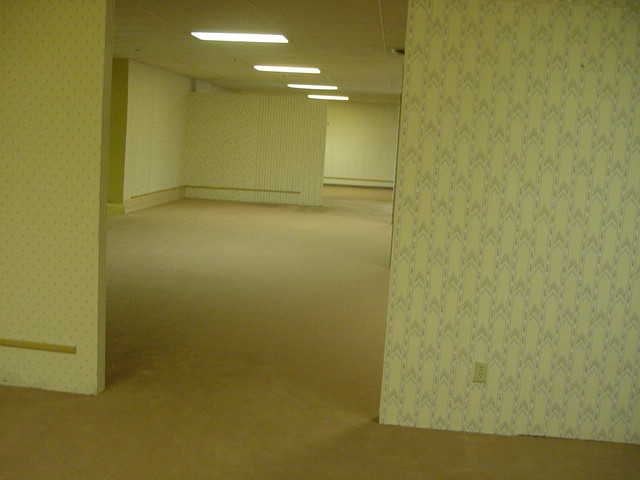
- First off, I messed around with my actual apartment. Figured a wide-angle lens and some creative lighting would do the trick.
- I pushed all the furniture to the sides, tried to get that empty, sterile look. Big mistake. It just looked like a messy apartment. No unsettling vibes at all.
- Then I tried painting a wall that horrible yellow-beige color. My landlord was NOT happy. Had to repaint the whole thing. Lesson learned: always ask permission, or just don’t.
Phase 2: Embracing the Digital (Thank God for 3D)
Okay, real life wasn’t working. Time to get virtual.
- I downloaded Blender (it’s free, that’s a huge plus). I’m no 3D artist, but I can handle the basics.
- Started with a simple room. Long, narrow, and repetitive. Think office hallway, but stripped bare.
- The wallpaper was key. I spent way too long finding the perfect, slightly-off yellow texture. Then, I tiled it like crazy.
- Lighting. Oh man, the lighting. I used area lights to mimic those flickering fluorescent tubes. Added a subtle buzzing sound effect later in post-processing.
Phase 3: Details, Details, Details (Making it Creepy)
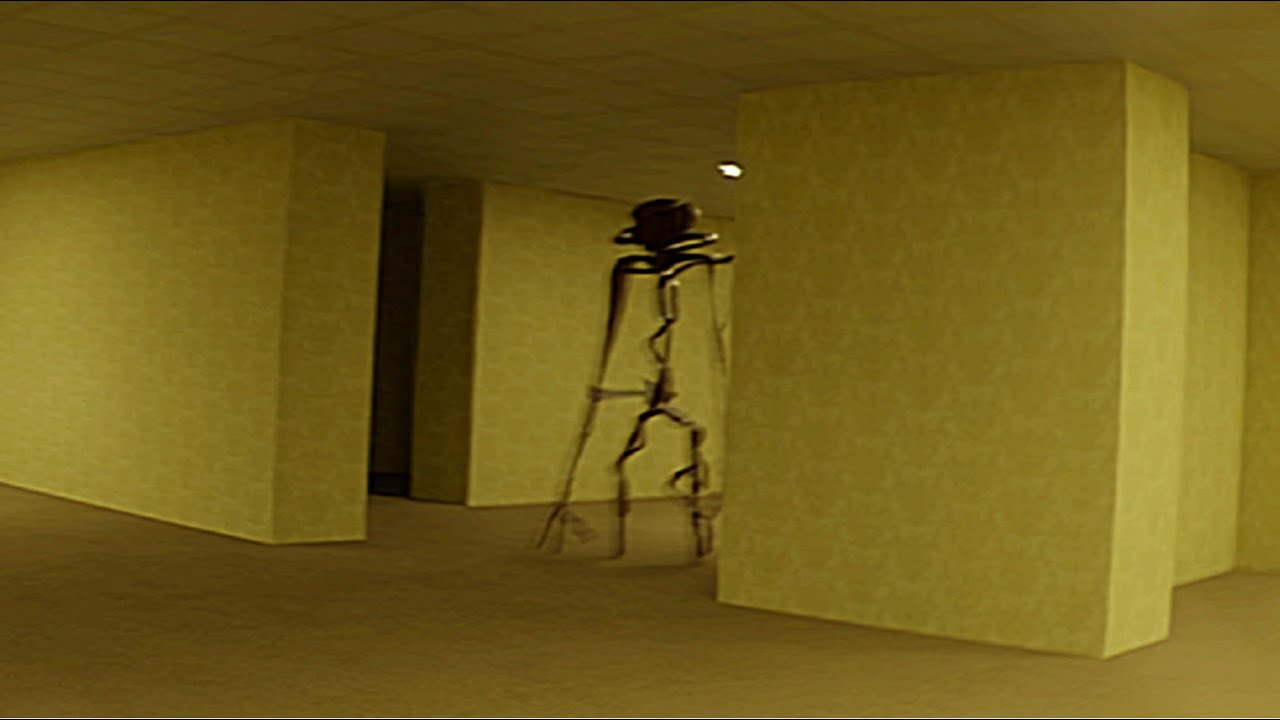
This is where the magic (or the horror) happens.
- Subtle imperfections. A slightly warped floor, a barely-there stain on the wallpaper. It’s the little things that sell it.
- Depth. I added a vanishing point in the distance, to give that sense of endlessness. It makes the image feel bigger and more unsettling.
- The right angle. I played around with the camera position until it felt just right. Slightly off-center, maybe a bit too low. Something that just feels wrong.
Phase 4: Post-Processing (The Final Touch)
Time to polish it up.
- Photoshop is your friend. I added a subtle grain and some chromatic aberration to make it look like an old photo.
- Color correction. I desaturated the colors a bit to give it a washed-out, almost dreamlike quality.
- Noise. Just a tiny bit of noise can really sell the realism.
The Result?
After all that, I ended up with a few images that I’m actually pretty happy with. They’re not perfect, but they definitely capture that unsettling backrooms vibe. It’s all about the details and the feeling of being lost and alone.

It’s a fun project, and you don’t need to be a pro to get decent results. Just mess around, experiment, and don’t be afraid to make mistakes. That’s how you learn!