Getting Started with the RMZ250 Today
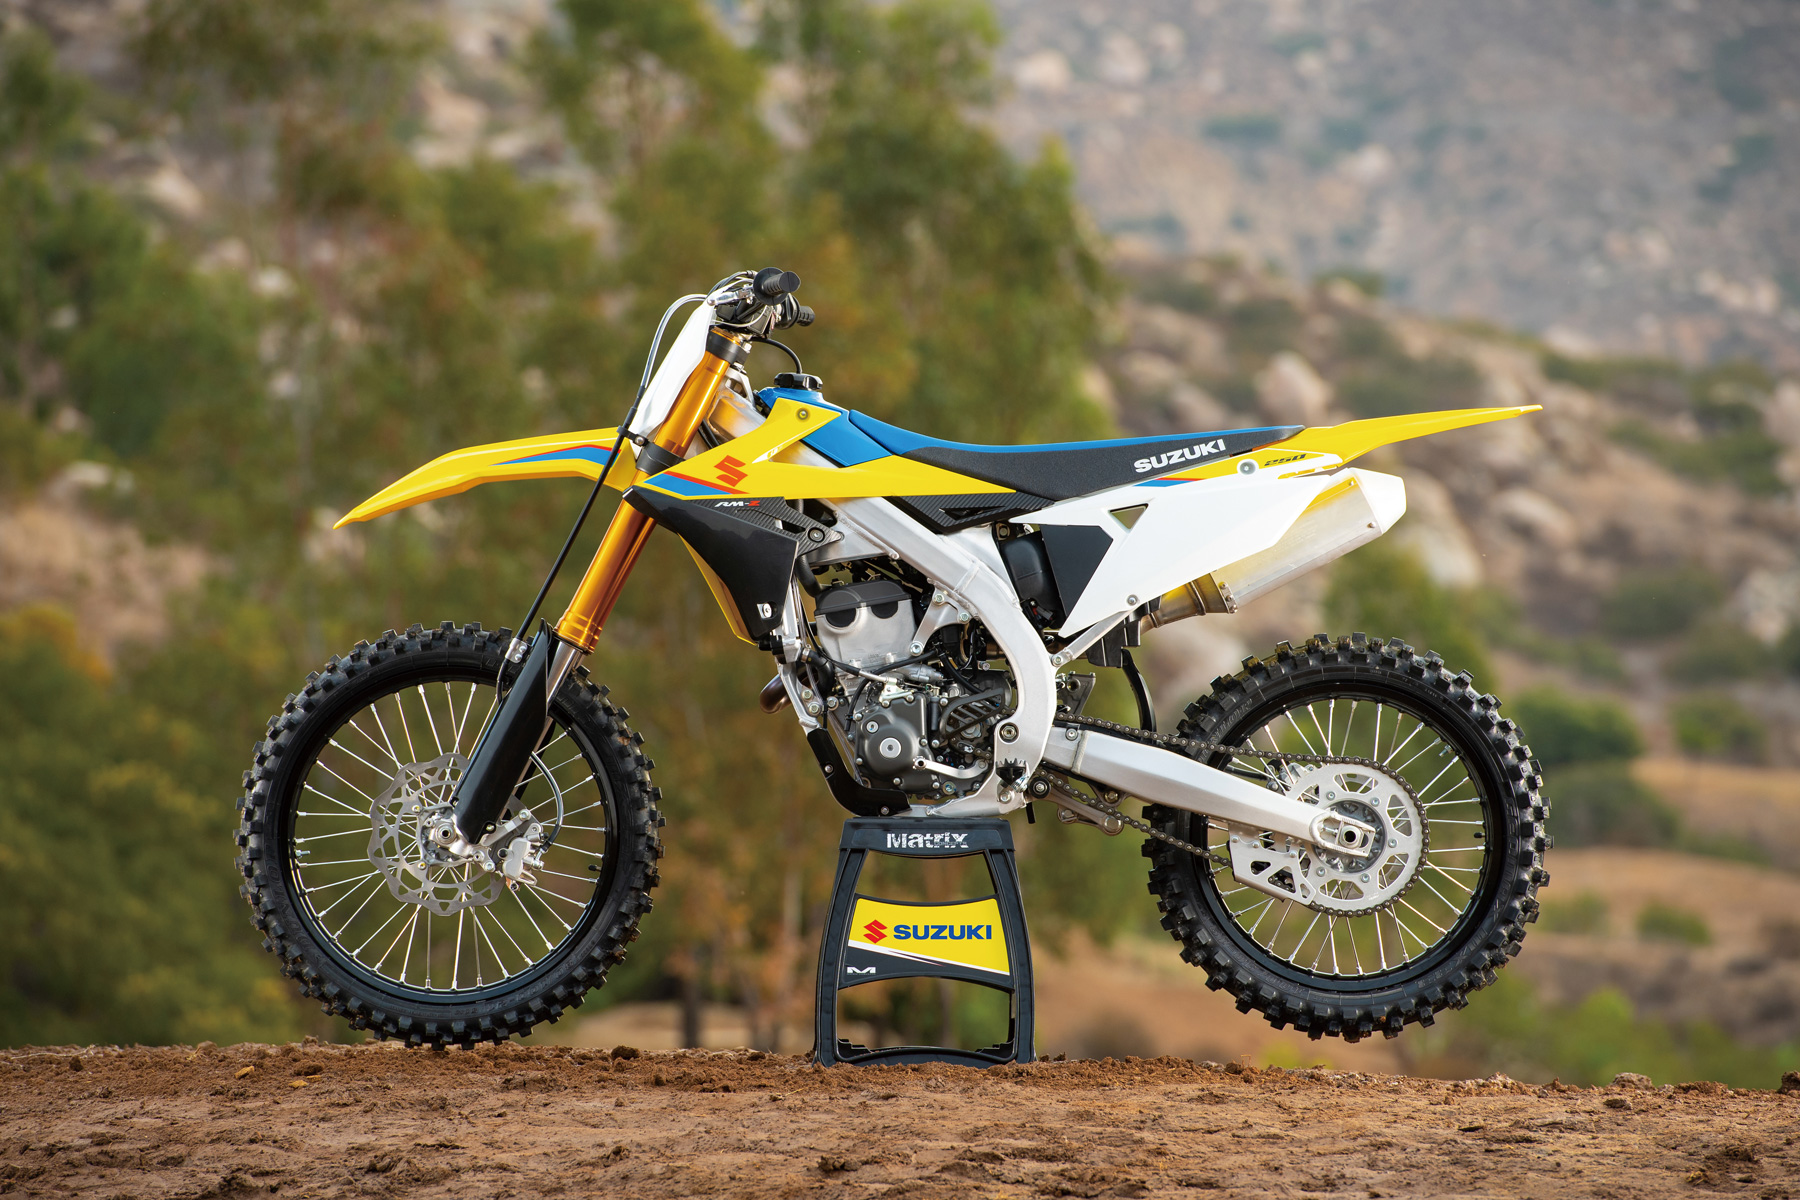
Alright, so I finally got some time to mess with the RMZ250 in the garage. Been meaning to give it a bit of a once-over. First thing, I rolled it onto the stand, made sure it was stable. Always gotta start there, right? Don’t want the thing falling over halfway through.

Oil and Filter Change Time
Decided the main job today was changing the oil and filter. It was definitely due. Grabbed my wrenches and the drain pan. Positioned the pan underneath, then went for the drain plug. Took a bit of muscle to get it loose, but it came out alright. Let the old oil drain out completely. It looked pretty dark, so good thing I was doing this.
While it was draining, I located the oil filter cover. Popped those bolts off – gotta remember which one goes where, though they’re usually different lengths anyway. Pulled the old filter out. Yep, needed changing. Always a bit messy pulling the filter, oil gets on your gloves no matter what.
Once the draining slowed to a drip, I cleaned up around the drain plug hole and put the plug back in. Made sure the washer was good. Tightened it up snug, but didn’t go crazy on it. You don’t wanna strip those threads. Then I grabbed the new filter, gave the O-ring a little coat of fresh oil, and slid it into place. Put the filter cover back on and tightened those bolts down evenly.
Filling It Up and Other Checks
Next up, adding the fresh oil. Checked the manual for the right amount – always double-check, you know. Popped the fill cap off and poured it in slow and steady using a funnel. Don’t want to spill the new stuff. Put the cap back on. Then I checked the level through the sight glass. Looked about right.
Since I had it up on the stand, I figured I’d check a few other bits.
- Chain: Gave the chain a look. It was a bit looser than I like. Grabbed the tools and adjusted the tension. Much better. Gave it a quick lube too while I was there.
- Air Filter: Pulled the seat off and got to the air filter box. Took the filter out. Man, it was dirty. Took it inside, gave it a good wash with the proper cleaner, let it dry completely, then re-oiled it properly. Popped it back in.
- Tires: Checked the tire pressure. Front was a little low, so I topped it up.
Wrapping It Up
With everything buttoned back up, I took the bike off the stand. Fired it up for a few minutes to circulate the new oil. Let it run, listened to the engine. Sounded good. Shut it off, let it sit for a minute, then checked the oil level again through the sight glass, holding the bike level. Perfect.
All done for today. Felt good to get that maintenance sorted. Just basic stuff, really, but keeps the bike running sweet. Ready for the next ride now. It’s always satisfying doing the work yourself, even if it’s just simple maintenance. You know it’s done right.