
Hey folks, caught my sprinkler spraying like a drunk firefighter yesterday morning. Water was shooting everywhere except the lawn. Figured it was time to replace that busted head before my water bill looked like the national debt. Grabbed my trusty old toolbox and got dirty.

Step 1: Killin’ the Water
First thing’s first – shut off that water supply. Hunted down the sprinkler valve box buried under dandelions in the corner of my yard. Lifted that heavy concrete lid (always hurts my back) and twisted the shutoff valve clockwise until it wouldn’t budge. Double-checked by turning on the sprinkler controller – nada, just dry sputtering. Good.
Step 2: Diggin’ Up the Problem
Grabbed a garden shovel and started digging around the wonky sprinkler. Dug about 6 inches down until I could see the whole plastic body covered in muddy gunk. Scooped out the muddy water pooling in the hole with an old yogurt container (hey, reuse recycle right?). Wiped the dirt off the riser pipe with my gloved hand so I could see what I was dealing with.
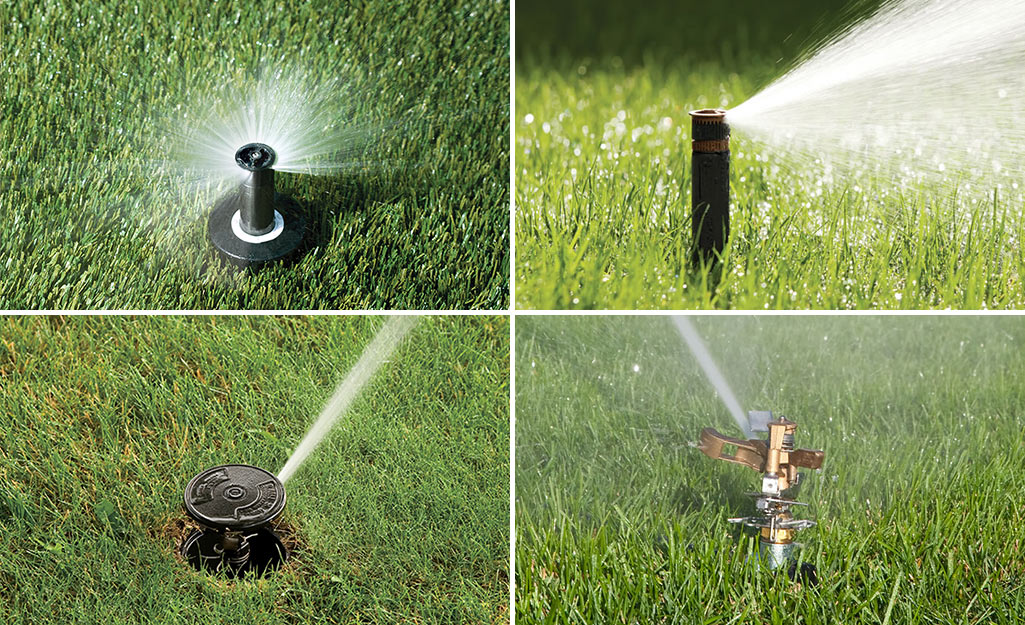
Step 3: Yankin’ the Old Head
This part’s always annoying. Tried twisting the broken sprinkler head counterclockwise by hand – no dice, felt cemented. Pulled out my channel locks and clamped onto the base. Turned hard left until I heard that ugly cracking sound. Old head finally came off leaving threads all gunky. Saw some black grit stuck in the threads – explains why it wasn’t popping up properly.
Step 4: Teflon Tape Fix
Wiped the exposed pipe threads with an old rag. Then grabbed that white teflon tape from my toolbox – the cheap stuff that always sticks to itself. Wrapped it clockwise around the threads like wrapping a present, four tight loops. Made sure to cover the whole thread area. Pressed it down firm with my thumb so it wouldn’t peel when screwing on the new head.
Step 5: Screwin’ in the New One
Opened the $4 Rainbird head I grabbed from the hardware store. Hand-screwed it clockwise onto the pipe until snug. Could feel the teflon squishing nice. Gave it an extra quarter-turn with the channel locks – not too tight though, last time I cracked a housing doing that. Made sure the spray pattern arrow pointed toward the sidewalk where I needed coverage.
Step 6: Test Run Drama
Turned the water valve back on slow. Ran to the controller, punched “manual start” with muddy fingers. Held my breath watching the hole. New sprinkler popped up smooth as butter! Did a happy dance when it sprayed that perfect arc instead of sideways. Threw the dirt back in the hole, stomped it down with my boots. Victory beer tasted extra good after that.
Whole circus took under 30 minutes. Easier than changing oil if you don’t mind muddy knees. Now if only I could fix the kids’ trampoline that easy…