
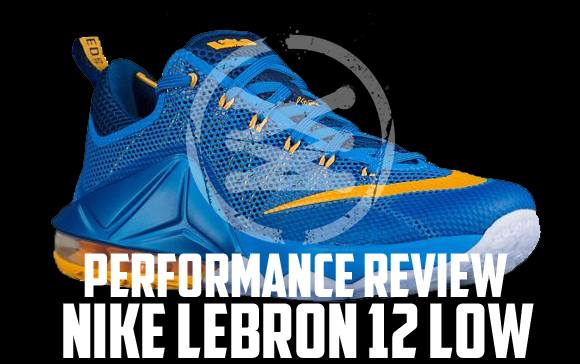
Alright folks, lemme tell you about my recent dive into restoring a pair of LeBron 12 Lows. These kicks were BEAT, I’m talkin’ sole separation, faded colors, the whole nine yards. But I saw potential, a diamond in the rough, ya know?
First things first, I disassembled these bad boys. Took out the insoles, laces, everything. Then came the cleaning. I used a soft brush, some dish soap, and warm water to scrub every inch of the upper. Man, they were FILTHY! Took a couple of passes to get ’em looking halfway decent.
Next up was the sole. This was the tricky part. The glue had completely failed. So, I carefully removed all the old adhesive. Used a heat gun to soften it up and then scraped it off with a plastic scraper. Took forever, but gotta do it right.
Once the surfaces were clean, I applied a new layer of adhesive specifically designed for shoes. Contact cement, the good stuff. Let it dry for the recommended time, then carefully pressed the sole back onto the upper. Used clamps and weights to hold everything in place while it cured for 24 hours. Patience is key, people!
After that, I noticed some serious fading on the upper, especially on the Flywire cables. So, I decided to try and restore the color. Found some fabric dye that was a close match to the original color, and applied it carefully with a small brush. Layered it on thin, allowed it to dry, and then applied another coat. Took a few coats to get the color looking even and vibrant again.
Now, for the finishing touches. I cleaned the laces, replaced the insoles with some new ones, and applied a waterproof sealant to the upper to protect it from the elements. I even gave ’em a good spray with a shoe freshener to get rid of any lingering odors.
The result? A pair of LeBron 12 Lows that look almost new! It wasn’t easy, took a lot of elbow grease and time, but totally worth it. I saved a pair of kicks from the landfill and got to rock a classic shoe again. Plus, I learned a lot in the process. I mean, they aren’t perfect, but they’re definitely wearable and look way better than they did before. This whole restoration thing? I’m hooked!
- Disassembled the shoe
- Cleaned the upper and sole
- Removed old adhesive
- Applied new adhesive
- Clamped and waited for curing
- Restored color with fabric dye
- Added waterproof sealant
- Replaced insoles
Before and After Photos:
Wish I could show ya the pics, but trust me, the transformation was dramatic! You’d be amazed what a little effort can do. Now I’m off to find another pair of beaters to bring back to life!