
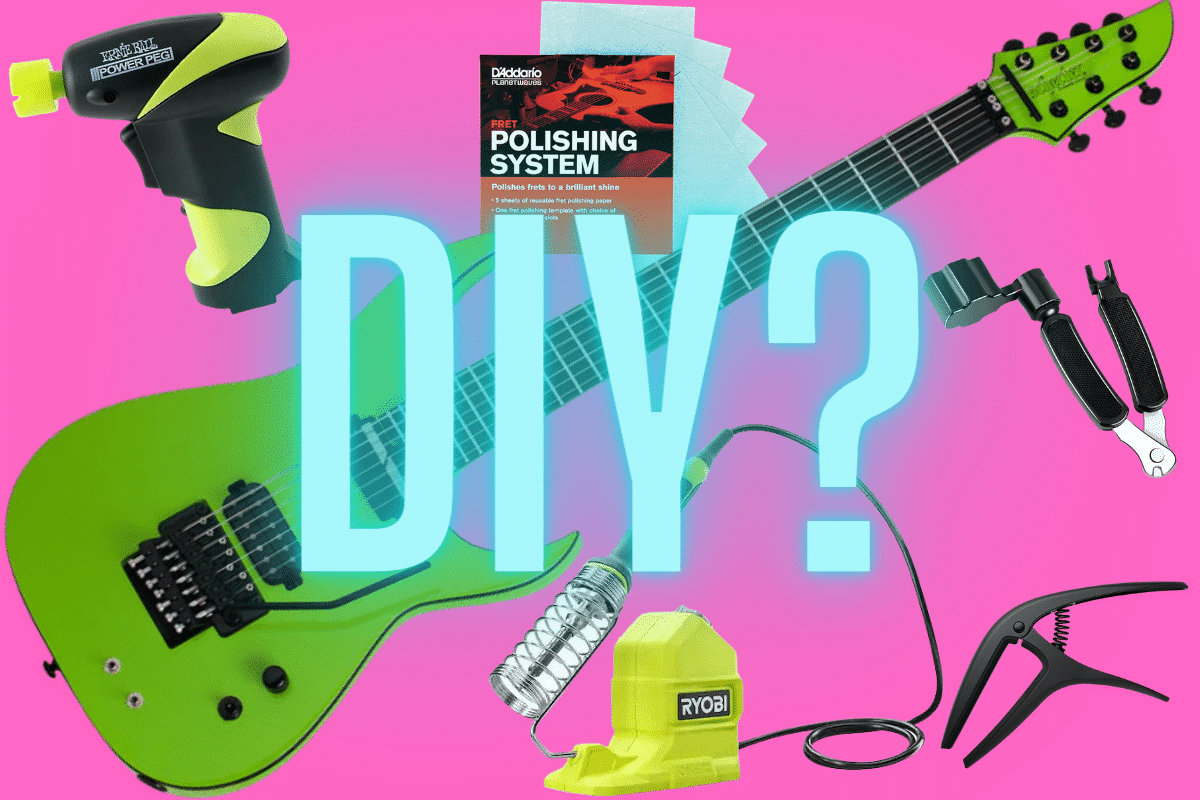
Alright, so check it, today I’m gonna walk you through my experience tweaking an Ibanez Edge III tremolo system. This thing can be a pain, but once you get the hang of it, it’s not so bad. I’ll break down exactly what I did, step by step.
First things first, I had to deal with the obvious problem: the strings were old as hell. So, I grabbed my string winder, snipped those rusty things off, and tossed ’em in the trash. Fresh start, you know?
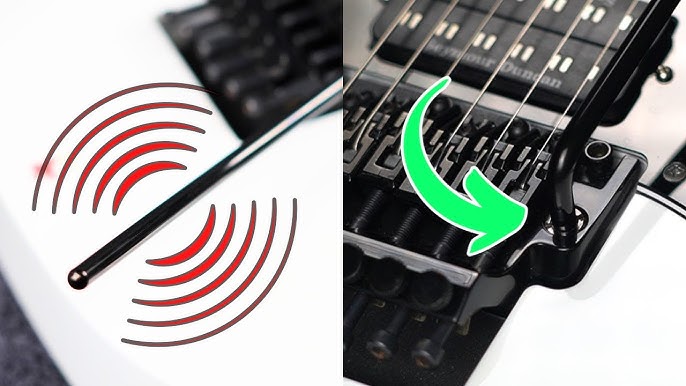
Then came the fun part… NOT. Setting up the Edge III to be level with the body. This is crucial, or your guitar’s gonna sound like garbage. I started by loosening the claw screws in the back cavity. Just a little at a time, alternating between the screws, until the tremolo started to lift.
Next, I restrung the guitar with a fresh set of strings (same gauge as before, ’cause I didn’t wanna mess with the nut). Stretched them out real good, tuned them up to pitch, and… surprise, surprise, the tremolo was now pulled way too far forward. Back to square one, almost.
This time, I tightened the claw screws in the back, again a little bit at a time, alternating. This pulls the tremolo back down. I kept tuning and tightening, tuning and tightening, until the tremolo was sitting pretty much flush with the body. Took a while, a lot of back and forth, but patience is key here. I mean a lot of patience.
Once the trem was level, it was time to deal with the intonation. Grabbed my trusty intonation screwdriver and went to work. I checked the intonation at the 12th fret on each string. If it was sharp, I loosened the corresponding saddle screw and moved the saddle back. If it was flat, I tightened the screw and moved the saddle forward. Again, a tiny bit at a time is the name of the game.
Okay, after the intonation was set, I noticed a little bit of fret buzz on the lower strings. Annoying! I knew I had to make a truss rod adjustment. I grabbed the right size allen wrench and gave the truss rod nut a tiny tweak – like, a quarter of a turn – counter-clockwise (to loosen it). Let the guitar sit for a bit, then checked the buzz again. Still there? Another tiny tweak. Eventually, I got rid of the buzz without introducing too much relief in the neck.
Finally, I lowered the action a touch. I didn’t want to go too low, just enough to make the guitar feel a little easier to play. I adjusted the bridge posts, lowering them a little bit on each side, until I got the action where I wanted it.
- Loosened the trem claw screws
- Restrung and stretched strings
- Tightened trem claw screws incrementally
- Set Intonation
- Adjusted the truss rod
- Lowered the action
Lessons Learned
Honestly, the Edge III can be a frustrating system to work with, but with a little patience and the right tools, it’s manageable. Don’t rush, make small adjustments, and always double-check your work. Also, remember to always make truss rod adjustments with caution! A little goes a long way.
And there you have it! My Edge III setup saga. Hope this helps someone out there struggling with their tremolo. Good luck!