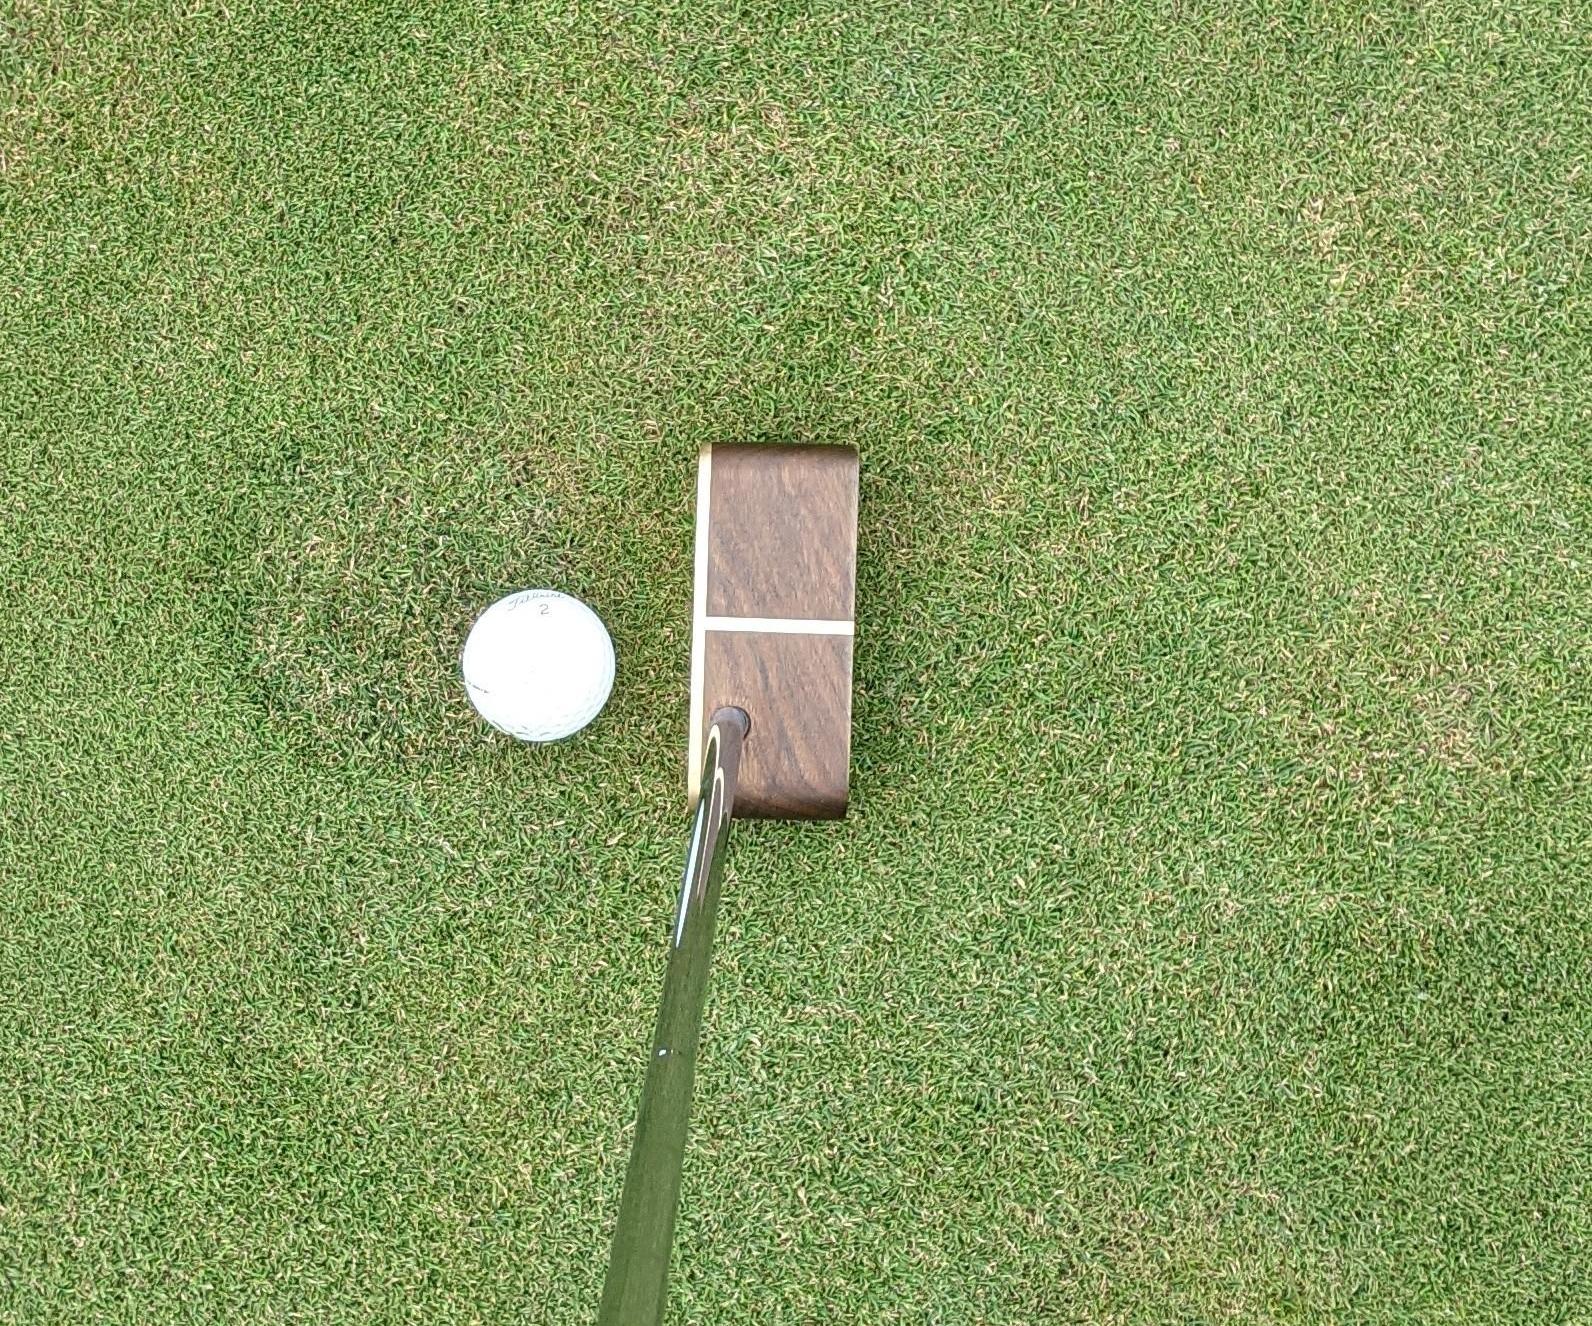
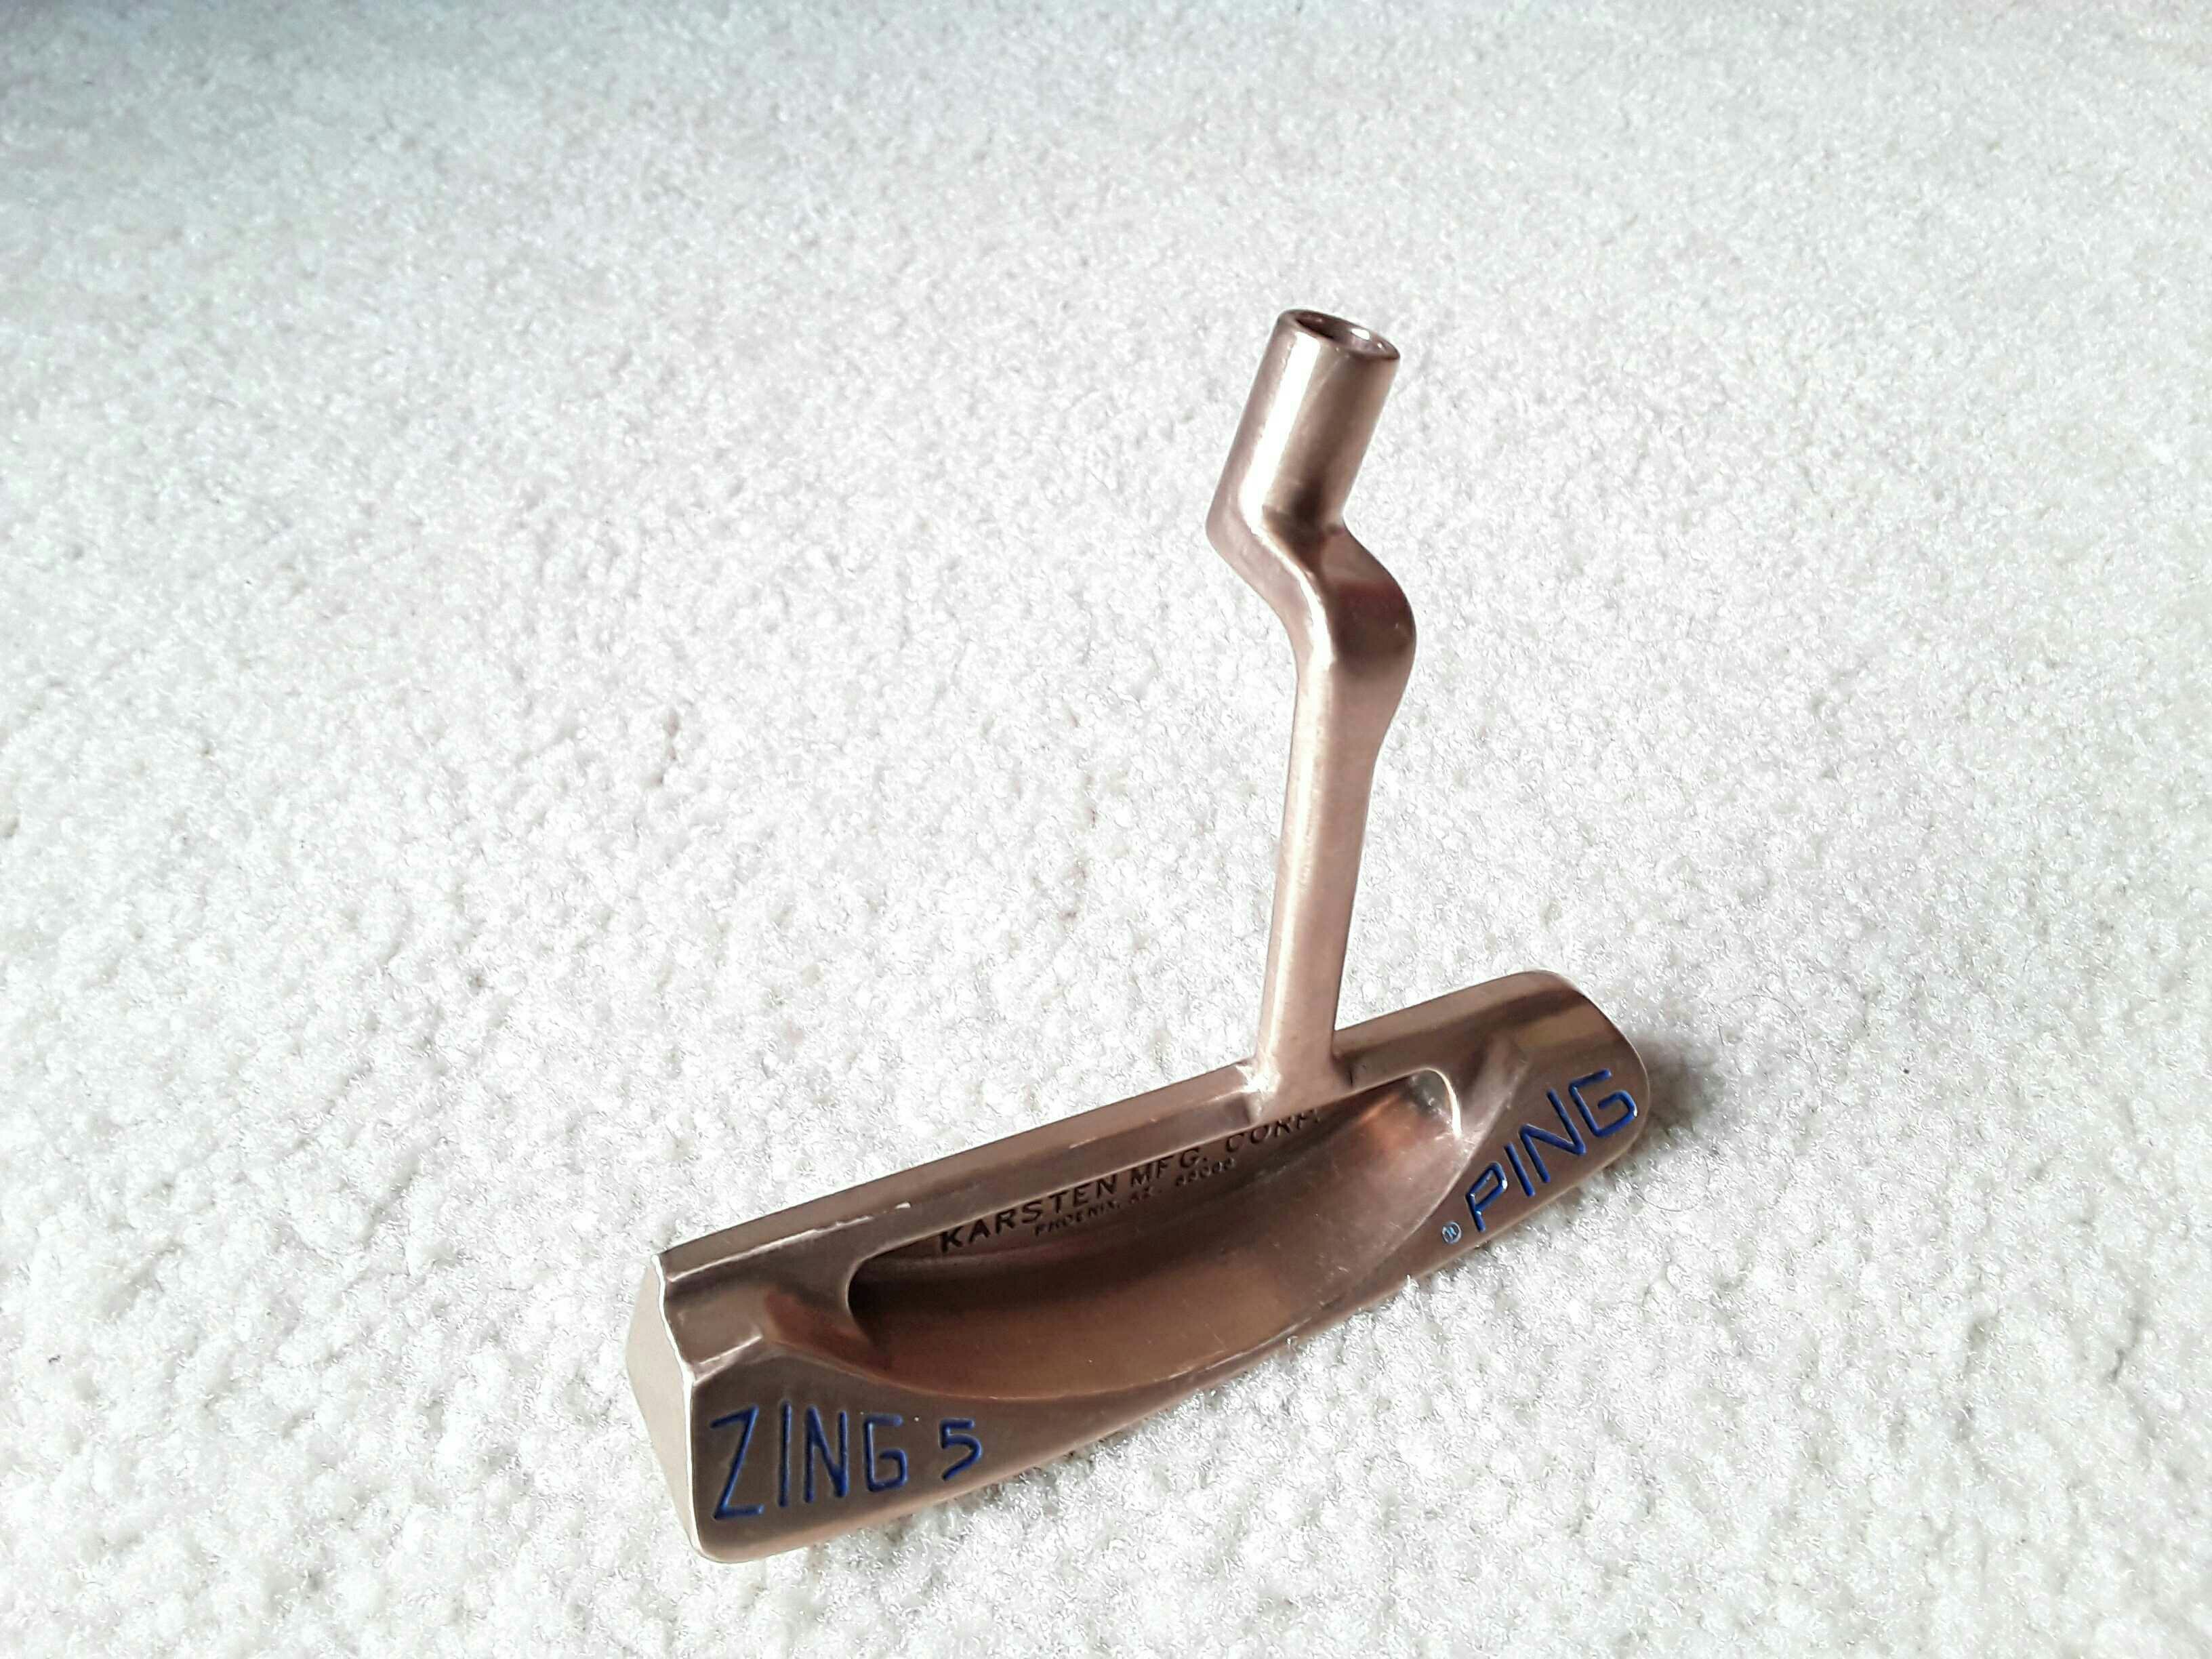
Okay, so I’ve always been a bit of a tinkerer. I love messing around with stuff and seeing if I can make something new out of it. Golf? Love it. Expensive equipment? Not so much. So, I thought, “Why not try making my own putter?” I mean, how hard could it really be, right?

The Idea
It all started with a rusty old pipe I found in my grandpa’s garage. It was just lying there, begging to be used for something. And I had this beat-up, cheap putter head that I’d gotten at a garage sale for like, a dollar. The shaft was totally busted, but the head itself was surprisingly decent. Lightbulb moment!
Gathering the “Supplies”
Besides the pipe and the putter head, I needed a few other things:
- Epoxy: Gotta hold stuff together, you know?
- A hacksaw: For cutting the pipe to the right length.
- Sandpaper: To smooth out any rough edges.
- Grip tape: Because a bare metal pipe isn’t exactly comfortable.
- Some random weights: I ended up using some old fishing weights.
Most of this stuff was already kicking around my garage, so that was handy.
Putting It All Together
First, I measured how long I wanted the shaft to be. I just kinda eyeballed it, holding the old putter head up and imagining where I’d want my hands. Then, I used the hacksaw to cut the pipe. Let me tell you, cutting through metal is tougher than it looks! My arms were definitely feeling it.
Next, I sanded down the cut end of the pipe to make sure it was nice and smooth. No sharp edges to snag on, thank you very much. I also roughed up the inside of the putter head where the shaft would go, just to give the epoxy something to grab onto.

Now for the messy part – the epoxy. I mixed up a big glob of it and slathered it inside the putter head and around the end of the pipe. Then, I jammed the pipe into the head, making sure it was lined up straight. It was a bit goopy, but I just wiped off the excess with a rag.
The Waiting Game
Epoxy takes a while to dry, so I had to be patient. I propped the whole thing up against a wall and left it alone for a good 24 hours. It was torture, I tell you! I just wanted to try it out.
Adding the Finishing Touches
Once the epoxy was fully cured, I added some weight. The head will feel too light, and you just need balance. I did wrap some fishing weights around the shaft near the head and secured them with more epoxy. It doesn’t look pretty, but it adds some heft.
Finally, I wrapped the pipe with grip tape. I just used some basic black tape I had lying around. Nothing fancy, but it made a huge difference in terms of comfort and grip.
The Moment of Truth
I took my homemade putter out to the backyard putting green (okay, it’s just a patch of grass, but whatever). And guess what? It actually worked! It felt surprisingly solid, and the ball rolled pretty true. Was it perfect? Nope. Was it the prettiest putter ever? Definitely not. But did I make it myself? Heck yeah! And that’s what matters.

So, there you have it. My adventure in homemade putter making. It was a fun little project, and it saved me a bunch of money. If you’re feeling crafty and have some spare parts lying around, give it a try! You might just surprise yourself.