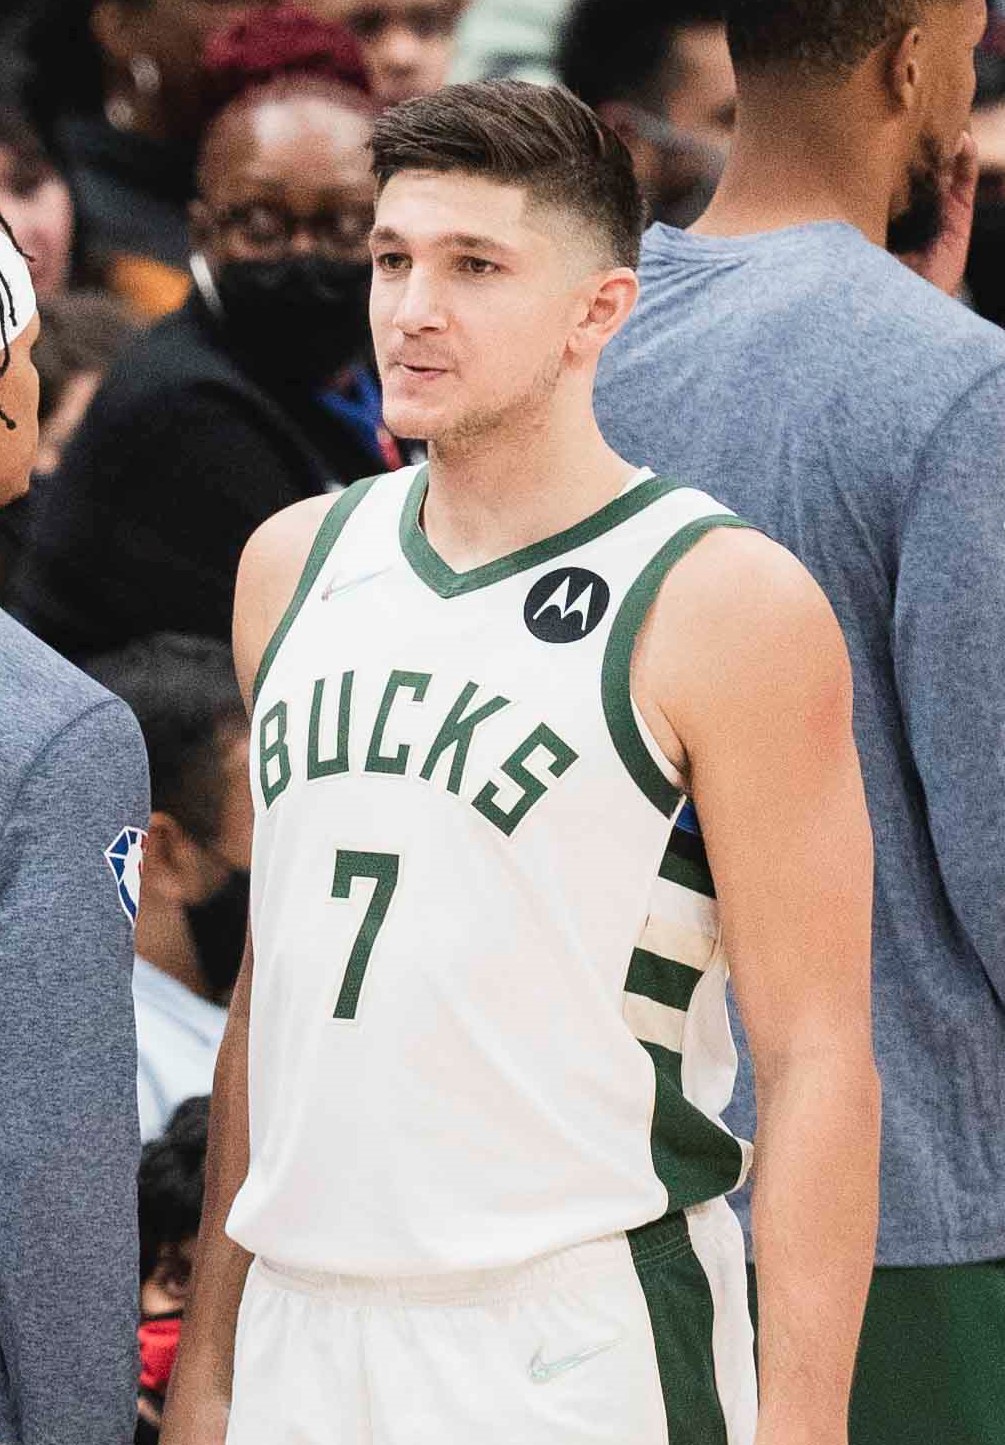
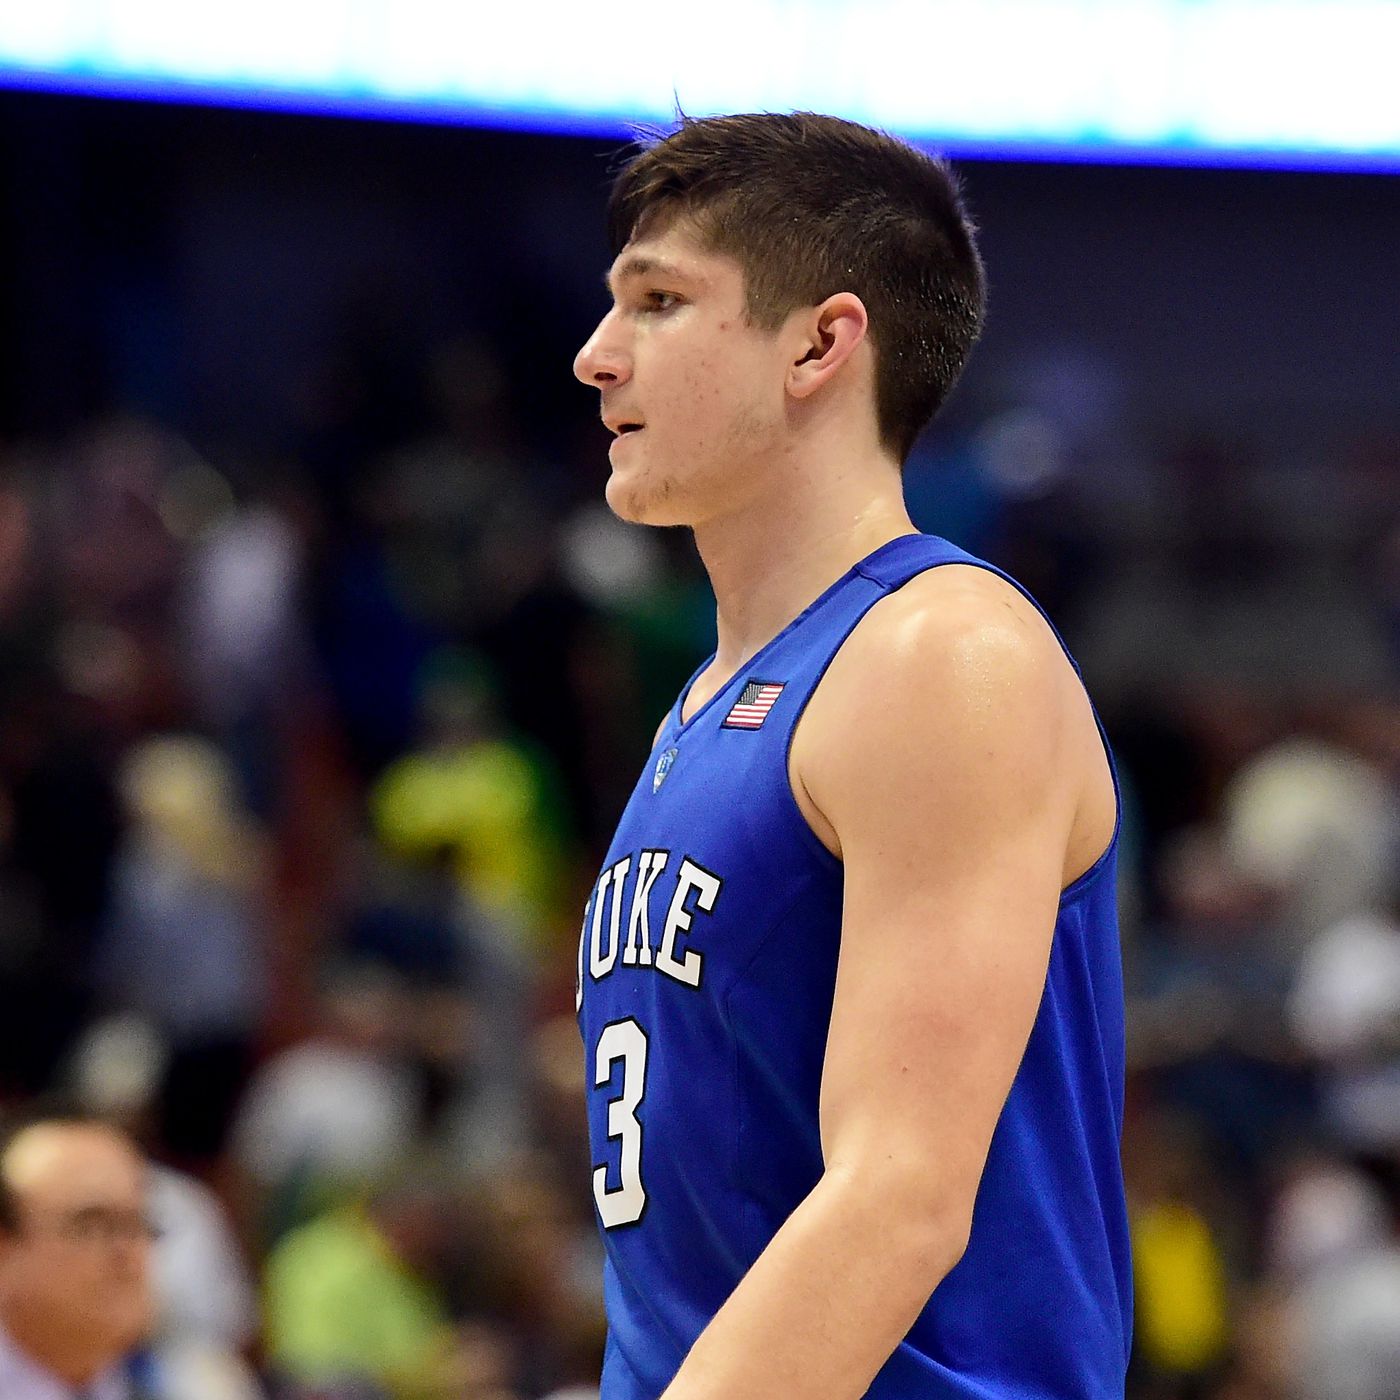
Okay, so I’ve been seeing Grayson Allen’s haircut all over my social media feeds, and I gotta say, it’s a pretty clean look. I decided to give it a shot myself, figuring, how hard could it be? Famous last words, right?
Step 1: The Research (aka Staring at Pictures)
First things first, I needed to figure out exactly what this haircut is. It’s not like you can just walk into a barbershop and say “Gimme the Grayson Allen.” So, I spent a good chunk of time just googling pictures of him, trying to get different angles. I noticed it’s basically a classic taper fade, pretty short on the sides and back, but with some length left on top.
Step 2: Gathering My Tools (aka My Bathroom Arsenal)
I’m no professional barber, but I do have a decent pair of clippers I bought a while back. Found those, along with a couple of combs, some scissors (probably not the right kind, but hey, it’s what I had), and a spray bottle for wetting my hair down. I even grabbed a hand mirror so I could (hopefully) see the back of my head.
Step 3: The First Cut (aka The Point of No Return)
Alright, here we go. I started with the sides. I used a number 2 guard on the clippers, figuring I could always go shorter later. It was…nerve-wracking. I tried to follow the natural curve of my head, going upwards. I definitely messed up a few times, creating some, shall we say, uneven patches. Let’s just say my hairline got a little higher in some spots than I intended.
Step 4: The Fade (aka Blending…or Trying To)
This is where things got tricky. The “fade” is supposed to be a smooth transition from short to long, right? Well, mine was more like a series of steps. I switched to a number 1 guard, then a 0.5, trying to blend the different lengths. It…didn’t exactly work. I spent a lot of time going back and forth, trying to fix my mistakes. The hand mirror was my best friend and worst enemy at this point.
Step 5: The Top (aka Don’t Mess This Up)
The top was supposed to be the easy part. I just needed to trim it a little, keeping some length. I wet my hair down, combed it, and started snipping away with the scissors. I tried to point cut, like I’d seen on YouTube, to give it some texture. I think I took off a bit too much in the front, but overall, it wasn’t a total disaster.
Step 6: The Back (aka The Blind Spot)
The back of my head is basically a mystery to me. I used the hand mirror and the clippers, trying my best to get everything even. I could feel some spots that were definitely longer than others, but I couldn’t really see what I was doing. I just kept going back and forth, hoping for the best.
Step 7: The Reveal (aka …It’s a Haircut)
After about an hour (maybe two…I lost track), I finally put down the clippers and took a good look. It was…a haircut. It definitely wasn’t a perfect Grayson Allen haircut. It was uneven in places, the fade was questionable, and the back was probably a mess. But, you know what? It was shorter, and it was something different.
It is kind of bold, also I could feel the breezes much better.
Lessons Learned:
- Maybe I should go to a professional next time.
- Clippers are harder to use than they look.
- The back of my head is a lawless wasteland.
- But hey, hair grows back, right?