Okay, so, “Gnarly Scars.” Sounds hardcore, right? Well, the story behind this project is anything but. It all started with me tripping over my own two feet – classic me – and landing knee-first onto the gravel driveway. Ouch.
After the initial embarrassment and throbbing pain subsided, I noticed the damage. A pretty nasty scrape, all bloody and gritty. And that’s where the idea sparked: I was going to document the entire healing process. Gross? Maybe. Fascinating? Absolutely.
Day 1: The Injury
Right after it happened, I limped inside and cleaned the wound. Lots of stinging. I slapped on some antibiotic ointment and a big bandage. It looked pretty gnarly, all red and raw. I snapped my first picture, which became the first image in my documentation of the wound.
The Following Weeks: Scab Formation and Itching
- Day 3: A dark, crusty scab had formed. It itched like crazy, but I knew I couldn’t scratch it.
- Day 7: The scab started to shrink a little around the edges. Still itchy. Still ugly. More pictures.
- Day 14: The scab was significantly smaller, and the surrounding skin was pink and new-looking. I resisted the urge to pick at it, barely.
The Final Stage
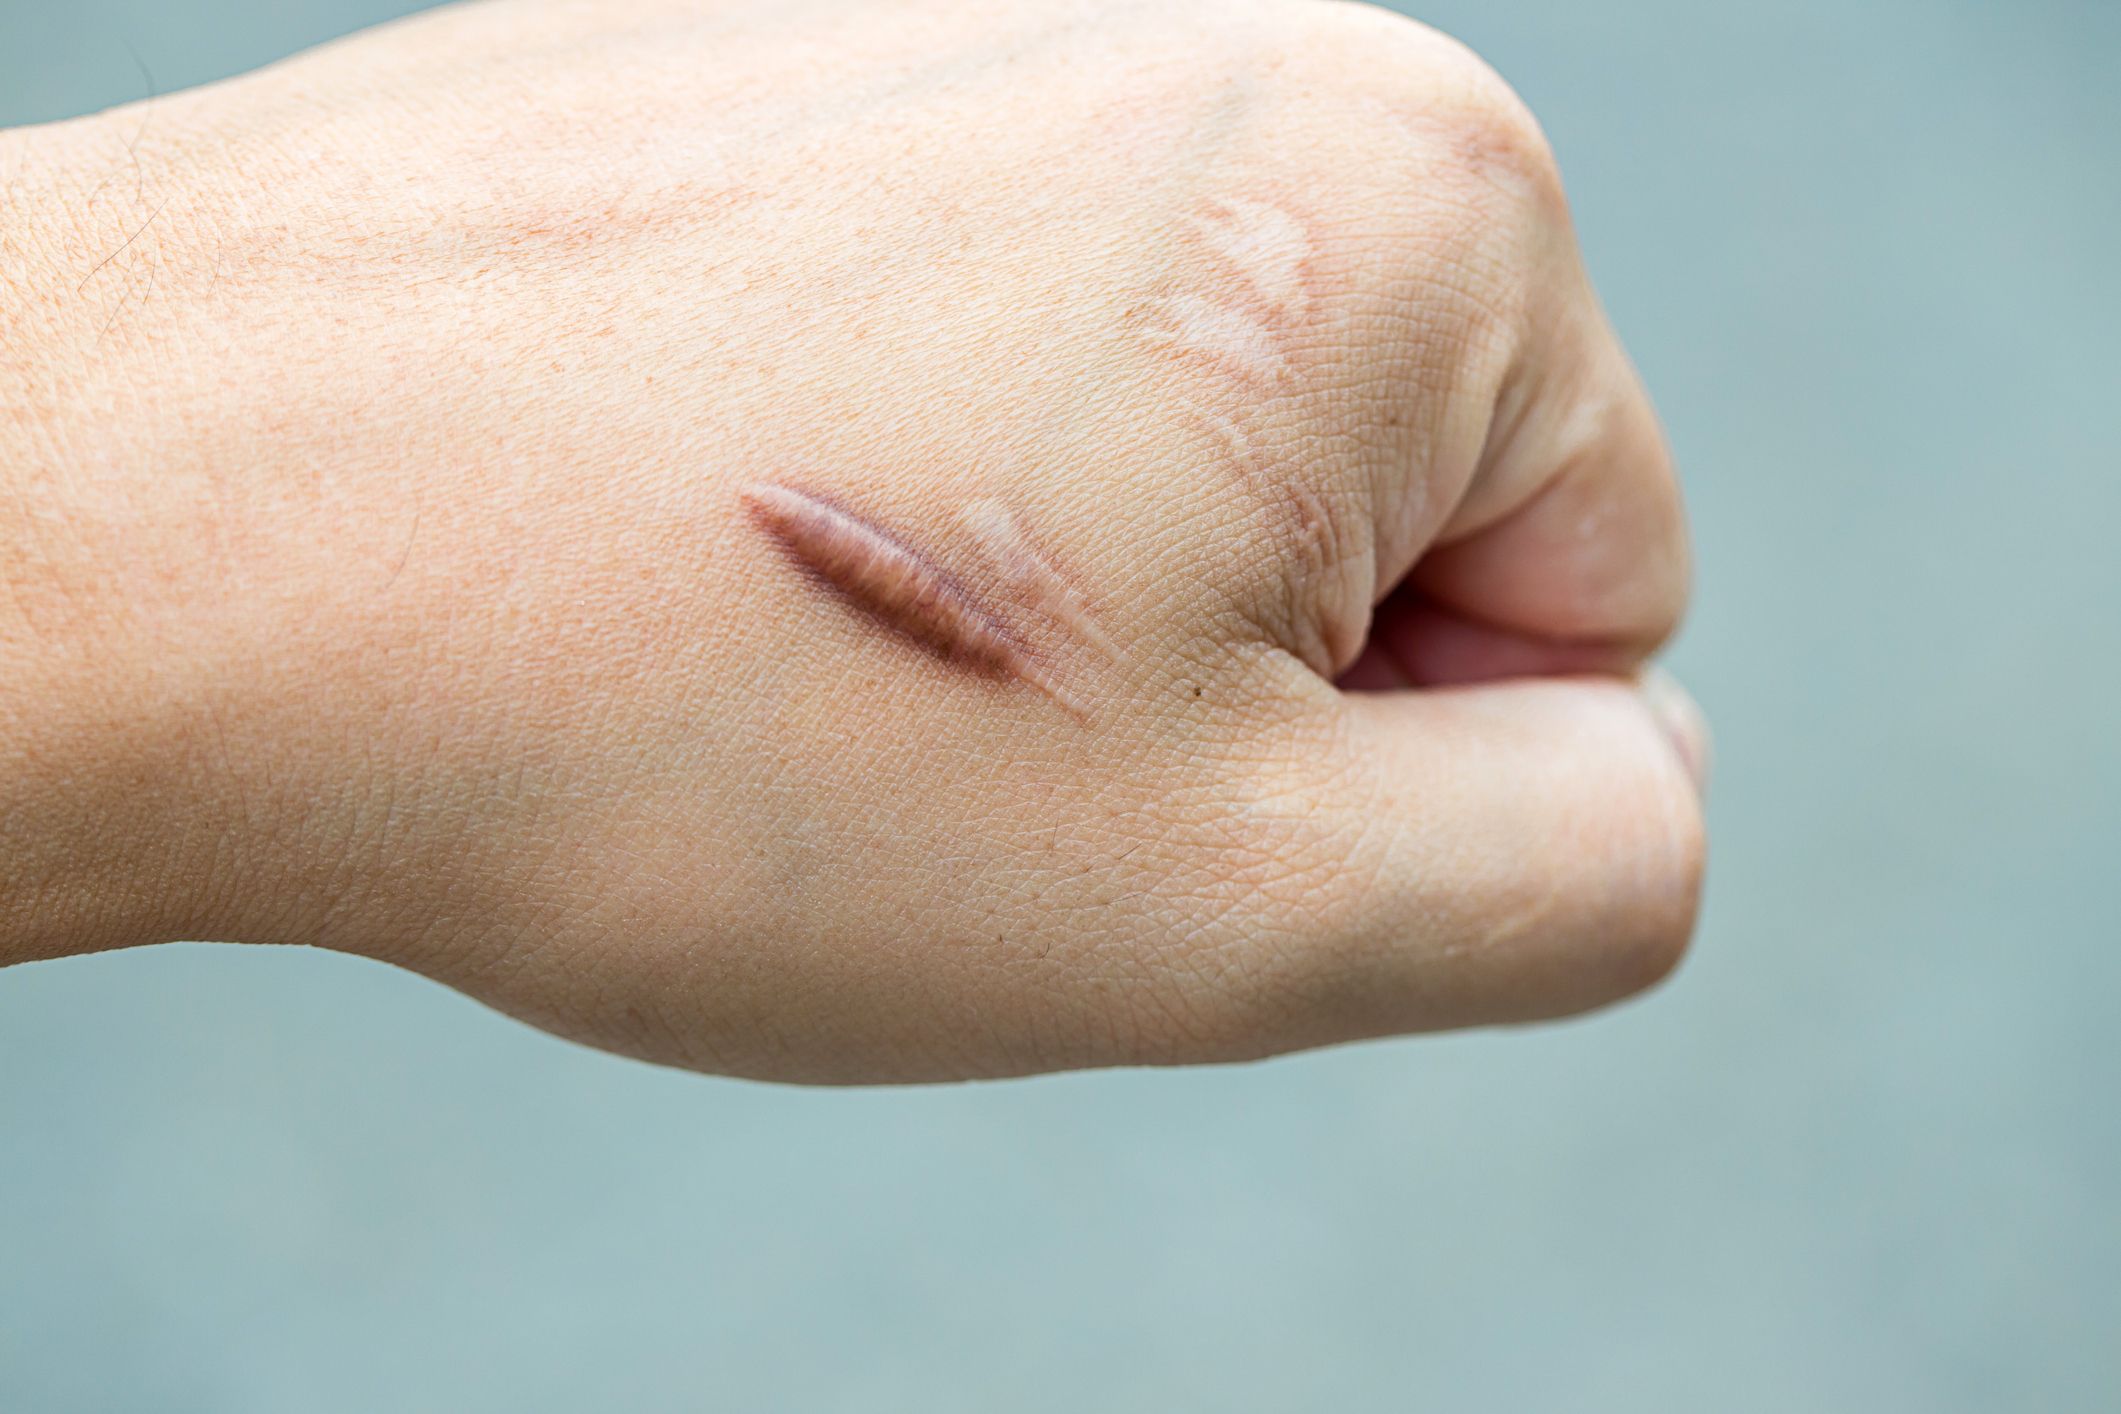
Finally. I peeled the bandage away and the surrounding area was significantly healed.
It’s been months now, and the scar is still there, but it’s faded to a light pink. It’s a permanent reminder of my clumsiness, but also a testament to the body’s amazing ability to heal itself. It’s not exactly a “gnarly scar” in the badass sense, but it’s my gnarly scar, and I’ve got the slightly embarrassing photo documentation to prove it.