")
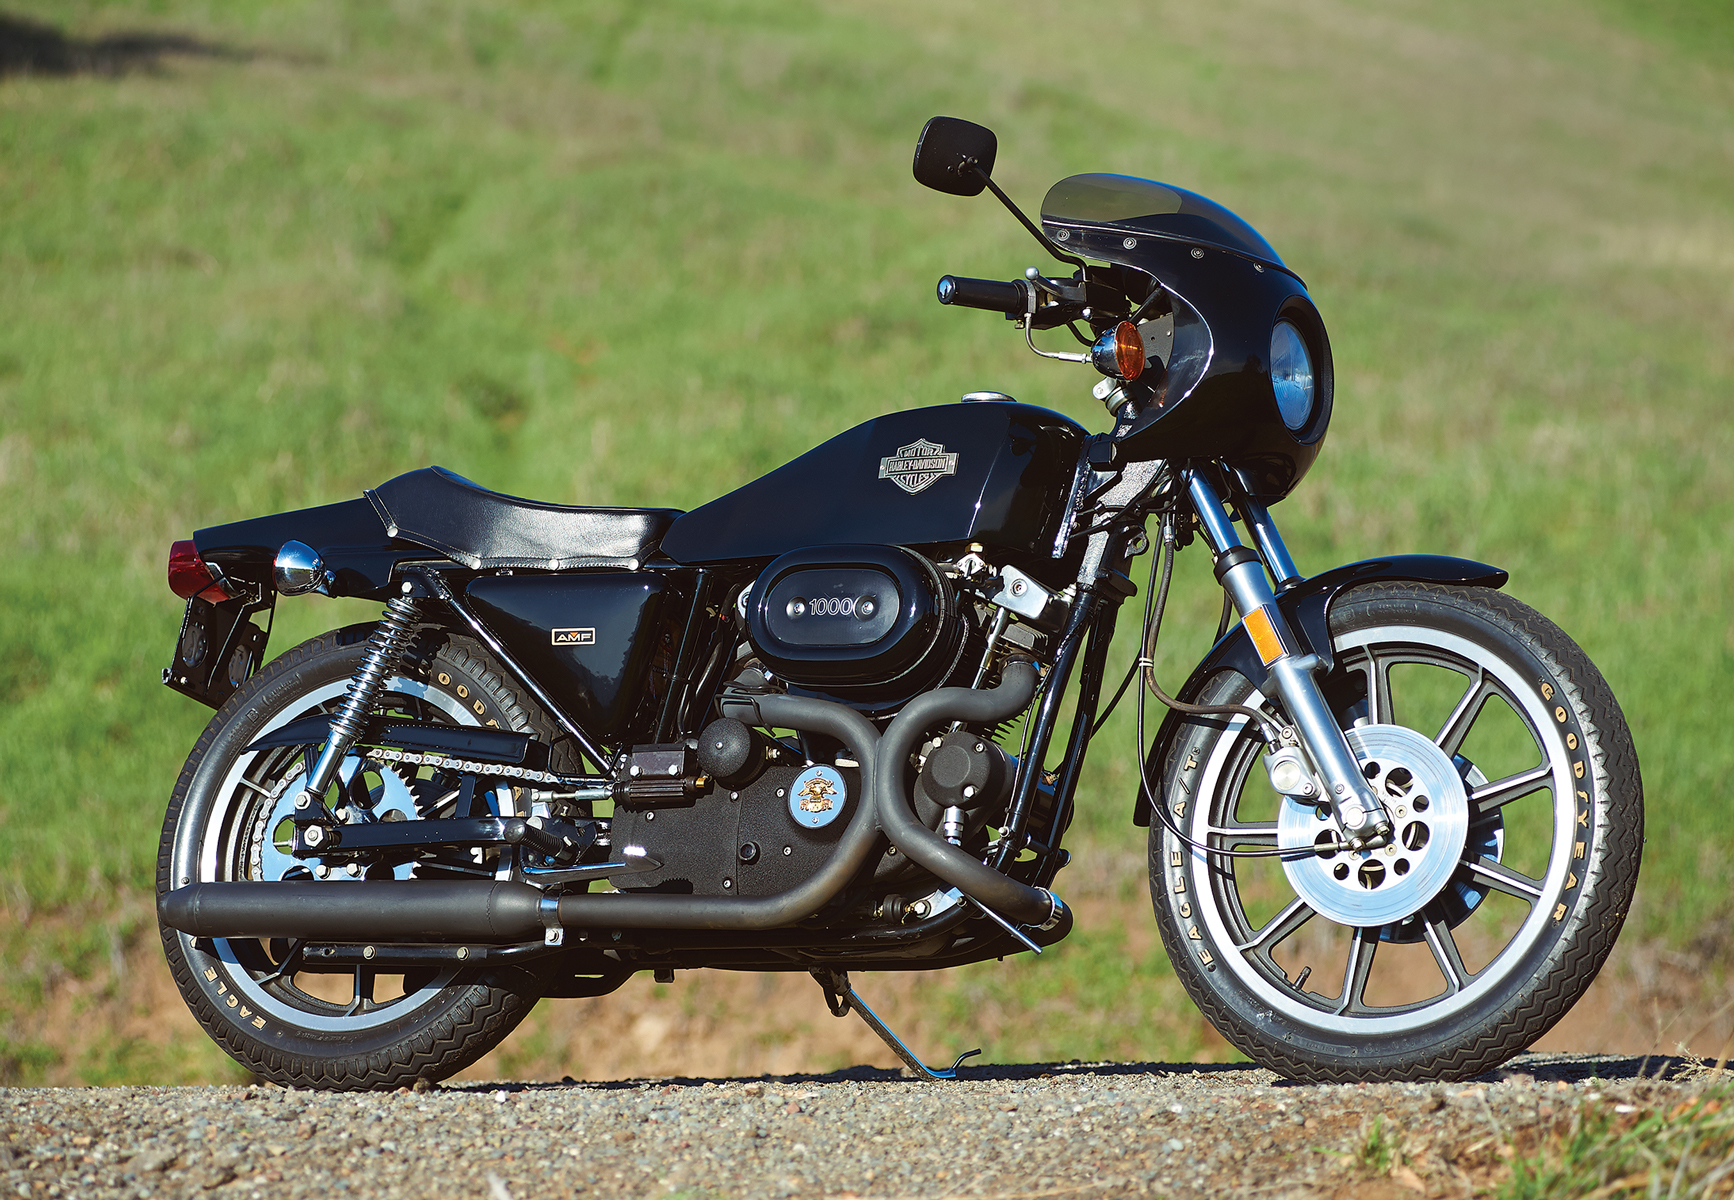
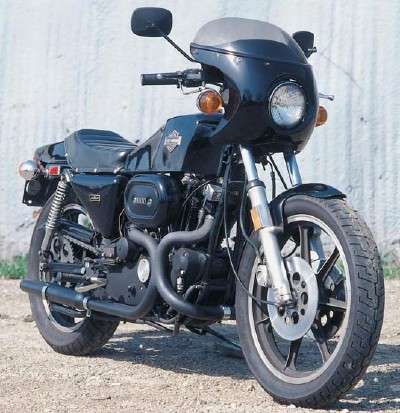
Okay, so I’ve been obsessed with vintage bikes lately, and the Harley XLCR has been on my radar for a while. I finally decided to take the plunge and, well, see what I could do with one. It’s a pretty unique bike – a cafe racer from Harley, which isn’t something you see every day.
First, I spent weeks just looking for one. It’s not like you can walk into a dealership and pick one up. I checked online classifieds, forums, and even reached out to some vintage motorcycle groups. Finally, I found one a few states away. It was rough, to say the least, but it was complete, which was a big plus.
Getting Started
Once I got the bike home, the real work began. The first step was a complete teardown. I literally took everything apart, down to the last nut and bolt. This was important for two reasons: first, to see what kind of shape everything was in, and second, to get everything cleaned and prepped.
- Labeling Everything: I can’t stress this enough. I used masking tape and a Sharpie to label every single wire, hose, and part. It seems tedious, but it saves so much time and frustration during reassembly.
- Bagging and Tagging: Small parts went into Ziploc bags, and I wrote on the bag what they were and where they came from.
- Taking Pictures:Before I disconnect anything I will take pictures of it to facilitate my subsequent installation.
The Deep Clean
With everything apart, it was time for cleaning. Years of grime, grease, and who-knows-what-else were caked onto everything. I spent days scrubbing, using degreasers, wire brushes, and even some good old-fashioned elbow grease. The frame itself got a good power washing and some rust treatment.
Engine Work (Fingers Crossed)
The engine was the biggest unknown. I knew it wasn’t seized, which was a good sign, but beyond that, I had no idea. I decided to do a compression test, and thankfully, the numbers were decent. That gave me some confidence to move forward without a full rebuild (at least for now). I replaced the spark plugs, wires, and points, and cleaned the carburetor thoroughly.
Putting It Back Together
Reassembly was basically the reverse of the teardown, but much more satisfying. Slowly but surely, the bike started to look like a bike again. All those labeled parts and bags? They were lifesavers. I followed my photos and notes, and it all came together surprisingly well.
The First Start (and a Few Hiccups)
Finally, the moment of truth. I added fresh oil and fuel, hooked up the battery, and hit the starter. It coughed, sputtered, and then… roared to life! It wasn’t perfect, though. There were a few leaks, and the timing was a little off, but it ran! I spent the next few days tweaking, adjusting, and fixing those small issues.
Riding It!
After all that work, actually riding the XLCR was an amazing feeling. It’s raw, powerful, and just plain cool. It’s definitely not the most comfortable bike, but it’s got so much character. And the best part? I brought it back to life. It was a challenge, for sure, but totally worth it. Now, I’m just enjoying the ride and planning some minor upgrades. The journey continues!