
Alright, so I finally got around to messing with that Yamaha electric bicycle motor I snagged a while back. Figured I’d document the whole shebang in case anyone else is thinking about doing something similar.
First things first, getting the motor. I found one on eBay, used but supposedly in good working order. Of course, “good working order” is always a gamble, but the price was right. When it showed up, I gave it a once-over, checked for any obvious damage, and spun the axle by hand. Seemed smooth enough.
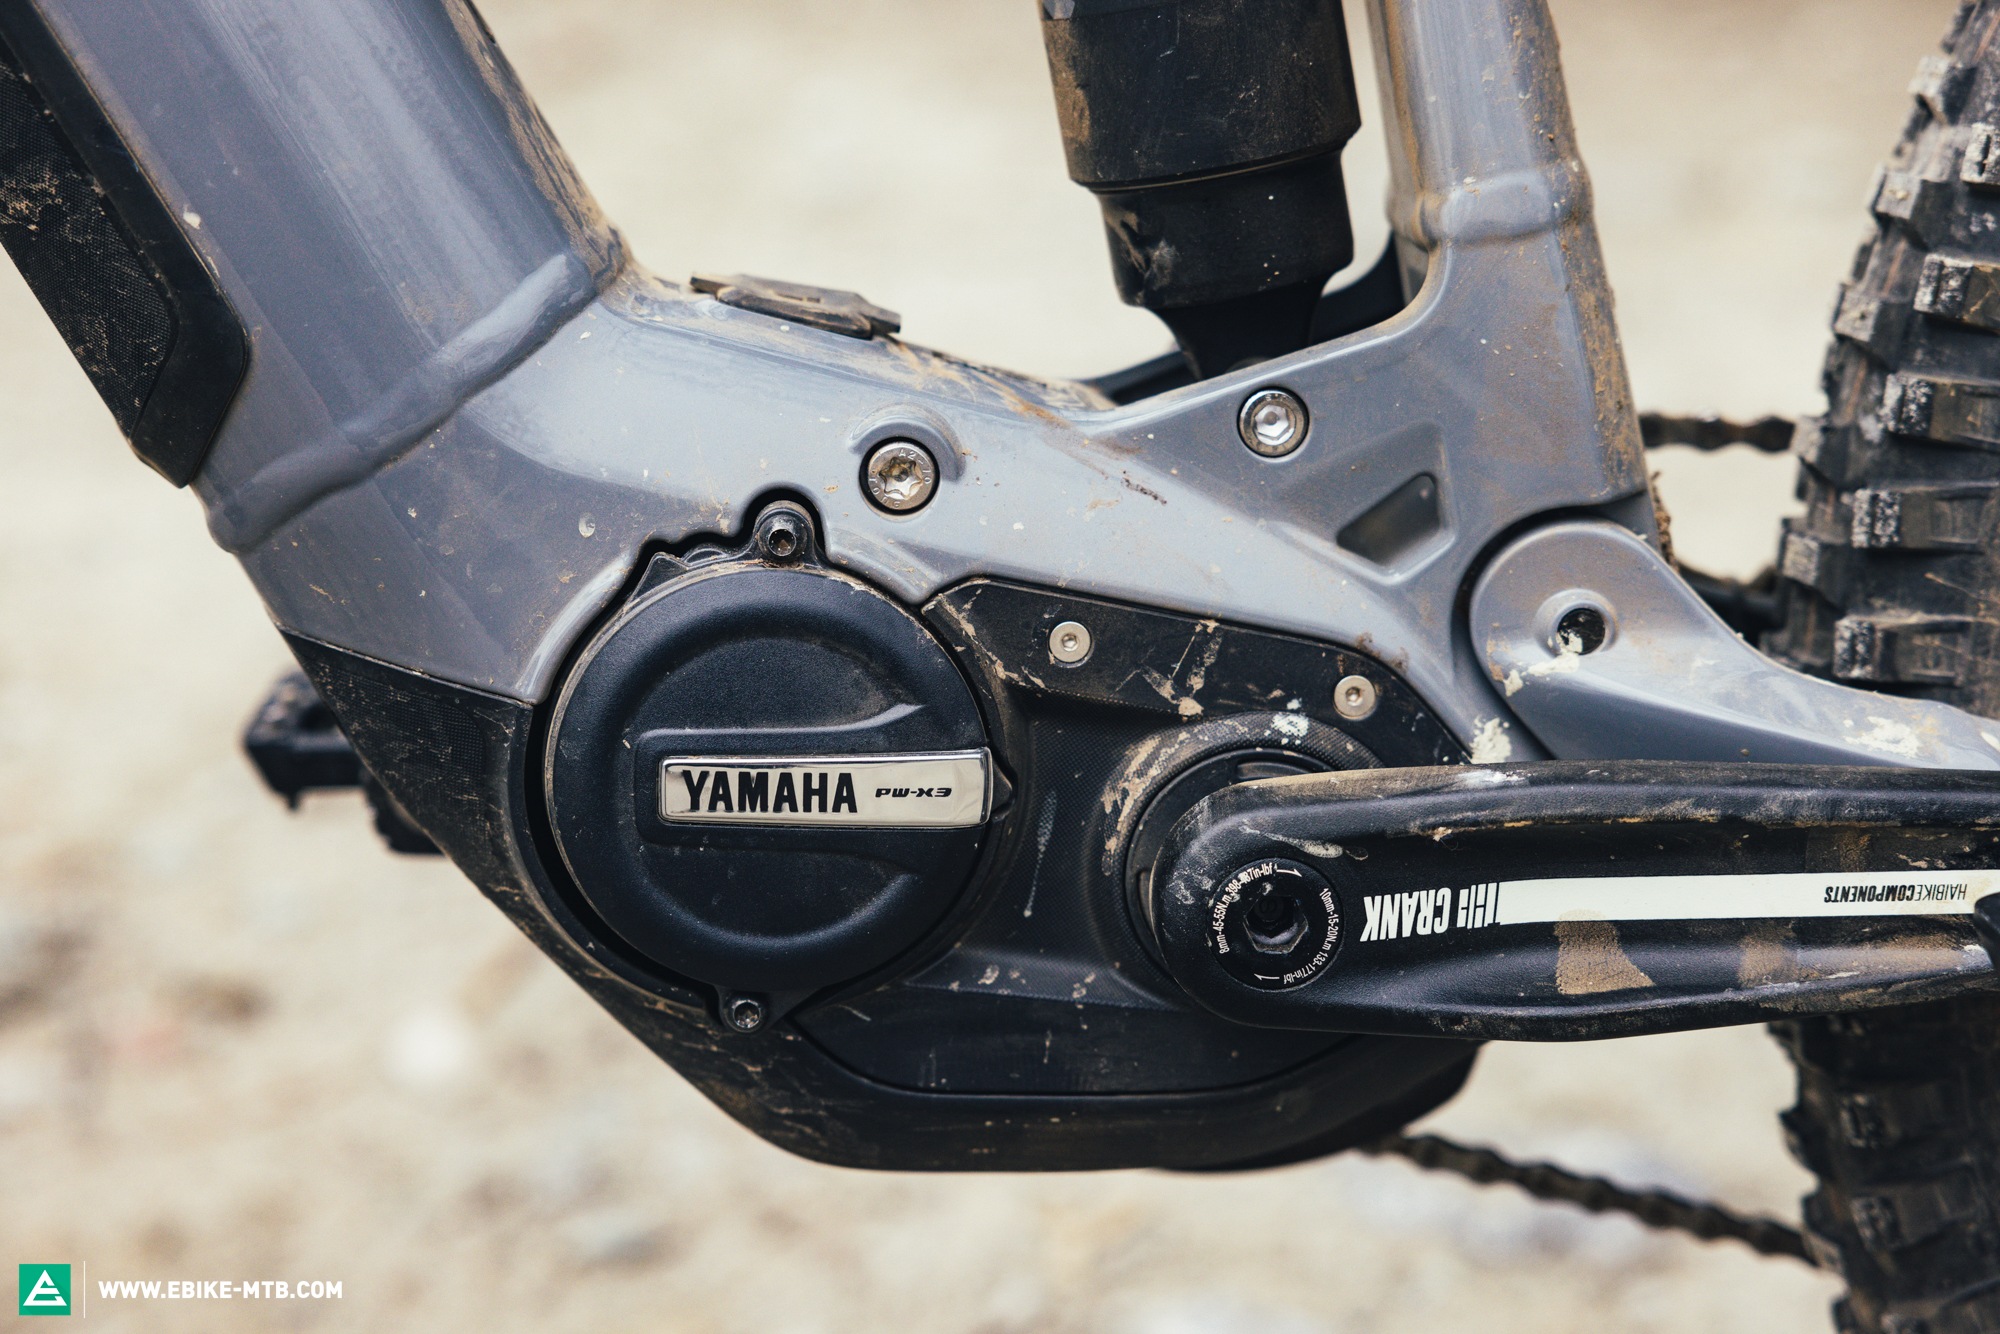
Next up was the disassembly. I wanted to see what I was dealing with inside. Now, I’m no expert, but I’m pretty handy with tools. I carefully took off the side covers, making sure to keep track of all the screws and washers. Taking pictures at each step helped a ton, trust me. The gears looked alright, a little grease, but nothing major. The motor itself seemed solid.
Then came the controller. This was the tricky part. I needed to figure out how to power this thing up and control its speed. After some digging online, I found a few forums where people had reverse-engineered similar Yamaha motors. It involved identifying the wires for the motor phase, hall sensors, and throttle. I used a multimeter to check the continuity and voltage levels, and pieced together a wiring diagram. It was a bit of a headache, not gonna lie.
Once I had a rough idea of the wiring, I hooked it up to a generic e-bike controller I had lying around. Testing time! I held my breath, connected the battery, and… nothing. After a few minutes of frantic checking, I realized I’d mixed up a couple of the hall sensor wires. Swapped them around, tried again, and BAM! The motor spun to life! It was a glorious moment.
Speed control was next. The generic controller worked, but it wasn’t ideal. The throttle response was jerky, and the motor was a bit noisy. I ended up ordering a different controller specifically designed for sensorless motors. It arrived a few days later, and the difference was night and day. Smooth acceleration, quiet operation, much better.
Finally, I needed to mount the motor. I didn’t have a bike frame handy, so I decided to build a little test rig out of some scrap wood. It wasn’t pretty, but it got the job done. I bolted the motor to the frame, added a wheel, and wired everything up. Now I had a functioning (albeit janky) electric bicycle motor test bench.
It was a fun project, learned a lot about electric motors and controllers. Now I’m thinking about what to actually do with this motor. Maybe build a small electric scooter? Or a motorized skateboard? The possibilities are endless!
- Tools used: Screwdrivers, multimeter, wire strippers, soldering iron.
- Parts needed: E-bike controller, battery, throttle, wires, connectors.
- Biggest challenge: Figuring out the wiring of the motor and hall sensors.
Lessons Learned:
- Take lots of pictures during disassembly.
- Double-check your wiring before connecting the battery.
- A good controller makes a huge difference.
Anyway, that’s my Yamaha electric bicycle motor adventure. Hope it was helpful or at least entertaining. Let me know if you have any questions, and happy wrenching!