Starting the Japanese Bike Journey
So I’ve been crazy into Japanese custom bikes lately – Bratstyle, Zero, that kind of raw look, you know? Saw pictures online and just had to try building something inspired by it myself. Figured I’d share how it went down, warts and all.

First up, finding the bike. Spent weeks staring at ads every night after work:
- Looked for older Hondas mainly: CBs, CLs, those classic UJMs (Universal Japanese Motorcycles). Needed something common with cheap parts.
- Avoided anything too rusty or seized solid. Engine doesn’t need to purr like new, but turning over is nice!
- Watched prices jump like crazy on the decent ones. People know what they got now.
Ended up dragging home a beat-up 80s CB400 Super Four. Engine ran rough but turned over. Perfect starting point.
The Teardown Phase
Got it into my tiny garage and just started pulling stuff off:
- Ripped off the torn up old seat and bulky rear fender first thing. Made it look lighter instantly.
- Cut off huge chunks of the subframe with a grinder. Nerve-wracking! One wrong cut and you’re buying a new frame.
- Tore into the wiring harness. SO many wires going nowhere. Took hours just labeling stuff I thought might be needed later.
Stripped it down to just the frame, wheels, and engine. Felt good to see the basic shape.
Building It Back Up – Bratstyle Vibes
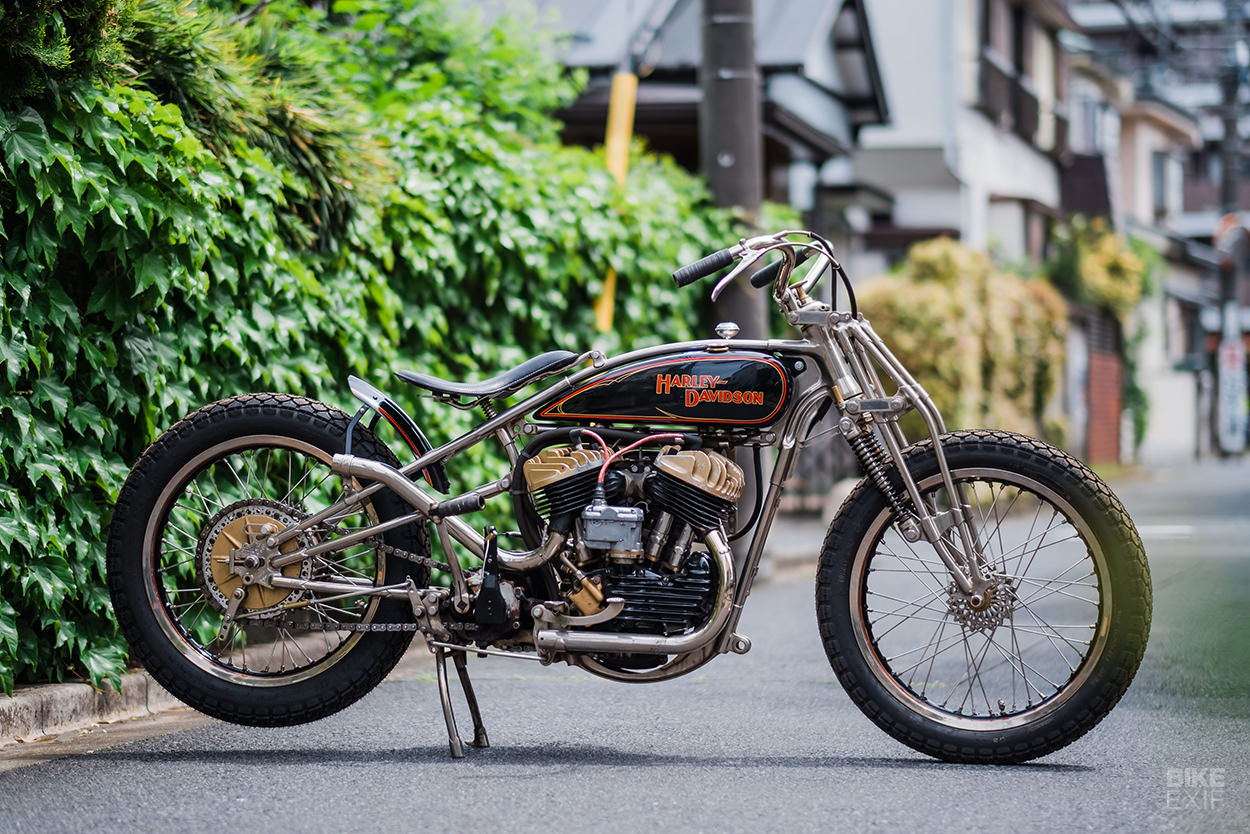
Wanted that low-slung, minimalist Bratstyle look. Easier said than done.

Biggest headache? The damn seat. Bought a simple flat pan online. Had to weld tabs onto the shortened frame to bolt it down. Fabricated a thin foam pad, wrestled faux-leather over it. Took three tries to get it taut without wrinkles. Hands were sore for days from stretching and stapling.
Exhaust was next. Didn’t want loud pipes, just a simple 4-into-1 bend. Bought an off-the-shelf kit. Didn’t fit right out of the box, obviously. Spent a whole weekend adjusting hangers and heating bends with a torch to get the angle right. Still scrapes a bit on hard lefts.
Handlebars: Put on some low, wide tracker bars. Looks killer but man, vibration through the bars at highway speed! Might need heavier bar ends.
Little details sucked up time: Rewiring lights cleanly, polishing dull aluminum covers by hand, finding tiny mirrors that looked right but actually showed something behind me.
The Final Stretch (Mostly)
After months of weekends and evenings:

- Got a simple black paint job done local. Just a rattle can job over primer. Looks tough.
- Put everything back together. Amazingly, the engine started after connecting the last wire!
- First ride around the block felt amazing. Rough but purposeful.
Still tweaking it. Needs better shocks for sure. Carb needs tuning after changing the intake. But it looks like I envisioned – raw, mechanical, functional.
What it Really Taught Me
This whole thing showed me Japanese custom isn’t just looks. It’s about respecting the base machine:
- Using what you can find affordably. Making it work even if it’s not perfect.
- Leaving some “imperfections” visible – patina, welds. Shows the work.
- Focus on clean function over fancy gadgets. If it doesn’t help the ride, ditch it.
It’s tough, rewarding, and honestly messy work. Not everyone’s cup of tea. But seeing that CB transformed into this bare-bones beast? Worth every skinned knuckle.
