")
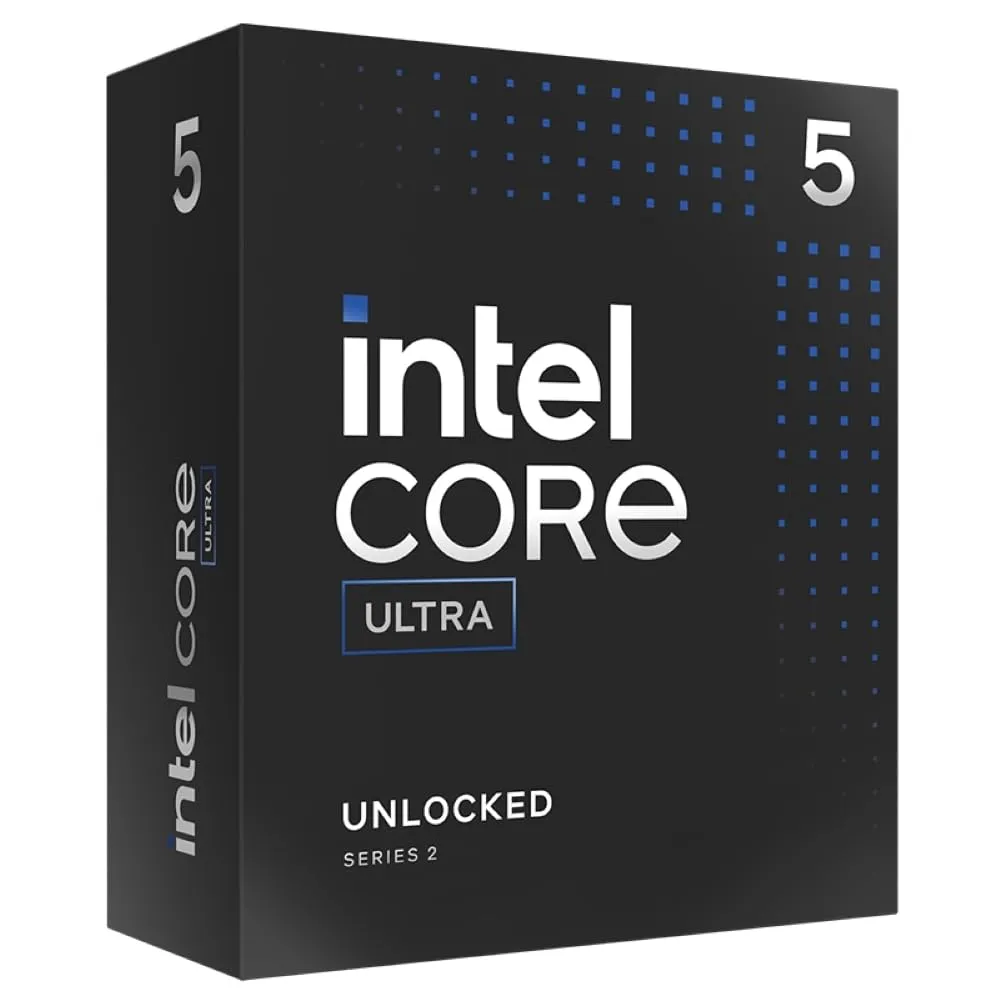
Okay, so I’ve been messing around with a new build, and the star of the show is this 15th gen CPU. I’m not gonna lie, I was pretty excited to get my hands on this thing.

The Unboxing and First Impressions
First things first, I got the CPU. The packaging was pretty standard, nothing too fancy. I carefully took it out, making sure not to bend any of those delicate pins. It looked clean, sleek, and ready to rock.
Getting Everything Ready
Before I could even think about slapping this bad boy into a motherboard, I had to make sure I had all the other parts. You know, the usual suspects:
- A compatible motherboard (this was key, had to do some research here)
- Some fast RAM (because why not?)
- A decent cooler (didn’t want this thing to overheat)
- A power supply that could handle the load
- And of course, a case to put it all in
I spent a good afternoon gathering all the components, making sure everything was compatible. It’s like putting together a puzzle, but with a much higher chance of expensive mistakes if you mess up.
The Installation Process
Okay, this is where things got a little nerve-wracking. I carefully lined up the CPU with the socket on the motherboard, gently placed it in, and locked it down. Then came the cooler installation, which involved some thermal paste and a bit of finagling. I always get a little anxious at this stage, hoping I don’t mess anything up.
After that, it was just a matter of connecting everything else – RAM, GPU, storage, power supply. It’s a bit like playing with LEGOs, but with more expensive and fragile pieces.
Booting Up and Testing
With everything connected, I hit the power button, held my breath, and… it worked! The system posted, and I was greeted with the BIOS screen. A huge sigh of relief!
I ran some initial tests and it look like all system work normally
Final Thoughts (For Now)
So far, I’m pretty stoked with this 15th gen CPU. It was a bit of a process to get everything up and running, but that’s part of the fun of building your own PC, right?