
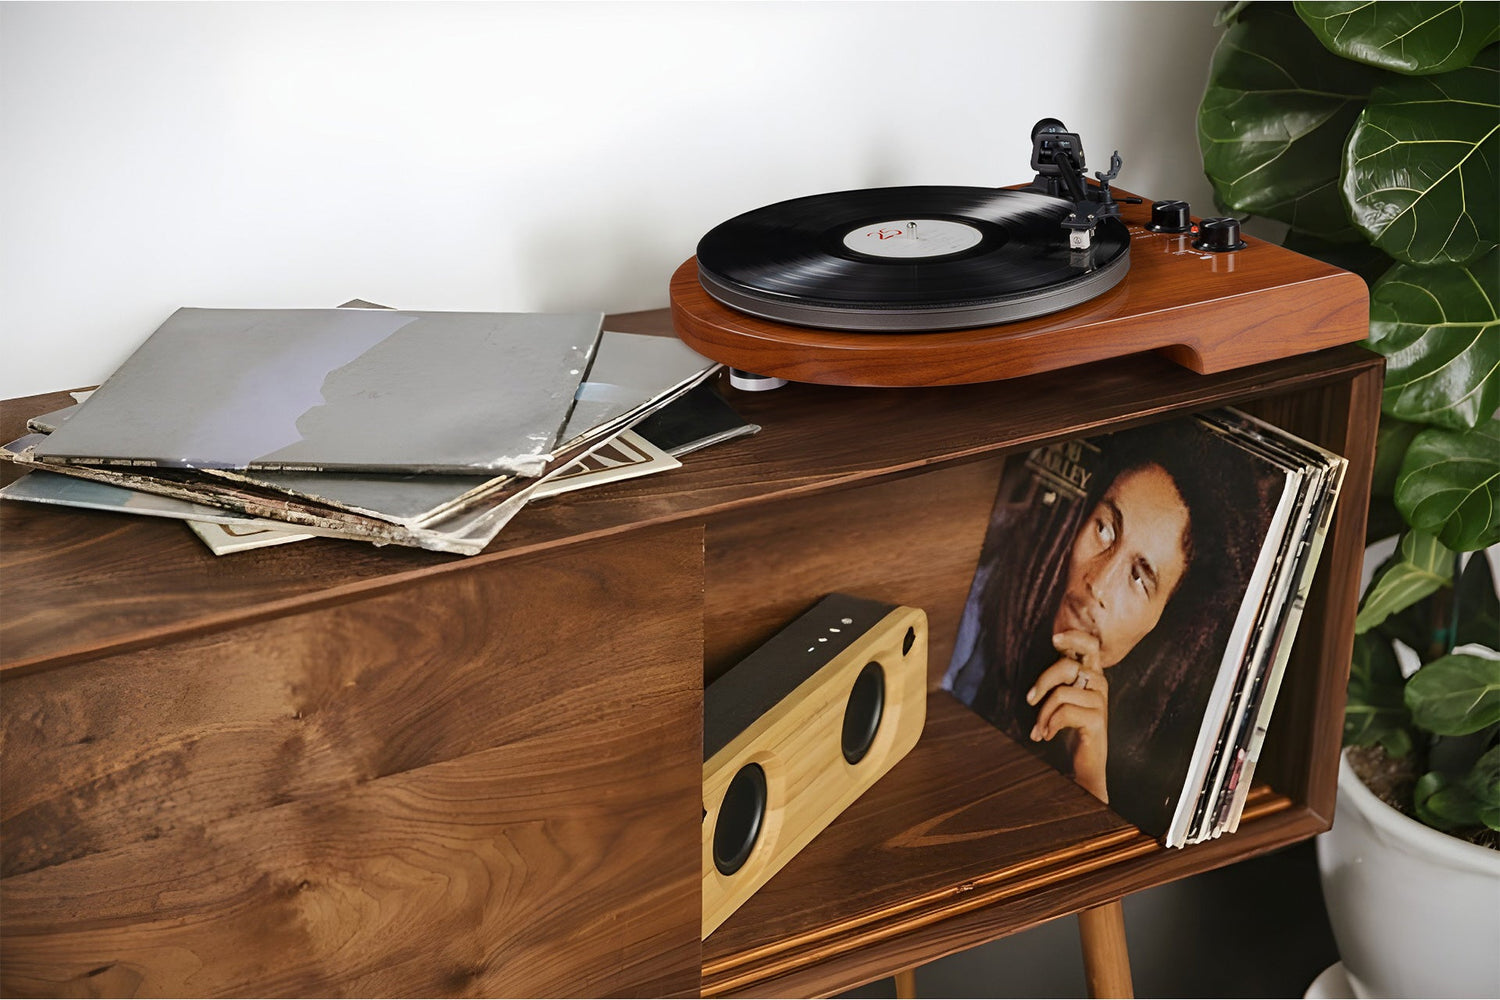
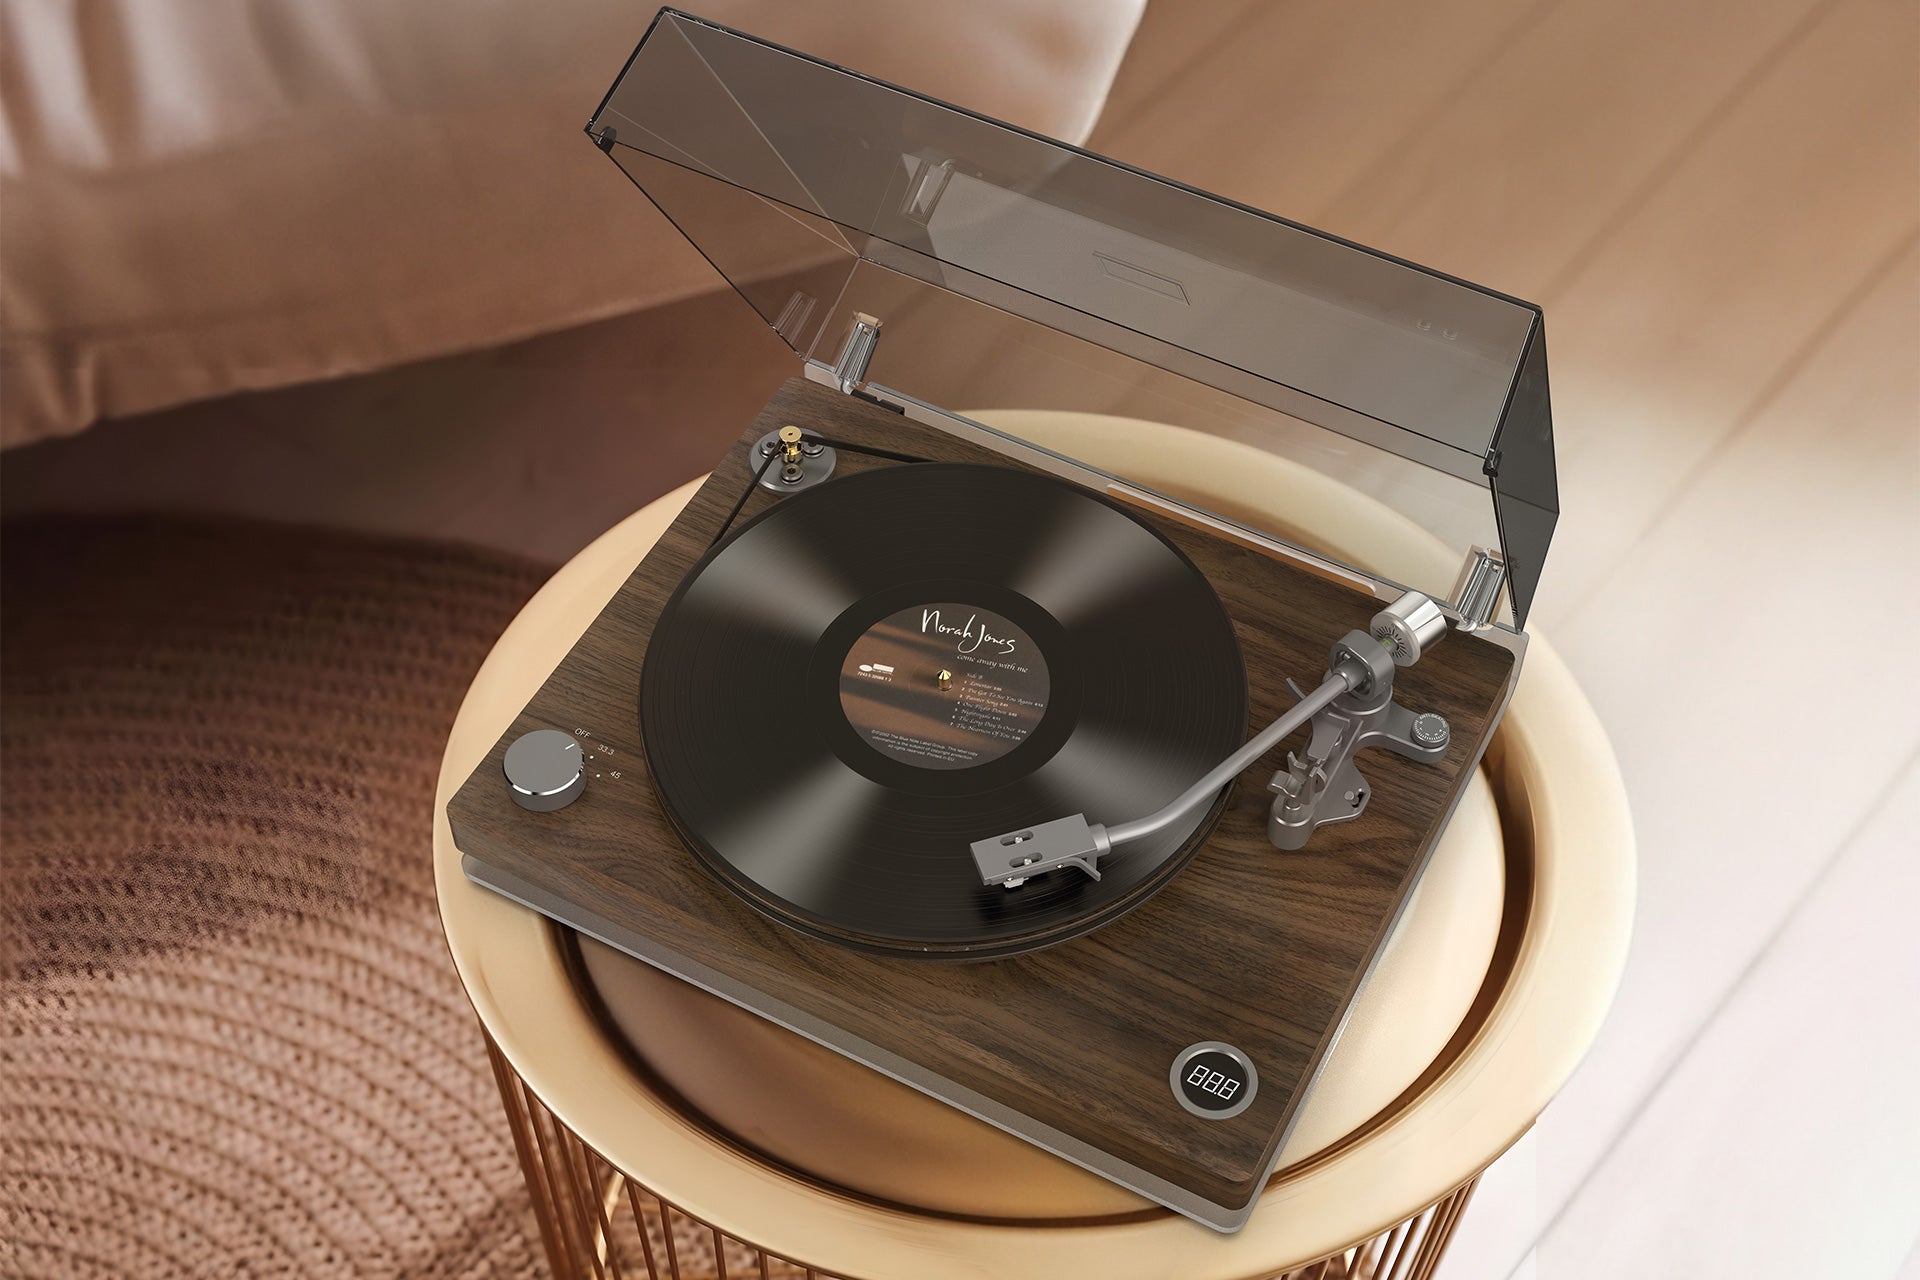
So, I got this idea in my head a while back – I wanted a record player, but not just any record player. I wanted one with that old-school wooden look. You know, something solid, something that felt like it had a bit of character. Couldn’t find exactly what I wanted ready-made without spending a fortune, so I figured, why not try building one myself?
Getting Started
First thing was figuring out the parts. This wasn’t super easy. I knew I needed a base, the spinning part (platter), a motor to make it spin, an arm (tonearm), and the little needle thing (cartridge). Oh, and wiring, lots of fiddly wiring.
For the wood, I went down to the local lumber place. Spent a good hour just looking and feeling different types. Settled on a nice piece of oak. Heavy, solid, looked about right. Got them to cut the basic shape for the base, or plinth as some call it, just to save myself some hassle with the big cuts.
The mechanical bits were trickier. I ended up ordering a basic turntable motor and platter kit online. Found a decent-looking tonearm assembly too – trying to build that from scratch felt like a step too far for me right now. The cartridge and needle came with the tonearm, thankfully.
Putting it Together
Back home, the first job was the wood. Lots of sanding. Seriously, so much sanding to get it smooth and looking good. Then figuring out exactly where the motor needed to sit so the platter spun dead center. Measured about fifty times, drilled once. Nerve-wracking stuff.
Mounting the tonearm was next. More measuring. Had to make sure the distance from the platter spindle to the arm’s pivot was spot on. Got that fixed in place. It was starting to actually look like something!
Then came the wiring. This was the messy part. Power for the motor, signal wires from the tonearm out to some RCA jacks I planned to put on the back. It wasn’t pretty. Lots of trial and error. Had to solder tiny wires, which I’m not great at. Definitely blew a fuse at one point because I crossed something I shouldn’t have. Oops.
- Cut and sanded the oak base.
- Measured and drilled holes for the motor and platter spindle.
- Carefully measured and mounted the tonearm assembly.
- Wired up the motor power.
- Soldered the audio signal wires from the tonearm to output jacks.
- Spent ages tidying the wires underneath so it didn’t look like a rat’s nest.
The Finish
After getting the wiring sorted (mostly), I applied a few coats of oil finish to the wood. Really brought out the grain, looked fantastic. Let it dry properly for a couple of days.
Finally, the moment of truth. Hooked it up to an old amp and speakers I had lying around. Put on an old record I picked up cheap. It worked! The platter spun steadily, the arm tracked across the record, and music came out of the speakers.
It’s not perfect. If you listen really closely, you can probably hear a tiny bit of motor noise. And the wiring underneath still looks a bit amateur. But honestly? I don’t care too much. I built it. It plays records. And it looks exactly like the solid, wooden record player I had in my head. Pretty satisfying feeling, I gotta say. Learned a lot, mostly about how much patience sanding requires.