
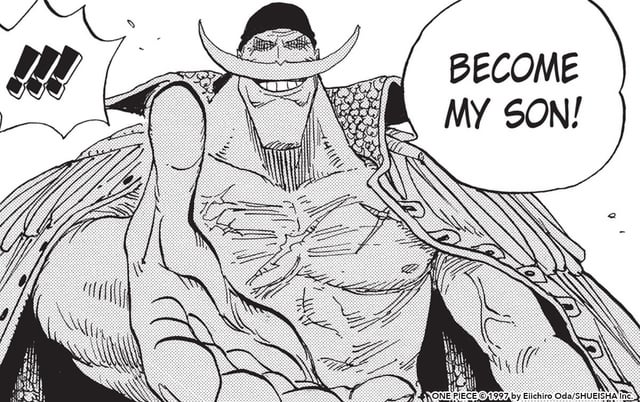
Okay, so today I decided to dive into something I’ve been putting off for a while – recreating those iconic Whitebeard scars. You know, from One Piece? Yeah, those. It turned out to be… well, let’s just say it was an experience.
Getting Started (And Immediately Failing)
First, I grabbed some rigid collodion – that’s the stuff that supposedly makes realistic-looking scars. I’d seen a few tutorials online, and they made it look SO easy. Just paint it on, let it dry, and boom! Instant badass.
Spoiler alert: it wasn’t that easy. My first attempt? A total mess. I applied way too much, and it ended up looking like I’d just smeared glue on my chest. Not exactly the fearsome pirate look I was going for.
Round Two (Slightly Better)
So, I wiped that off (which, by the way, is a pain – that stuff STICKS) and tried again. This time, I used a much smaller brush and applied thinner layers. I also watched a couple more tutorials while I was at it, paying closer attention to the technique.
- Use a tiny brush. Seriously, tiny.
- Apply in thin layers. Patience is key, my friends.
- Let each layer dry completely before adding another.
I also tried streching the skin a little bit to be more realistic.

The Results (Good Enough, I Guess?)
After about an hour of painstaking work (and a few more minor mishaps), I finally had something that resembled Whitebeard’s scars. Were they perfect? Nah. Did they look like I’d been in a few epic battles? Kinda. I think they were good enough that my friends regconized instantly what I was trying to achieve.
Honestly, the whole process was more frustrating than I expected. But hey, at least I learned something, right? And I’ve got a newfound respect for makeup artists – those guys are wizards.
Next time, I might just stick to drawing the scars on. Or maybe I’ll invest in some temporary tattoos. My skin (and my sanity) will thank me.