
Okay, so I decided to paint my motorcycle motor. I’ve never done this before, so it was a bit of a learning experience. Let me tell you, it’s not as easy as those YouTube videos make it look!
Getting Started
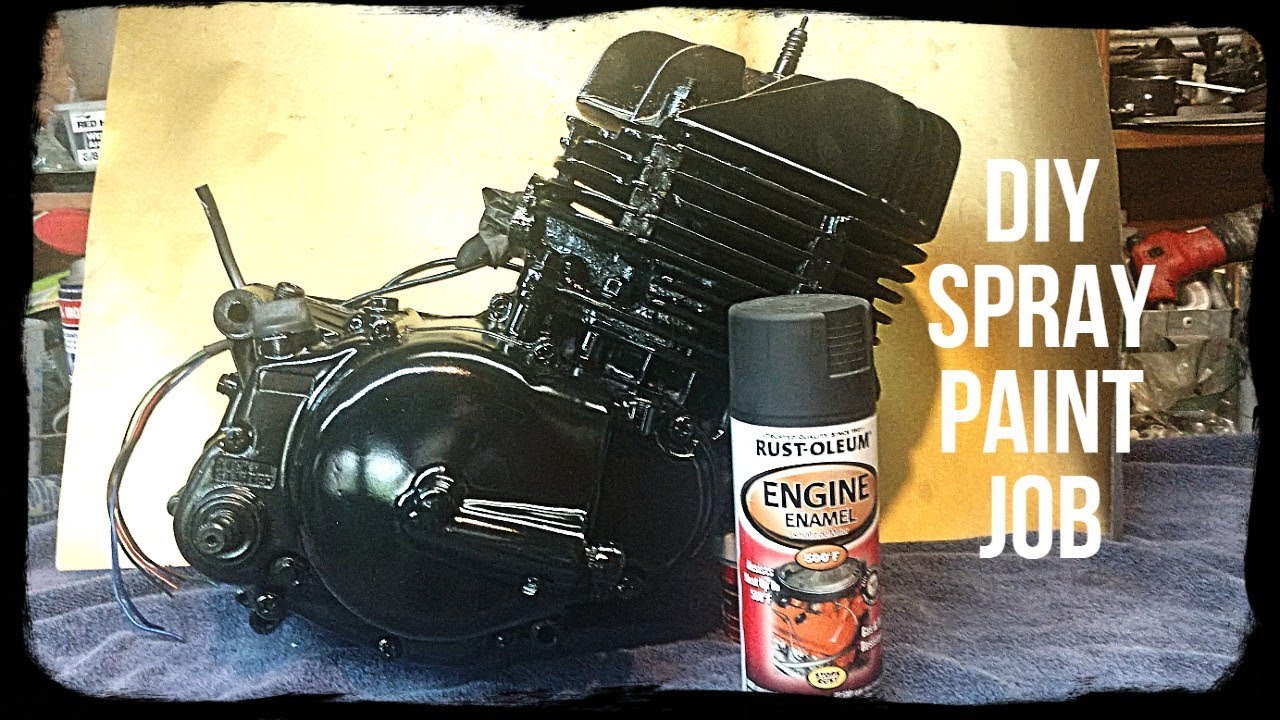
First, I gathered all my supplies. I picked up some high-heat primer, engine enamel paint (went with a classic black), a few different sized brushes, some painter’s tape, degreaser, and a bunch of rags. I also made sure I had a good drop cloth to protect my garage floor.
Prep Work is Key
This is where the real work began. I spent a good chunk of time just cleaning the motor. I used the degreaser and a stiff brush to scrub off all the built-up grime and oil. It was nasty! I rinsed it down thoroughly with water and let it dry completely. This took way longer than I thought it would.
Next, I taped off all the areas I didn’t want to paint – like the bolts, hoses, and any other parts that weren’t part of the engine block. This was tedious, but I knew it was important to get clean lines.
Priming the Engine
Once everything was clean and taped, I shook the primer can really well and started spraying. I applied a few thin, even coats, letting each coat dry for the recommended time before adding the next. I learned that thin coats are key to avoiding drips and runs.
Painting Time!
Finally, the fun part! I shook the engine enamel paint can like crazy and started brushing it on. Again, I focused on thin, even coats. I used the smaller brushes to get into all the nooks and crannies. I applied two coats, allowing plenty of drying time between each. I noticed that the paint seemed to level out nicely as it dried.

The Final Result
After the final coat dried, I carefully removed the painter’s tape. I have to say, it looked pretty darn good! There were a couple of small imperfections, but overall, I was really happy with how it turned out. It definitely gave the bike a cleaner, more polished look.
Would I do it again? Maybe. It was a lot of work, but the result was worth it. My biggest takeaway: patience is key! Don’t rush the process, and take your time with each step. And definitely wear gloves – I forgot, and my hands were a mess!