
Alright, let’s talk about bike gearboxes. I’ve been messing around with my old mountain bike lately, and the gears were totally shot. So, I decided to dive in and see if I could fix it myself. It’s been a bit of a learning curve, but here’s how it went down.
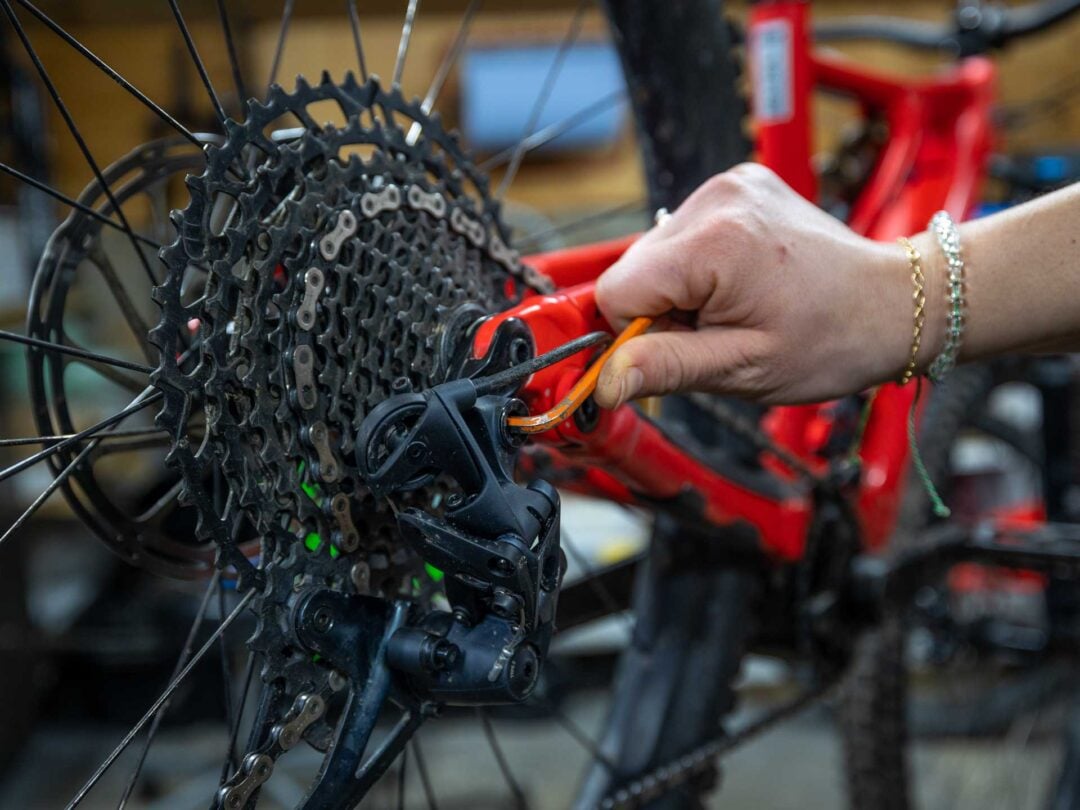
First, I took a good look at the whole setup. You know, just getting familiar with how the shifters, cables, and derailleurs all work together. My bike’s got the usual setup – front and rear derailleurs that move the chain between different sized sprockets (those toothed wheels). The shifters on the handlebars pull on cables, and those cables move the derailleurs.
Getting Started
- I gathered my tools. Honestly, I didn’t have everything I needed at first, so there were a couple of trips to the hardware store. You’ll definitely want some Allen wrenches (hex keys), a chain tool, and maybe a cable cutter/crimper. A bike stand is super helpful, but I managed without one (though my back regretted it later).
- I Shifted chain into the smallest cog, in my memory, it is the most easy way to release the wheel.
- Then, I took the rear wheel off. This made it way easier to work on the cassette (that’s the stack of sprockets on the rear wheel). I just undid the quick release lever and the wheel popped right out.
The Dirty Work
Next, I removed the old chain. My chain was super grimy and probably stretched out, so it was time for a new one. I used a chain tool to push out one of the pins holding the chain together. It’s a little tricky, but you just have to make sure the tool is lined up properly.
With the chain off, I took a closer look at the cassette. Mine was pretty worn, so I decided to replace it. To do this, you need a special tool called a cassette lockring tool. You fit it onto the lockring (the thing that holds the cassette onto the wheel) and use a wrench to loosen it. Once the lockring is off, the cassette just slides off.
Putting It Back Together
I cleaned everything up – the derailleurs, the frame, everything. Years of gunk had built up, so it took some elbow grease. Then, I installed the new cassette. It just slides onto the freehub body (the part of the hub that the cassette sits on), and then you tighten the lockring back on with the lockring tool.
Next up, the new chain. I measured the old chain against the new one to make sure I got the right length. You usually have to shorten a new chain a bit. Again, you use the chain tool to push out a pin and remove the extra links. Then, you thread the chain through the derailleurs and connect the ends using the chain tool. There’s usually a special connecting pin or a “quick link” that makes this easier.
Adjustments and Fine-Tuning
This is where things got a little fiddly. I put the wheel back on and started adjusting the derailleurs. There are little screws on the derailleurs that control how far they move. You have to tweak these screws so that the chain shifts smoothly between all the gears. It’s a bit of trial and error, shifting up and down, listening for any grinding or skipping.
I also had to adjust the cable tension. The shifters have barrel adjusters (little knobs) that you can turn to fine-tune the cable tension. If the shifting is sluggish, you might need to tighten the cable a bit. If it’s overshifting, you might need to loosen it.
Finally after testing and testing again,I made it.It took me whole afternoon and got a lot of knowledge about my bike.
Honestly, it took a few hours of tinkering, and I definitely watched some YouTube videos along the way. But in the end, I got my bike shifting like new! It’s a pretty satisfying feeling to fix something yourself, and now I feel way more confident tackling other bike repairs.