
Alright, so I finally got around to tapping that keg of homebrew I’ve been working on. It’s been a long time coming, and man, was it an experience!

Getting Started
First, I gathered all my gear. This included:
- The keg itself, obviously.
- My CO2 tank and regulator.
- The beer line and faucet.
- A bucket to catch any spills (trust me, this is important).
- Sanitizer, of course.
I made sure everything was squeaky clean. I used a good brewery sanitizer and rinsed everything thoroughly. No one wants a funky-tasting beer because of some leftover gunk.
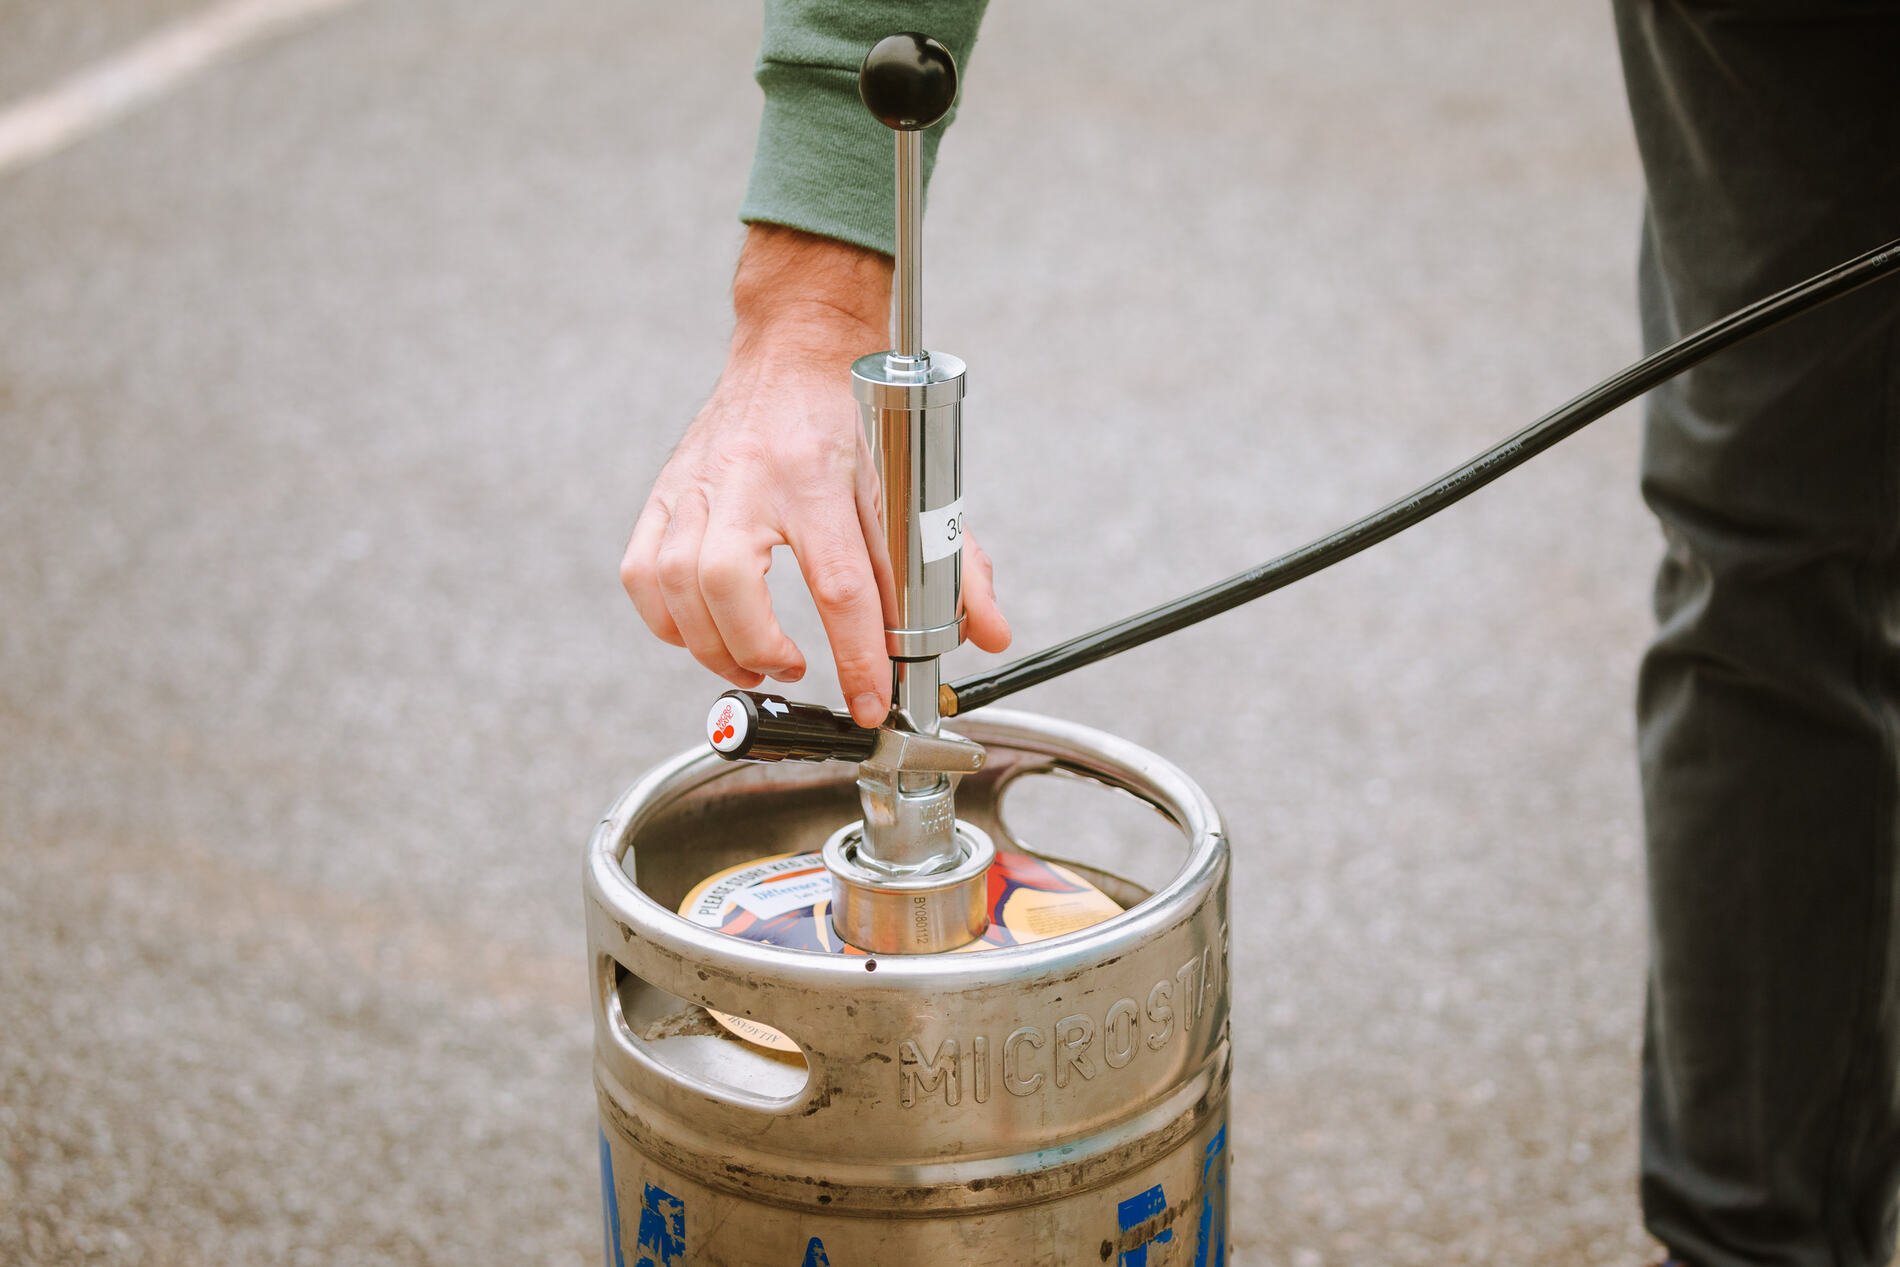
Connecting Everything
This is where things got a little tricky. I connected the CO2 line to the regulator, then to the “gas in” post on the keg. I Double, no, triple checked make sure everything was snug and secure. I do not want any gas leaks.
Then, I attached the beer line to the “liquid out” post and screwed on the faucet. Again, gotta make sure those connections are tight!
Setting the Pressure
This part always makes me a little nervous. I slowly turned the knob on the regulator, watching the gauge. I was aiming for around 10-12 PSI, which is usually a good starting point for serving. I increase it very slow, no rush.
The First Pour (and the Problems)
I held my glass under the faucet, took a deep breath, and opened it up. And… mostly foam. Lots and lots of foam. Darn it!
I played around with the pressure, lowering it a bit, then raising it a bit. I also checked the beer line for any kinks or blockages. It’s a bit of a balancing act, and you have to be patient.
Finally, Success!
After a few minutes of fiddling, I finally got a decent pour! A beautiful, golden-colored beer with a nice, creamy head. All that effort was worth it.
It’s still not perfect, I need to tweak it some more, but I will enjoy drinking the first glass.