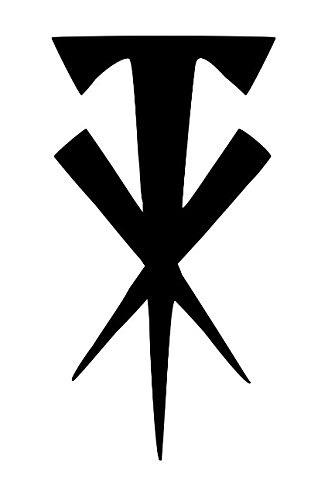
Alright, so I wanted to make an Undertaker logo, the classic one, you know? So, I started by grabbing some reference images.
I opened up my browser and started searching for some good quality images of the logo. I wanted to make sure I got the details right, especially the unique font and the way the letters are styled.
The Drawing Process
After I found some references, I fired up my drawing software. I usually use this one free program – it’s pretty simple, but it does the job. I started by sketching out the basic shape of the letters. Just a rough outline, nothing fancy.
- First, I drew the ‘U’, making sure to get that distinctive curve at the bottom.
- Then, I moved on to the ‘N’, ‘D’, and ‘E’, paying close attention to how they connect and overlap.
- The ‘R’, ‘T’, ‘A’, ‘K’, ‘E’, and final ‘R’ were next. I made sure the spacing was consistent.
It took a few tries to get the proportions right. I kept comparing it to the reference images and making adjustments. I erased and redrew lines like a million times, it felt like.
Adding the Details
Once I was happy with the basic outline, I started refining the shapes. I thickened some lines and smoothed out the curves. I wanted to make it look as close to the original as possible.
Finally, I cleaned up any stray marks and made sure everything was nice and neat. Boom! Undertaker logo, done! It wasn’t perfect, but I was pretty happy with how it turned out.