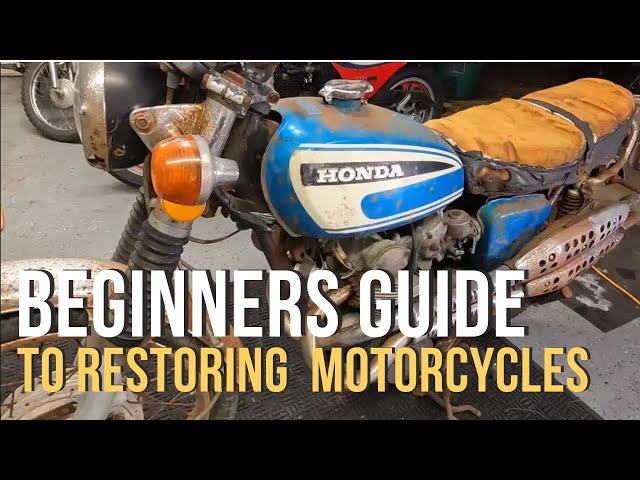
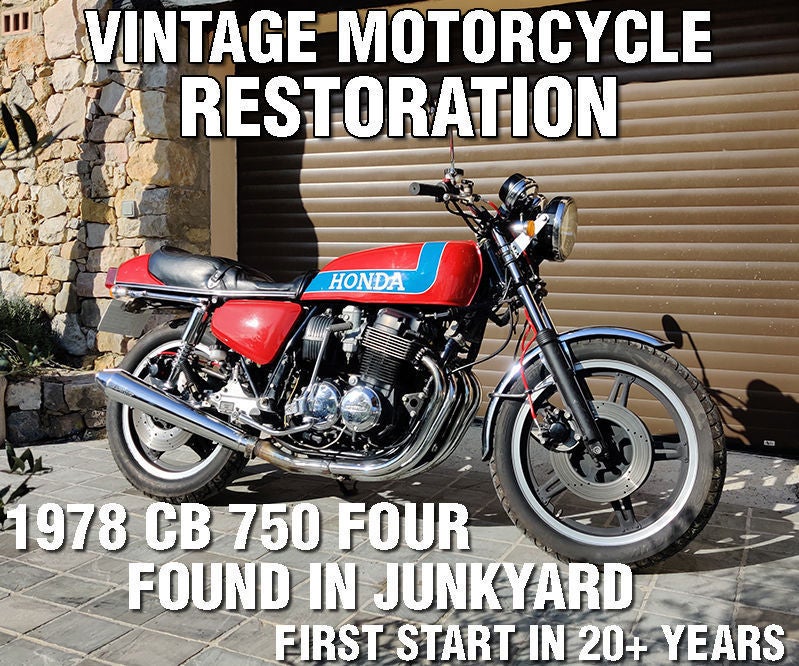
Okay folks, grab a coffee, this is gonna be a long one, but man, was it satisfying! So, picture this: found this crusty old Harley sitting under a tarp in my neighbor’s yard. Think he bought it drunk in ’87 and forgot about it. Looked rough. Real rough. But the frame was straight, engine was all there, kinda. Said it was mine if I could haul it away. Score.

Diving Headfirst Into the Mess
First things first, I dragged this beast home. Wheels were basically stuck solid. Took me and a buddy half a Sunday just wrestling it onto my trailer. Got it into the garage – smelled like old oil, dirt, and regret. Started peeling off layers.
- Stripped it bare: Took off everything not bolted to the frame. Tanks, seat, fenders, handlebars… you name it. Just a greasy skeleton left.
- Engine horror show: Popped the rocker covers off. Looked like tar and dead insects had a party inside. Stuck valve? Probably more than one. Oh boy.
- Wiring nightmare: Birds nest doesn’t even cover it. Crumbling insulation, crusty connectors – figured it was easier to just plan ripping the whole thing out and starting fresh later.
The Scraping, Scrubbing, and Swearing Phase
Man, the grime. Decades of it. This wasn’t quick.
- Degreaser bath: Hit the engine cases, transmission, anything oily, with this green goo that stinks to high heaven. Lots of wire brushing. So much brushing. Muscles I forgot I had started screaming.
- Rust warfare: Frame had surface rust. Used some rust converter gel stuff – painted it on black, turns the rust into something you can paint over later. Worked surprisingly well on some areas. Others… needed serious elbow grease with sandpaper. Tedious.
- Tank troubles: Inside the gas tank looked like the bottom of the ocean. Full of rust flakes and sludge. Sealed that sucker with a tank kit after endless washing and rinsing. Hope it holds!
Starting the Slow Build Back
Finally started seeing progress instead of just making a bigger mess.
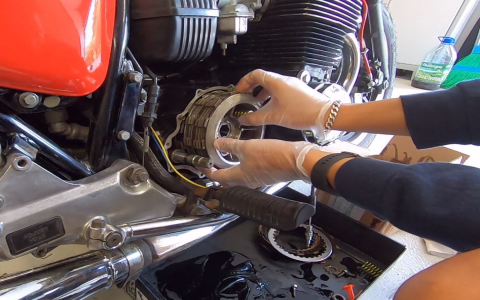
- Engine teardown: Okay, deep breath. Took the top end apart. Pistons actually looked okay! Valves were stuck solid. Soaked ’em in penetrating oil for DAYS. Eventually got ’em free. Honed the cylinders lightly just to clean ’em up. New gaskets everywhere. Putting it back together felt like building a giant, heavy puzzle.
- Basic carb clean: Took the carb apart carefully. Jets were clogged solid. Used carb cleaner and tiny wires – those jet cleaning tools you get at the auto parts store? Lifesaver. Blew out every little passage with compressed air. Didn’t need to rebuild it yet, just a proper un-clogging.
- Wiring re-do: Bought a whole new wiring harness kit. Plug-and-play? Ha! Nothing on an old bike is that easy. Took time, tracing the diagram (looked like ancient hieroglyphs at first), and plugging stuff in one wire at a time. Lots of zip ties.
Bolting on the Pretty Bits
This is where it started looking like a bike again! Picked simple, classic parts.
- Fresh rubber: Threw on new tires and tubes. Man, old rubber cracks are scary.
- Cleaned chrome: Shined up the rims, headlight bucket, horn cover – anything salvageable. Soap, water, chrome polish, lots of rags. Some pitting stayed, but looks like an old bike now, not a dead one.
- New controls: Basic levers, grips, cables. Simple stuff to keep it rolling.
The Moment of Truth… Or Terror
Heart-pounding time. Dumped fresh oil in. Primed the fuel system. Said a little prayer to the V-twin gods.

Turned the key. Lights on! Good start.
Hit the starter button… chug-chug-chug… silence. Dang it.
Played with the choke. Fiddled with the idle screw.
Hit the button again… chugga-chugga-BRAPPPPPP OH MY GOD IT LIVES!
It smoked like a chimney at first – burning off decades of crud – but it ran! Sounded lumpy, rough, but glorious.

Still Got Work, But She’s Back!
It idles! It moves under its own power! Stopping… well, the brakes need work. That’s the next weekend project. Needs fine-tuning, definitely.
But folks, seeing this bike – this pile of junk I dragged out of the weeds – actually fire up and ride down the driveway? That feeling is unbeatable. Messy, frustrating, greasy… and absolutely worth every scraped knuckle. If I can do this, you totally can start on a simpler project. Just take it one bolt at a time!
