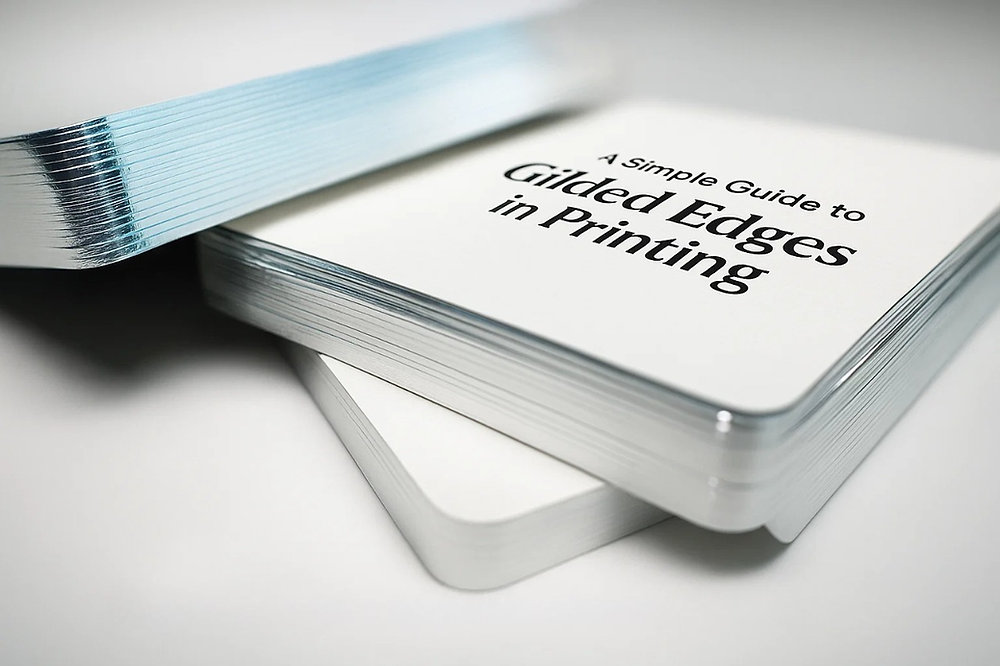
Getting Curious About That Shiny Edge
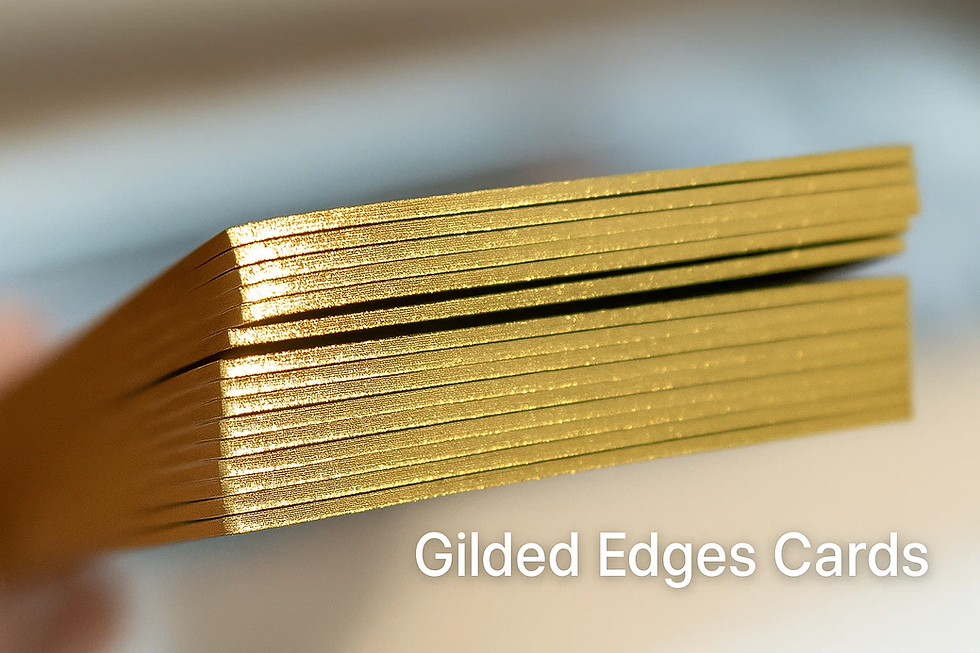
Alright, so I kept seeing these super fancy old books with this incredibly bright gold edge. Like, the actual pages themselves had this smooth, mirror-like gold shine on the sides. It looked amazing. I figured it was called “Gilded Edge” or something. Google confirmed it. I saw some videos and thought, “I gotta try this myself someday.” That “someday” was yesterday afternoon.
Digging Up the Basics (and Supplies)
First things first, I needed to understand the steps. It wasn’t just slapping gold paint on, that’s for sure. Seems like you absolutely need to clamp the pages together super tight. Like, tighter than I expected. My cheap little craft clamps weren’t cutting it. So, I headed down to the hardware store and grabbed the heaviest C-clamps they had – two big ones. Then, I grabbed an old, boring textbook nobody reads anymore. Perfect guinea pig.
Next was the gold part. Actual gold leaf is expensive! Like, way out of budget for a first try. Thankfully, people online mentioned imitation gold leaf. Found some cheap stuff at the art store. Also needed this special glue called “gilding size,” which is basically sticky glue that holds the gold. And finally, something to burnish (fancy word for polish) the gold – a smooth agate burnisher? Nah, too fancy. An old, smooth river stone I found in the garden? Perfect.
The Messy Part: Glue and Gold Everywhere
Okay, time to get hands-on, and I mean hands-on. Seriously, wear gloves later. I learned that the hard way.
- Clamping the Book: Stacked all the pages neatly, really carefully. Slammed those big C-clamps on each side, cranked them down like my life depended on it. The book block was solid.
- Prepping the Edge: Lightly sanded the edge to make it smoother. Blew off the dust.
- Applying the Sticky Stuff: Brushed on a thin layer of that gilding size. Waited… and waited. Instructions said it gets tacky, not wet. Took forever! Finally, it felt sticky, like touching a piece of tape. That’s the sweet spot.
- The Gold Part: Unfolded the imitation gold leaf. This stuff is crazy thin and delicate. Like tissue paper, but worse. A breeze could ruin it. Held my breath and carefully laid it over the sticky edge. Pressed gently with a soft brush to make contact. Took me forever to cover the whole edge without tearing it badly. Let it sit for a bit.
- Clearing the Mess: Used a soft brush to gently sweep away the excess gold leaf that wasn’t stuck to the glue. Gold bits went everywhere. My table, my shirt, my fingers – oh man, my fingers.
- The Polishing: Got my smooth river stone. Started rubbing the gold edge firmly but carefully. Rubbed back and forth. Slowly, slowly… the shine started appearing! More like a nice warm glow than a mirror at first. Kept rubbing. The color got deeper, a little brighter. It wasn’t perfect, but seeing that gold appear was seriously cool.
What It Looked Like Afterwards
Honestly? Kinda good, kinda messy. Definitely not perfect. Some spots looked amazing – a smooth, deep gold sheen. Other spots, where I probably messed up the glue timing or tore the leaf, were dull or patchy. You can totally tell it was my first try. But, the overall effect? From a few feet away, that textbook suddenly looked ridiculously expensive and old-timey. Mission mostly accomplished!
Why Bother? Beyond the Bling
This took way longer than I thought it would. Was it frustrating? Yep, especially waiting for the glue and handling that stupid-thin gold leaf. But the thing is, holding that book after, seeing that gold edge I put there myself, feeling how smooth it was under my thumb? That was the cool part. It connects you to making things physical and beautiful. It reminded me of this beat-up old bible my grandma had with gilded edges – that worn gold still peeking through years later. Kinda felt like sharing that feeling, making something ordinary feel special, even just on one edge.