
My Pinewood Derby Car Journey Starts
Alright folks, so the Cub Scout pinewood derby sign-up hit my inbox last month. My nephew’s into it big time, and frankly, it sounded kinda fun. I remember doing it myself as a kid, and let me tell you, my car back then was a brick with wheels. Total embarrassment. This time? I wanted to actually help him build something fast. Saw pictures online of winning sleek ones – looked like little bullets!
Step 1: Cutting & Shaping (This Takes Forever!)
Got that little block of wood from the kit. Felt super light, flimsy almost. First thing, sketched a basic wedge shape on it – pointy front, fat back for weights. Then came the cutting. Used a small handsaw. Messy! Sawdust everywhere. Took way longer than I thought to just cut out the rough shape. Filing and sanding? Ugh. Started with rough sandpaper, then finer, then super fine. Felt like sanding forever! Had to get every bump smooth. Had this idea to make a groove down the middle top for looks – big mistake. Almost sliced my finger off trying to carve it neatly. Sanded the groove smooth too. Finger? Sore. Block? Finally looking like a car body, not just a block. Felt satisfying to see it take shape though.
Adding the Oomph – Weight is Key
Okay, so the kit rules said max weight was 5 ounces. The wood block alone? Featherweight. Weighed it: maybe 2 ounces? Needed serious weight. Researched online – everyone said pack the weight near the back wheels. Got some tungsten weights (dense stuff!).
- Drilled holes under the car body near the rear axle slots. Measured carefully.
- Hammered in those little tungsten cylinders. Tough little buggers.
- Kept weighing it on the kitchen scale. Added tiny lead shots glued in other spots until it was exactly 4.95 ounces. Rules say under 5, so left a tiny buffer. Didn’t wanna get disqualified on weight!
Step 3: Wheels & Axles – Where Speed Lives
This is the part that scared me. Saw those super smooth pictures. Knew the wheels and nails (axles) needed work. The wheels that come with it? Flash marks all over! Grab a wheel, stick a nail through it. Spin it between your fingers – feels crunchy, doesn’t it?
- Took each wheel off its nail.
- Sanded the inside hub smooth. Sanded, sanded, sanded some more. Used really fine grit paper.
- Polished the nails too – got all the bumps off. Made ’em shiny. Used graphite powder! Poured a little graphite in a bag, put the nails in, shook it like crazy. Coated them good. Messy moment warning: Opened the bag too fast, graphite poof! Black specks everywhere. Worth it though.
- Put the wheels back on the polished graphite nails. Spin them now? Silky smooth!
- Gently pushed the nails into the car body slots. Not too deep, not too shallow. Made sure wheels spun free without wobbling too much.
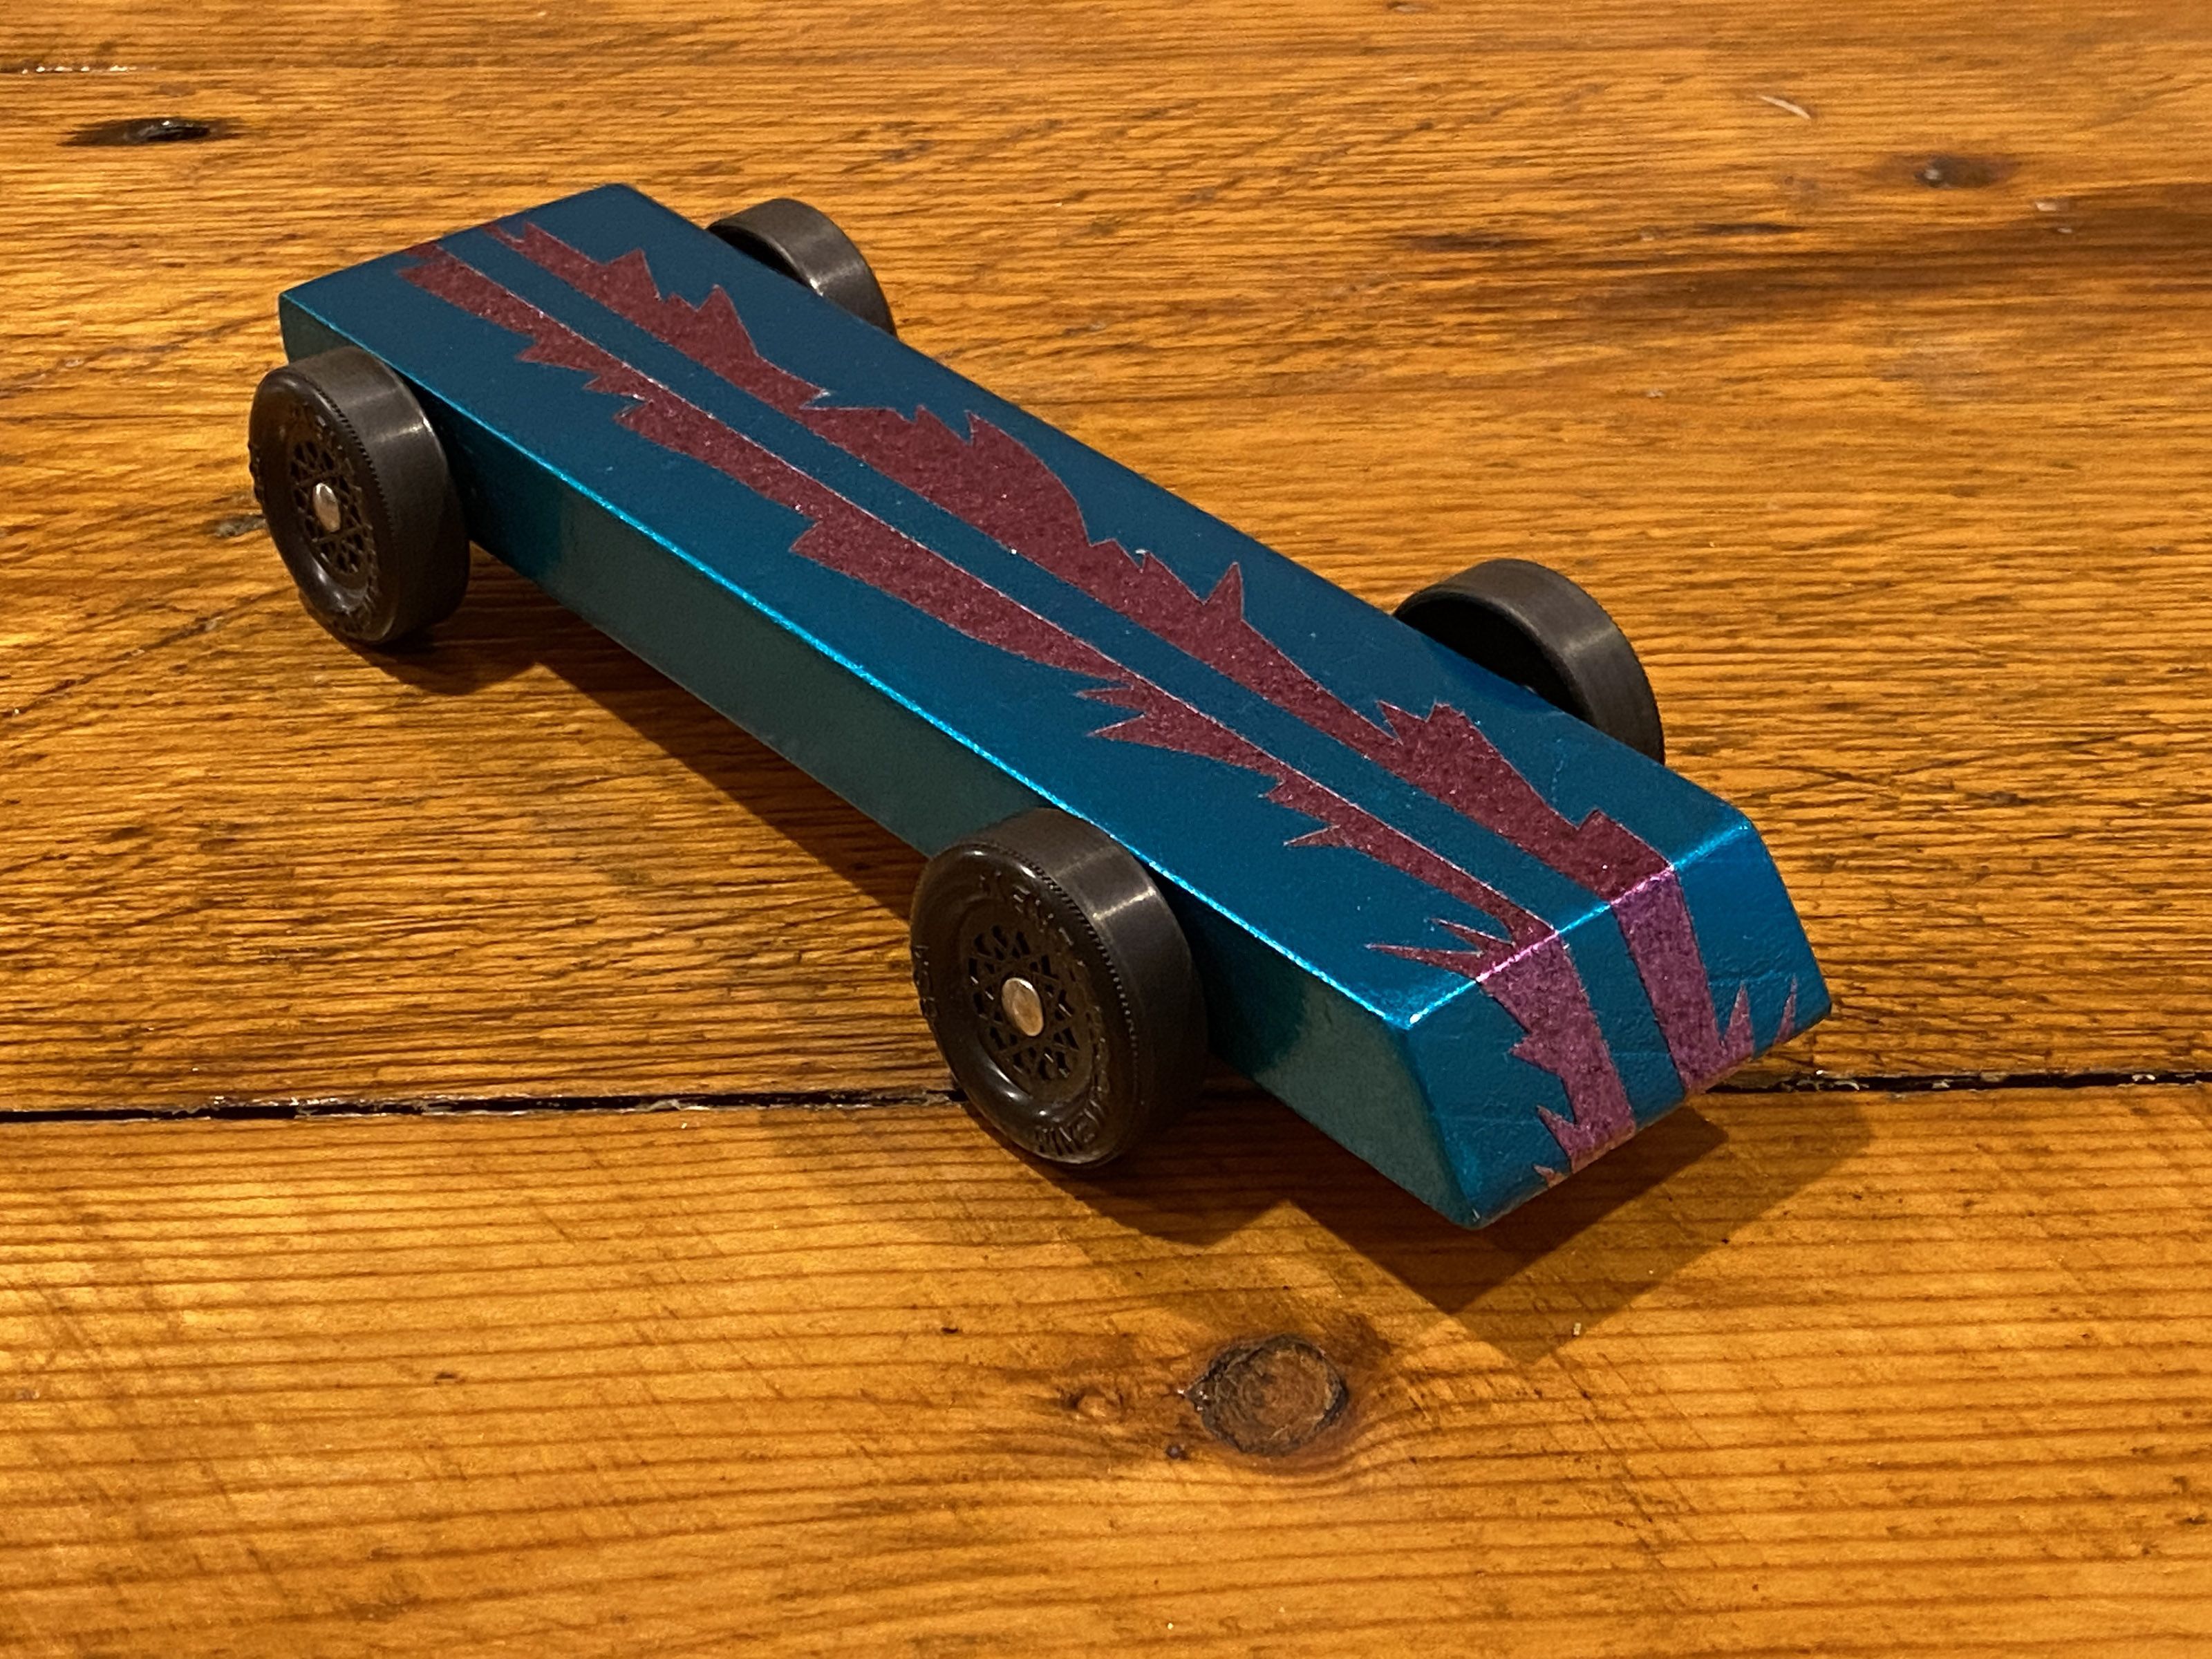
Finishing Touches & Race Day
Spray painted the whole thing this cool metallic blue. Got impatient, touched it too soon – smudged it. Had to sand that spot smooth and repaint. Ugh. Let it dry properly this time! Added some decals.
Race Day: Man, the track looks steeper than I remember! Nervous. Put the car on the line. That little wedge shot down like greased lightning! Took 2nd place overall. Not bad for a first try in 20-something years! The graphite nails and smooth wheels? That made the difference, I swear. Saw other cars wobble or just feel slow. Ours ran straight and fast. Super proud of the little guy (and hey, secretly proud of myself!). Building it together step-by-step, learning from mistakes? That was the real win.