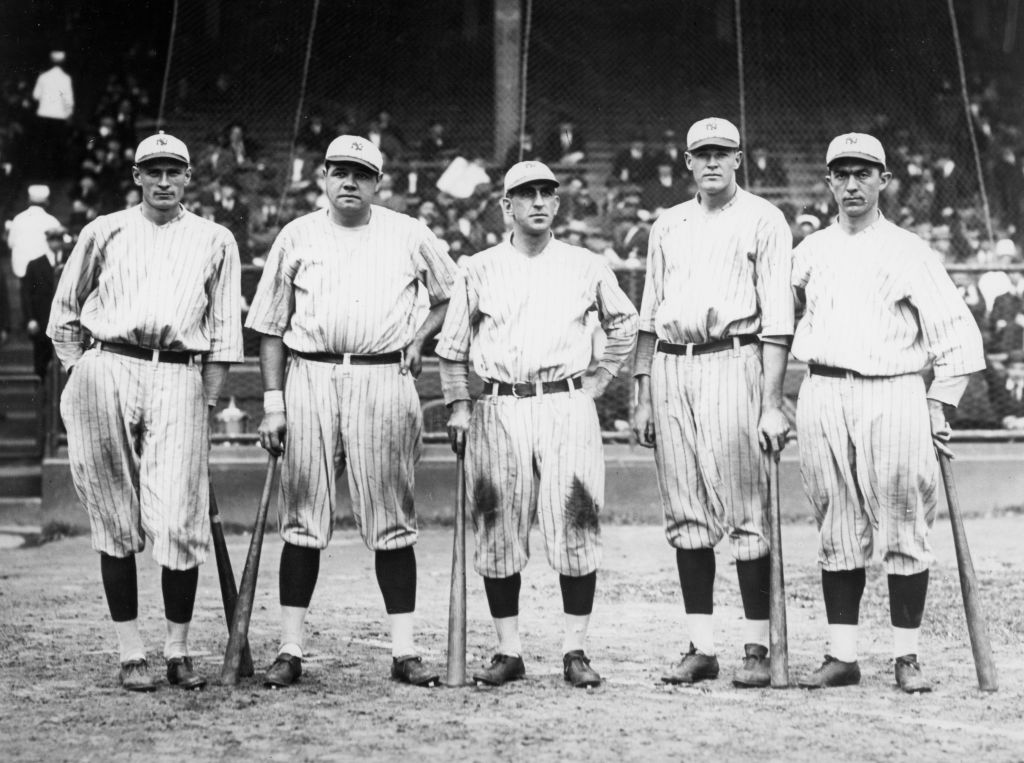
So, the other day, I got this itch, you know? My den, or man cave, or whatever you wanna call it, felt a bit… blah. And being a lifelong Yankees fan, it hit me – pinstripes! Not just any pinstripes, but that classic, clean Yankees pinstripe look. I thought, “How hard can it be to get that on a wall?” Famous last words, right?

First off, I didn’t want actual wallpaper. Seemed like too much fuss, and I like getting my hands dirty with a bit of paint. My plan was simple: paint the wall a base color, then carefully paint on the pinstripes. Sounds easy on paper, doesn’t it?
I headed to the local paint store. Picked out a nice, slightly off-white for the base – something clean, like the home jerseys. Then, the critical part: the navy blue for the stripes. Had to get that iconic Yankees navy. Grabbed some brushes, rollers, and a whole lot of painter’s tape. I figured tape would be my best friend for straight lines. Or so I hoped.
Getting Started – The Base Coat
Painting the base coat was the easy part. Cleared the wall, laid down some old sheets I probably should’ve thrown out years ago, and got to rolling. One coat, let it dry, then a second. Looked pretty good, nice and even. I was feeling confident. Too confident, maybe.
The Pinstripe Challenge
Now, for the stripes. This is where things got… interesting. My first thought was, “Okay, measure precisely, mark with a pencil, tape, then paint.” I grabbed my level, a long ruler I borrowed from my kid’s art supplies (don’t tell them), and started measuring. Trying to get those pinstripes perfectly vertical and evenly spaced felt like rocket science all of a sudden.
- First attempt with spacing: I just eyeballed the first few tape lines after measuring. Big mistake. Some looked closer, some further. It was a mess. Had to peel it all off, which took some fresh base paint with it in a spot or two. Ugh. Touch-up time already.
- The Tape Saga: I learned pretty quickly that cheap tape is not your friend. The first roll I had didn’t stick well in places, and in others, it stuck too well. And then, making sure the tape was perfectly straight, even with a level, was a test of patience I didn’t know I had. I remember my neighbor, old Mr. Henderson, always said, “Measure twice, cut once.” For painting stripes, it’s “measure ten times, tape once, then pray.”
- Finding the right stripe width: I actually painted a few test stripes on a piece of cardboard. Too thick, and it looked chunky. Too thin, and it barely showed. I settled on something that felt right, about the width of my good painter’s tape, actually.
So, after a few false starts and a lot of muttering under my breath, I developed a system. I’d measure from one edge, make tiny pencil marks at the top, middle, and bottom for each stripe. Then, very carefully, I’d line up the tape. I used a good quality blue painter’s tape for the final go. Pressed it down real firm, especially the edges, to stop the navy paint from bleeding underneath. This whole taping process took an entire afternoon. My back was killing me, and I think I drank about a gallon of coffee.

Painting the Stripes
With the wall looking like a giant blue-taped crossword puzzle, it was time for the navy. I used a small, fine-bristled brush. The key, I found, was not to overload the brush with paint. Light coats. I did two light coats for each stripe, letting the first one get tacky before applying the second. I was so nervous about paint bleed.
Waiting for that navy paint to dry before peeling the tape was pure agony. It’s like waiting for Christmas morning when you’re a kid. I kept poking it gently, “Is it dry yet? How about now?”
The Grand Reveal (and minor fixes)
Finally, the moment of truth. I started peeling off the tape, slowly, carefully, at an angle, like they say you should. And… it mostly worked! The lines were pretty crisp! I won’t lie, there were a few tiny spots where a bit of blue had snuck under the tape. But nothing a tiny brush and some of the base white couldn’t fix. I spent another hour just doing meticulous touch-ups. My wife popped her head in and said, “Obsessive much?” I just grinned. It had to be perfect, or as close as my amateur skills could get.
Was It Worth It?
Absolutely! Standing back and looking at that pinstriped wall, it just screams Yankees. It completely changed the vibe of the room. It’s not just a painted wall; it’s a statement. It feels like a little piece of the Stadium right here in my house. It took way longer than I thought, and there were definitely moments I wanted to just paint the whole wall navy and call it a day, but I’m so glad I stuck with it.
It’s funny, I started this thinking it’d be a quick weekend project. Ended up being more like a lesson in patience and a reminder that sometimes the things you make with your own hands, even if they’re not 100% flawless, mean the most. Plus, now when I watch the games in there, it just feels… right. Now, what to tackle next? Maybe a giant Yankees logo? Kidding… mostly.

