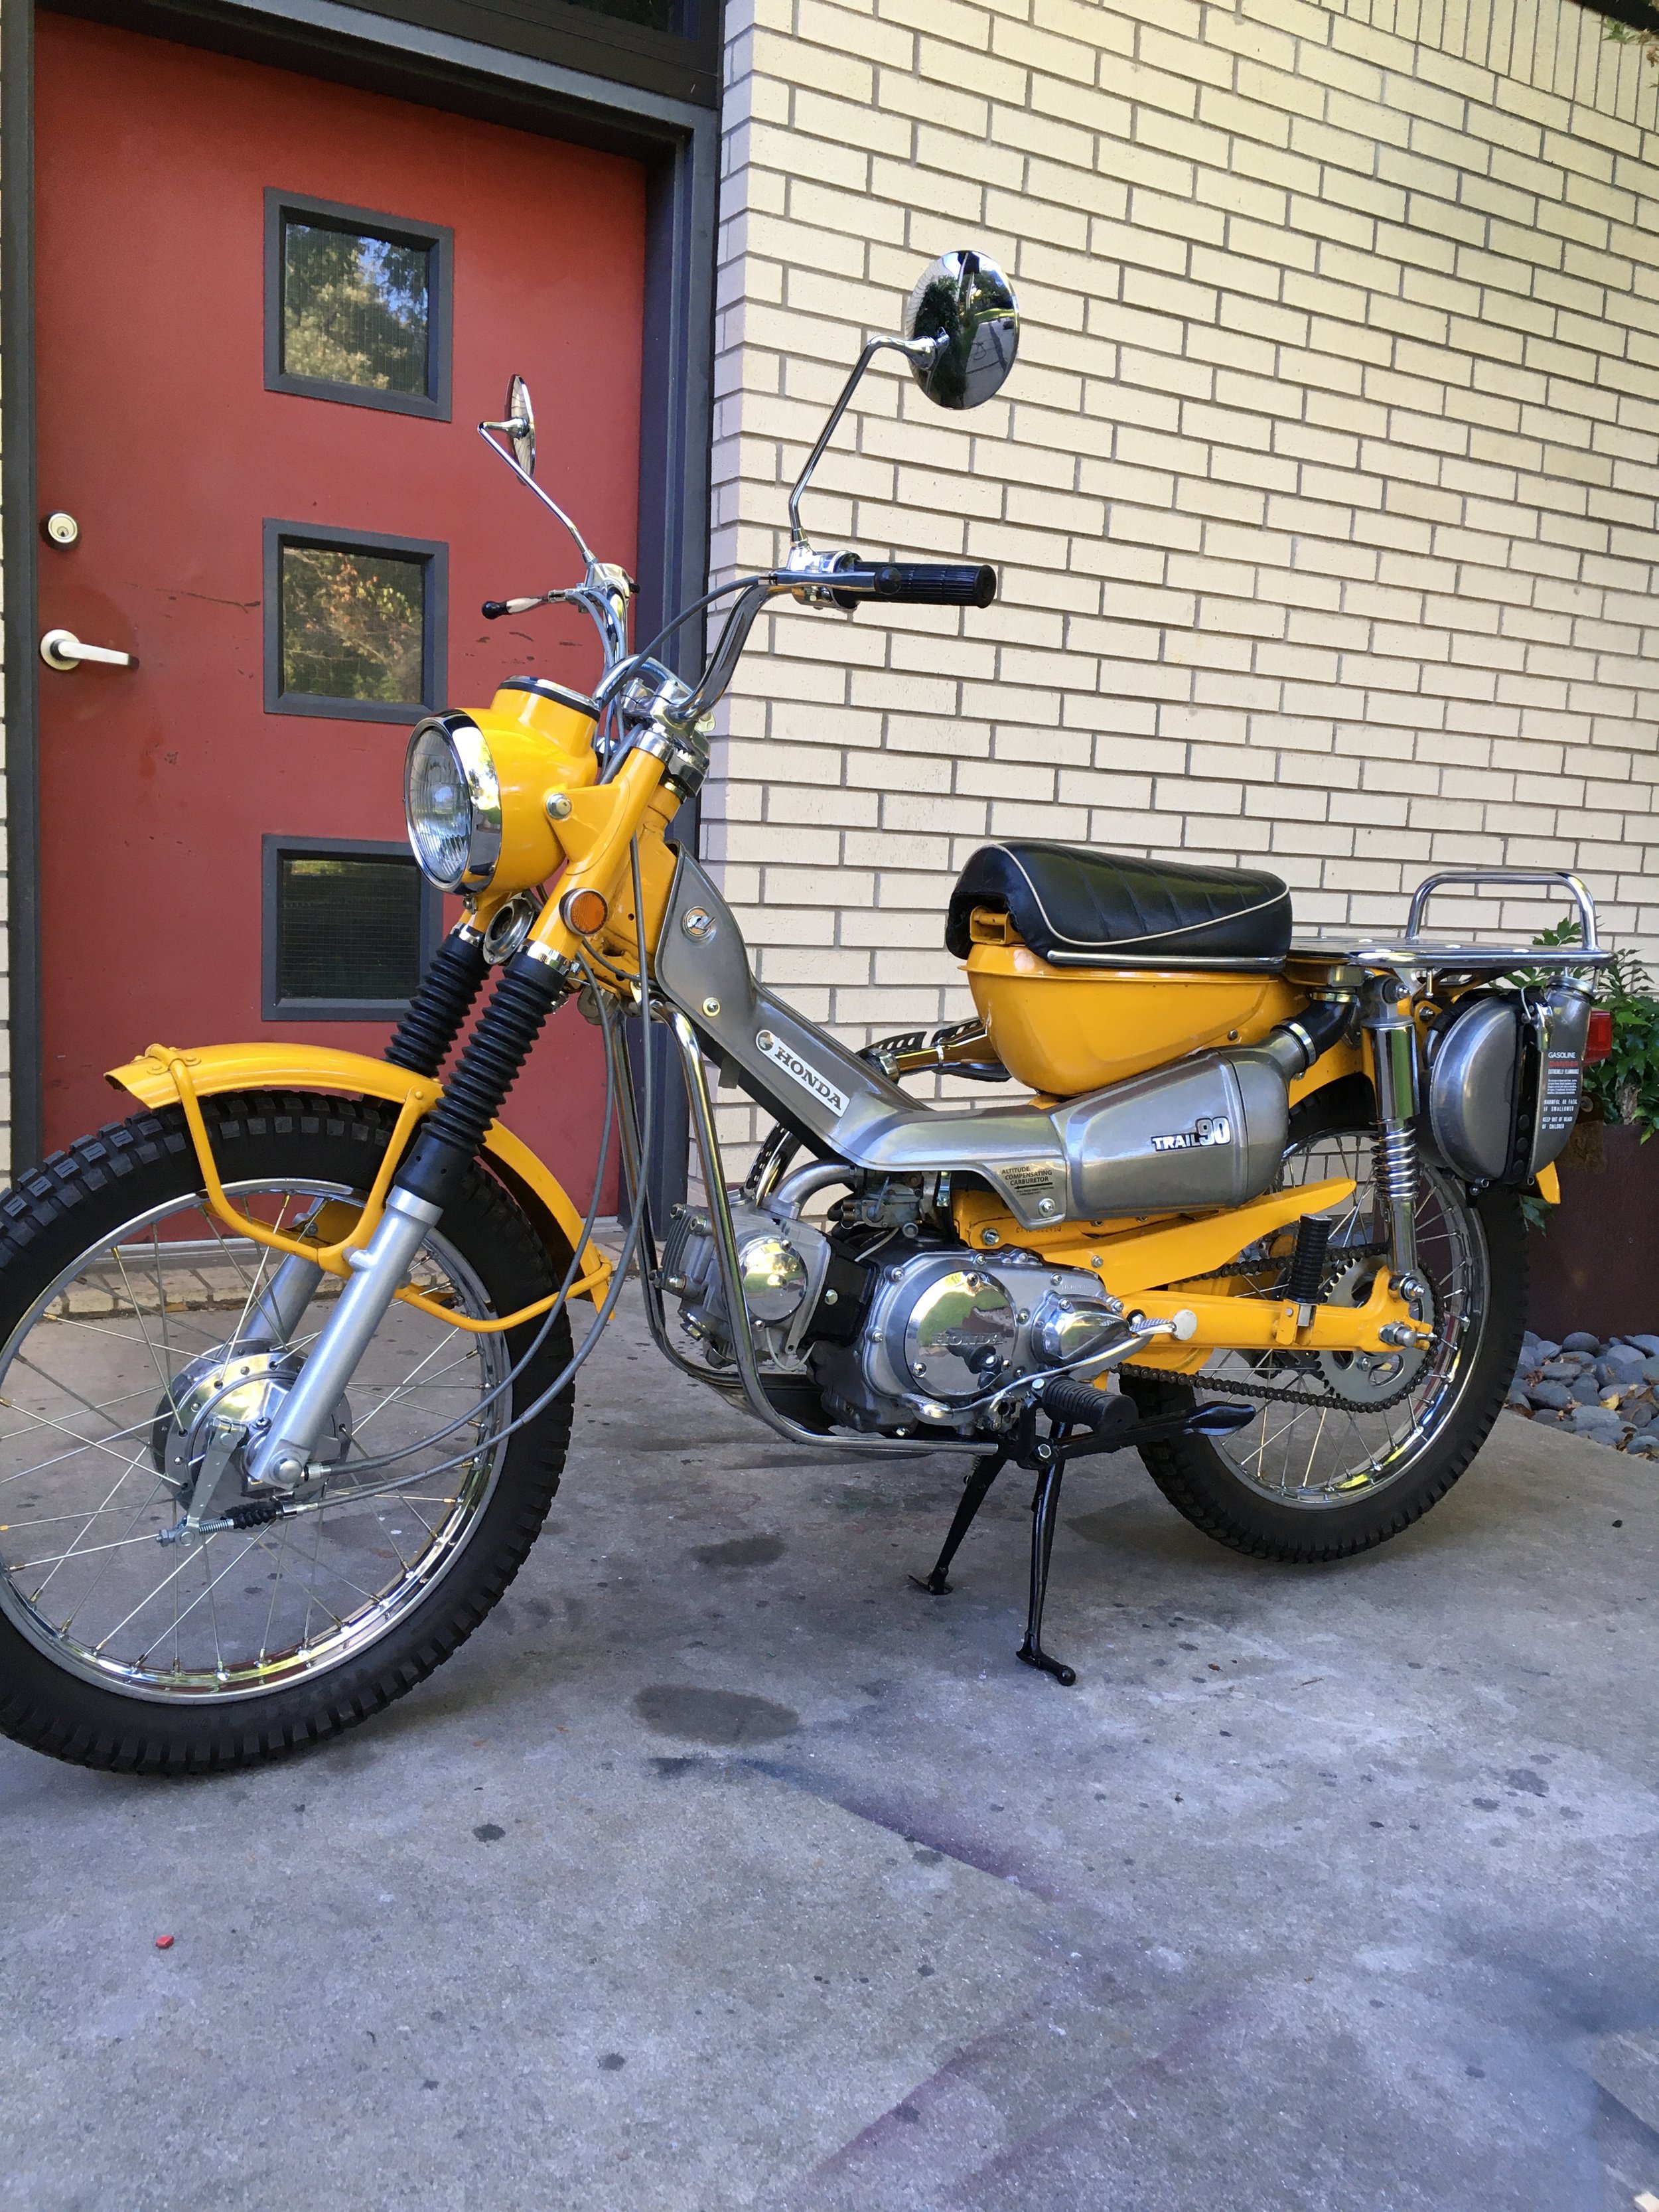
Bringing a 1970 CT90 Back to Life
So, I got my hands on this old 1970 Honda CT90. Found it leaning against a shed, poor thing. Looked like it hadn’t run in decades. Covered in dirt, rust starting to show, tires flat as pancakes. Figured, why not? Always liked these little trail bikes. Simple, tough. Or so I thought.
First thing, dragged it into the garage. Gave it a good look over. Yeah, it was rough. Needed pretty much everything. Decided to just tear it all down. No point messing around. Pulled the engine out first. Heavy little lump. Then started stripping everything off the frame. Seat was shot, foam turned to dust. Rims were rusty. Handlebars bent. Every bolt fought me coming out.
Cleaning was next. Man, the grease and grime. Took ages with degreaser and brushes just to see the actual metal. Found more rust hiding under the dirt, especially on the frame’s underside. Had to get the wire wheel out for that. Took the carb apart – totally gummed up. Like someone filled it with varnish. Let it soak for days.
Then the parts hunt started. This is where it gets annoying. Finding stuff for a bike this old isn’t like popping down the auto parts store.
- Needed new tires and tubes, obviously.
- Cables were all stretched or seized.
- Ignition parts were suspect.
- That ripped seat needed replacing.
- All the rubber bits were cracked and hard.
Spent hours online, digging through forums, trying to find bits that weren’t ridiculously priced or cheap knock-offs. Ended up with a mix of used OEM stuff and some repro parts. You cross your fingers and hope it fits.

Tackling the Engine and Frame
Got into the engine. Luckily, it wasn’t seized solid. Took the top end off anyway. Piston and cylinder looked okay, surprisingly. Cleaned it all up. Put new gaskets in, of course. Rebuilt that nasty carb, put in a new kit. Checked the points, condenser looked old, replaced that too. Fiddled with the timing. Simple engine, but still takes time to do it right.
The frame needed work. Sanded down all the rusty spots. Treated them so it wouldn’t come right back. Decided against a fancy paint job. Just wanted it functional. Used some rattle can primer and then a decent gloss red. Looked alright, good enough for a trail bike. Cleaned up the wheels, hubs, put some new spokes in one of them that were broken. Spooned the new tires on. Always hate doing tires.
Putting It All Back Together
Reassembly is usually the fun part, but it’s slow. Started bolting things back onto the frame. Engine went back in. Connected the exhaust. Fought with the wiring harness for a while. Hondas from this era, the wiring is basic, but still, connections get corroded, wires get brittle. Had to repair a few spots. New cables for throttle, brakes. New chain and sprockets. Put the fenders back on, the new seat, gas tank. Step by step, it started looking like a motorcycle again.
Finally, time to see if it would run. Put some fresh gas in, new oil. Turned the key. Kicked it over. Nothing. Kicked again. Pop! Kicked a few more times. It sputtered. Gave it a little throttle. Braaap! It fired up! Smoked a bit at first, probably burning off assembly oil or whatever was left in the exhaust. Let it warm up. Idled okay after tweaking the carb screws. Took it for a quick spin down the driveway. Shifted through the gears, high and low range worked. Felt good. Still needs some fine-tuning, maybe check the valves again, but it runs! Another old bike saved from the scrap heap. It wasn’t easy, lots of little headaches, but worth it in the end.