
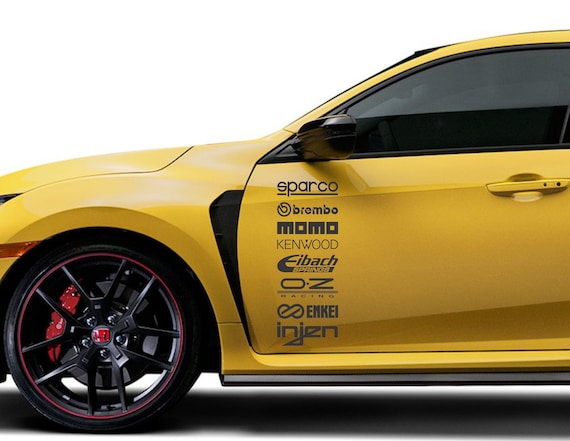
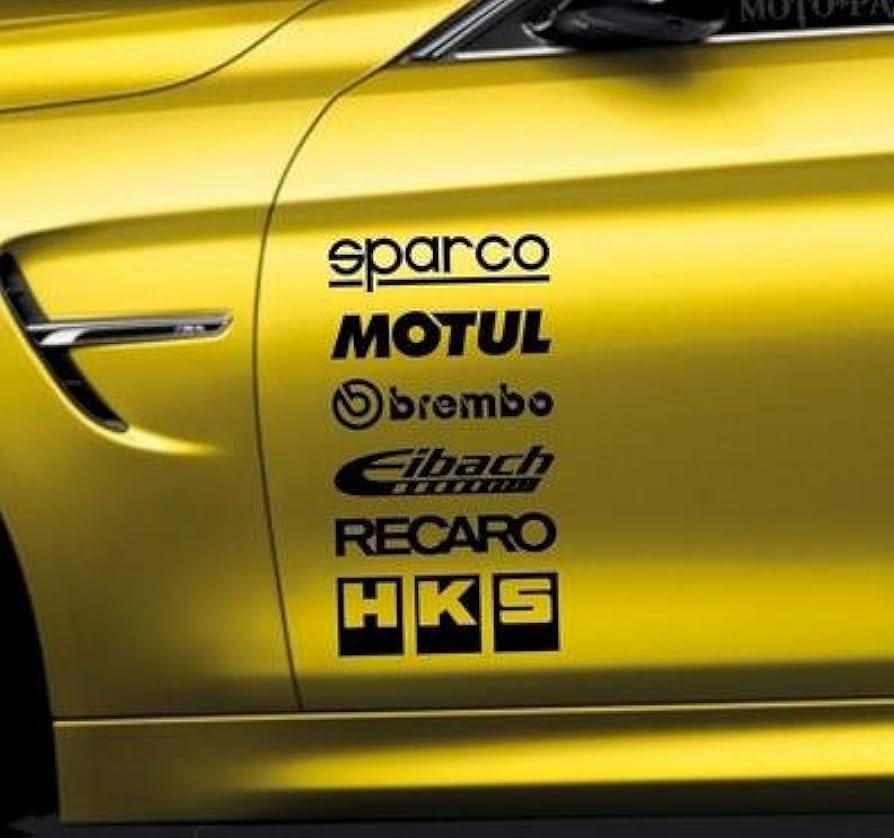
Okay, so I finally got around to slapping some sponsor decals on my project car. Thought I’d share how it all went down. It was a bit of a journey, let me tell you.
First things first, I spent ages online trying to figure out which companies I wanted to rep. It wasn’t just about free stuff (though, that’d be nice, right?), but also about picking brands I actually use and believe in. Ended up with a decent list – some tire guys, an oil company, and a couple of performance parts brands. Made sure they kinda fit the vibe of the car, too.
Next up: the decals themselves. I considered just printing my own, but the quality usually sucks, plus I’m lazy. Instead, I checked out a few online shops specializing in vinyl decals. Found one with pretty good reviews and a decent selection. I made sure to get the right sizes – didn’t want anything too huge or too tiny. Measure twice, order once, that’s my motto!
Once the decals arrived, the real fun began. Washed the car thoroughly. You gotta start with a clean surface, otherwise the decals won’t stick properly, and you’ll end up with bubbles and lifting edges – a total nightmare. Used some good degreaser to make sure there wasn’t any wax or grease hanging around. Dried everything super carefully.
Placement was the next hurdle. Spent way too long just staring at the car, trying to visualize where everything should go. Grabbed some masking tape and started mocking up the positions. Took a bunch of photos from different angles to see what looked best. It’s all about the aesthetics, you know?
Then came the actual application. This is where things got a little nerve-wracking. I used the “hinge method” – basically taping one edge of the decal to the car, then slowly peeling off the backing and smoothing it down with a squeegee. Went slowly and carefully, trying to avoid any bubbles. A heat gun helps to mold the decal on curved areas. Seriously, take your time here. Rushing is a recipe for disaster.
After each decal was applied, I went over it with a soft cloth to make sure it was fully adhered. Then, peeled off the transfer tape super carefully, making sure no bits of vinyl were trying to come up with it. If they did, I just pressed them back down with my finger.
Finally, stood back and admired my handiwork. Honestly, it looks pretty damn good. The decals are straight, the colors pop, and they add a nice touch of motorsport flair to the car. It took a few hours, but it was definitely worth it. Now I just need to keep the car clean so the decals stay looking fresh!
- Tools I used:
- Bucket of soapy water
- Degreaser
- Microfiber cloths
- Measuring tape
- Masking tape
- Squeegee
- Heat gun
Learned a few things along the way:
- Patience is key. Don’t rush the application process.
- Cleanliness is next to godliness. A clean surface is essential for good adhesion.
- The hinge method is your friend. It makes applying large decals much easier.
- A heat gun can be a lifesaver. Especially for curved surfaces.
All in all, a successful weekend project. Now, time to go for a drive and show off my newly-sponsored ride!