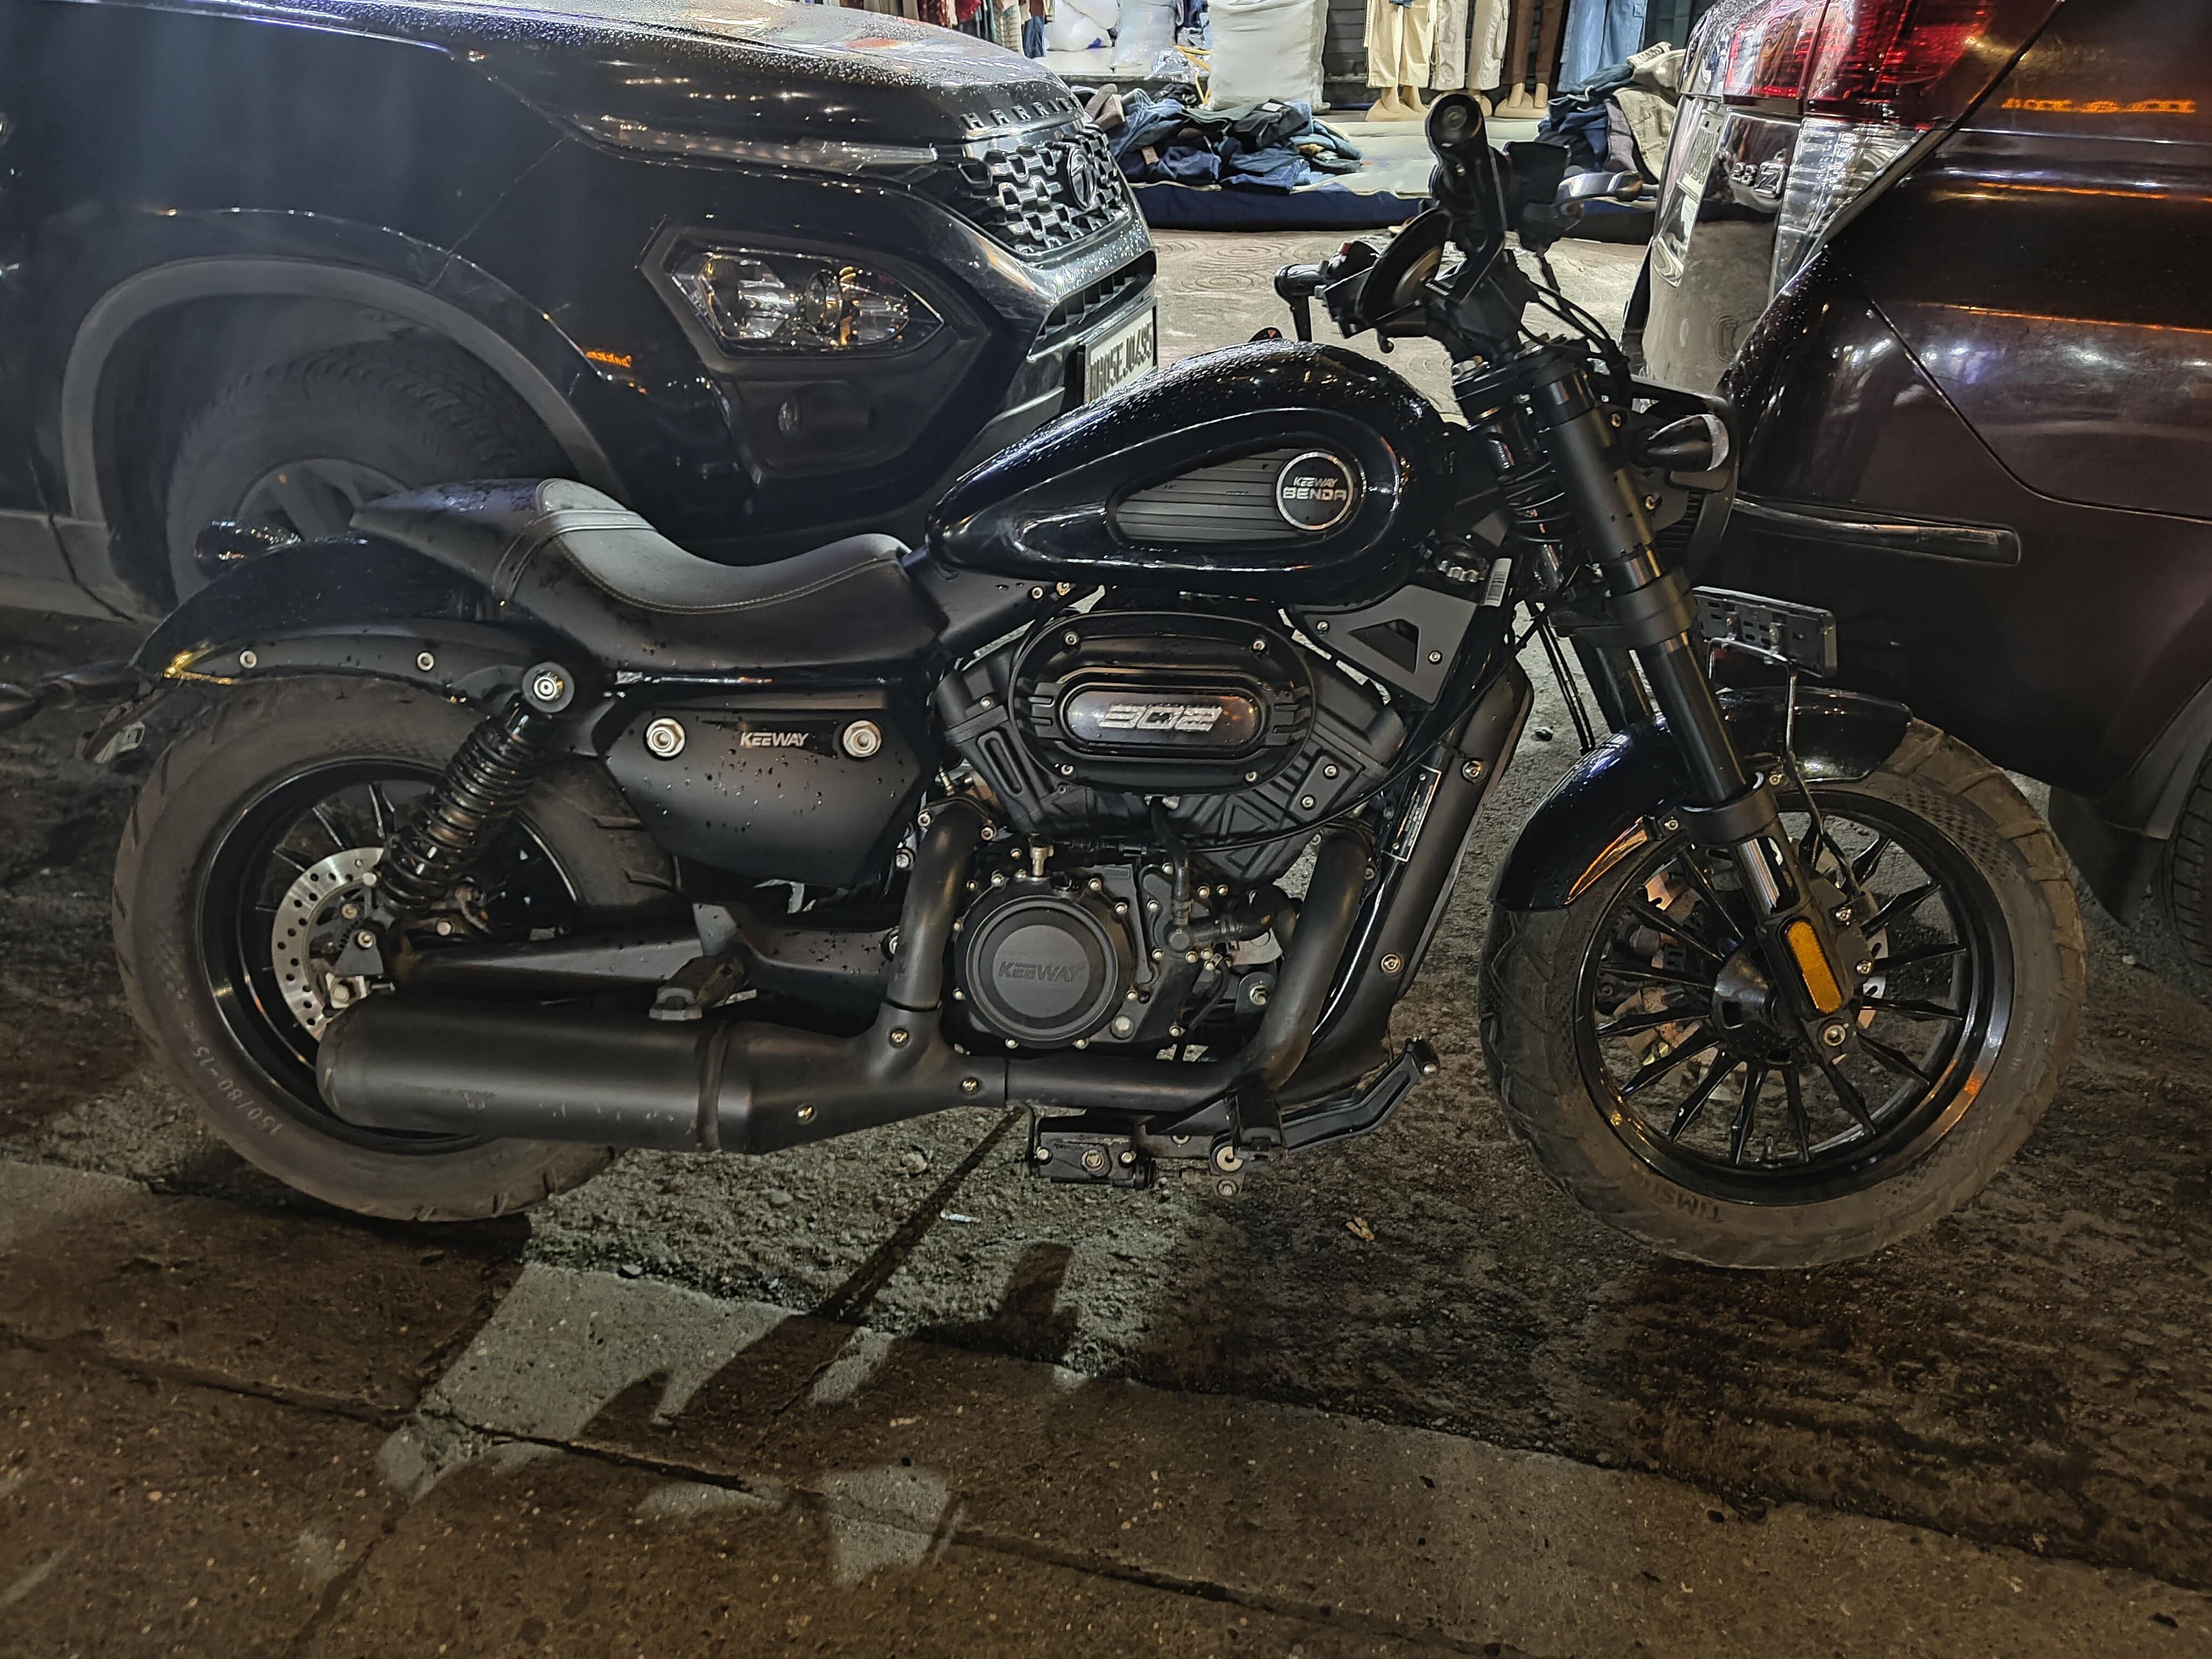
Okay, so check it out, I finally got around to messing with that Keeway Benda thing I was talking about last week. Man, what a ride!
First off, I unpacked the whole kit. Everything was pretty neatly packed, which was a good sign. I hate when stuff just gets thrown in a box. I laid all the parts out to get a good look at everything. Took some photos too, just in case I screwed something up and needed to remember how it was supposed to look. You know, the usual.
Then, I started with the basics. I figured I’d get the engine mounted first. This was a bit of a pain, honestly. The bolts were a little tight, and I had to wiggle things around to get everything lined up. But after a bit of struggling, I got it bolted down solid. Feels good, right?
Next up was the wiring. Now, I’m no electrician, but I can usually figure things out. The wiring diagram that came with the kit was… well, let’s just say it wasn’t the clearest. I spent a good hour just tracing wires and trying to make sense of it all. But eventually, I got everything connected. Fingers crossed it wouldn’t all blow up when I turned it on!
After that, I tackled the fuel system. I installed the fuel tank, ran the fuel lines, and hooked up the carburetor. This was actually pretty straightforward, thankfully. I double-checked all the connections to make sure there were no leaks. Fuel leaks are bad news, obviously.
Then came the wheels and brakes. I got the wheels mounted, tightened the lug nuts, and adjusted the brakes. This part was pretty standard stuff, nothing too exciting. Made sure the wheels spun freely and the brakes grabbed properly. Safety first, people!

Finally, it was time to put in the fluids. I added oil to the engine, filled the fuel tank with gas, and put in some coolant. Double-checked all the levels to make sure everything was good to go.
So, after a full day of wrenching, it was finally ready to fire up. I took a deep breath, turned the key, and hit the starter button. And… nothing. Crap. I checked all the connections again, made sure the fuel was flowing, and tried again. Still nothing.
I was starting to get frustrated, but I wasn’t about to give up. I pulled out the spark plug and checked for spark. Nope, no spark. Okay, that’s a clue. I traced the wiring back to the ignition coil and found a loose connection. Aha! I tightened it up, put the spark plug back in, and tried again. Vrooom! It fired right up! Man, that was a sweet sound.
I let it run for a while to warm up, then took it for a spin around the block. It ran pretty good, but it was a little rough. I’m gonna have to do some fine-tuning to get it running perfectly. But overall, I’m pretty happy with how it turned out. It was a fun project, and I learned a lot along the way.
I’ll keep you guys updated on my progress as I get it dialed in. Stay tuned!