Okay, let’s talk about this helmet halo thing I tried out.
Getting Started
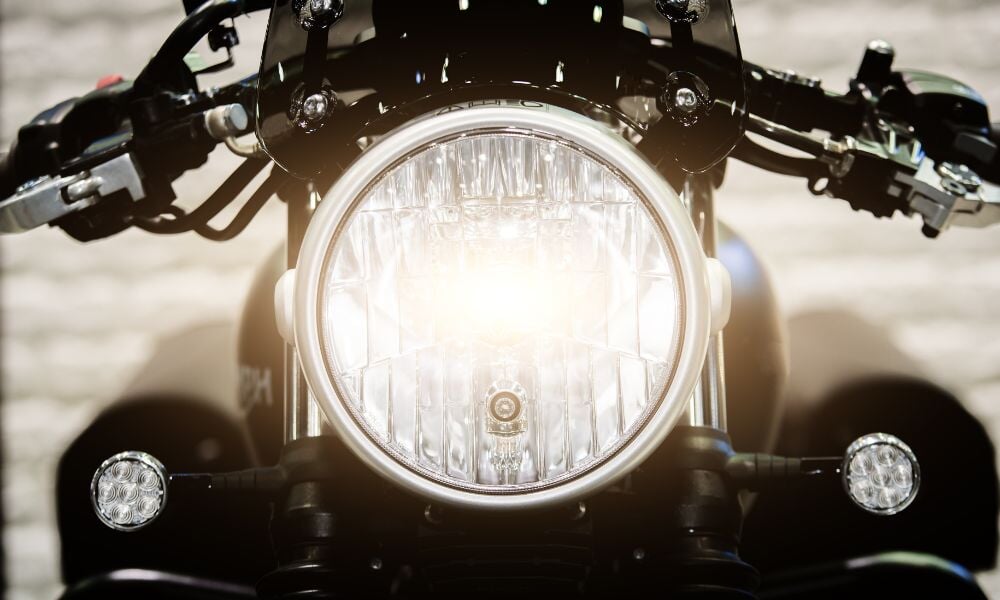
Been riding for years, right? And you always think about visibility, especially when it gets dark or the weather’s iffy. I saw some folks with lights on their helmets and thought, “Huh, maybe that’s worth a shot.” Not those tiny blinky things, but something more… noticeable. Like a halo. Seemed like a decent weekend project.
So, I started looking around. Didn’t want anything too complicated or expensive. Found some flexible LED strip kits online, the kind that are meant to be stuck onto things. Figured one of those would do the trick. Ordered a simple white one, nothing fancy, just a basic light strip with a small battery pack.
The Process – Sticking it On
When the kit arrived, it was pretty straightforward. Just the LED strip with sticky tape on the back, a thin wire, and a little box for batteries. First job was cleaning the helmet. Like, really cleaning it. Used some alcohol wipes to get any grease or road grime off the spot where I planned to stick the light. You want that tape to hold, right?
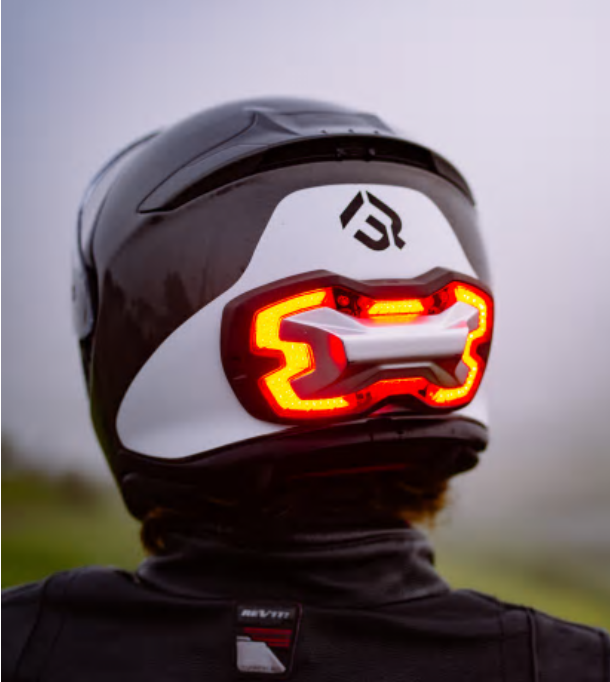
Then came the tricky part: placement. I didn’t want it blocking vents or looking totally ridiculous. Held the strip against the helmet, trying different spots. Around the back? Too low maybe. Around the top? Nah. Decided to go for a sort of crown effect, just above the visor line, wrapping around the sides a bit. Marked it lightly with a pencil.
Peeled off the backing from the tape. This is always the nerve-wracking bit. You get one shot to get it reasonably straight. Carefully started at one end, pressing it down firmly as I went along the pencil line. Tried to follow the curve of the helmet. It wasn’t perfectly smooth, helmets aren’t flat after all, but it stuck down okay. Pushed out any air bubbles I could feel.
Wiring and Power
Okay, strip was on. Now for the wire and battery pack. The wire was thin, which was good. I ran it down the side, trying to tuck it close to the helmet shell. Used a couple of tiny dabs of clear silicone sealant – not too much, just enough to hold the wire in place without making a mess. Let that dry properly.
The battery pack was the next puzzle. Where to put this thing? Couldn’t stick it right on the helmet, too bulky. Some kits have longer wires so you can run it down to your pocket, but this one was shorter. I ended up using some strong velcro. Stuck one side to the battery pack and the other to the back of the helmet, near the base. It holds okay, and I can take it off easily to change batteries or if I don’t want it on there.
- Cleaned the helmet surface thoroughly.
- Tested the LED strip first to make sure it worked.
- Carefully applied the strip along the desired line.
- Ran the wire discreetly down the side.
- Attached the battery pack using velcro at the back.
The Result – Does it Work?
Flicked the switch. It lit up! A nice, even white glow around the front and sides. Doesn’t throw a beam like a headlight, obviously, but it definitely makes the helmet stand out. Walked into a dark room, and yeah, it’s pretty visible.
Took it out for a ride that evening. Felt a bit self-conscious at first, not gonna lie. But you know what? I think it helps. Especially at junctions or when filtering. It’s just another point of light, higher up, that might catch someone’s eye when the bike’s main lights are less obvious from the side. It’s not magic, but it’s something.
The battery pack velcro seems to be holding fine so far, even with wind buffeting. Changing batteries is easy. The light itself is noticeable without being blindingly annoying. Overall, for a simple, cheap project, I’m pretty happy with how this helmet halo turned out. Adds a little bit of extra peace of mind, you know?