
Getting That Harley Ready After a Long Sit
So, my Harley. Love the thing, but leaving it parked for a while, especially over the colder months, used to give me a headache. The battery, you know? It just wouldn’t hold its charge like it should. More than once, I’d go to fire it up, and just get that sad clicking sound. Dead as a doornail. Real pain trying to jump it or pull the battery out all the time.
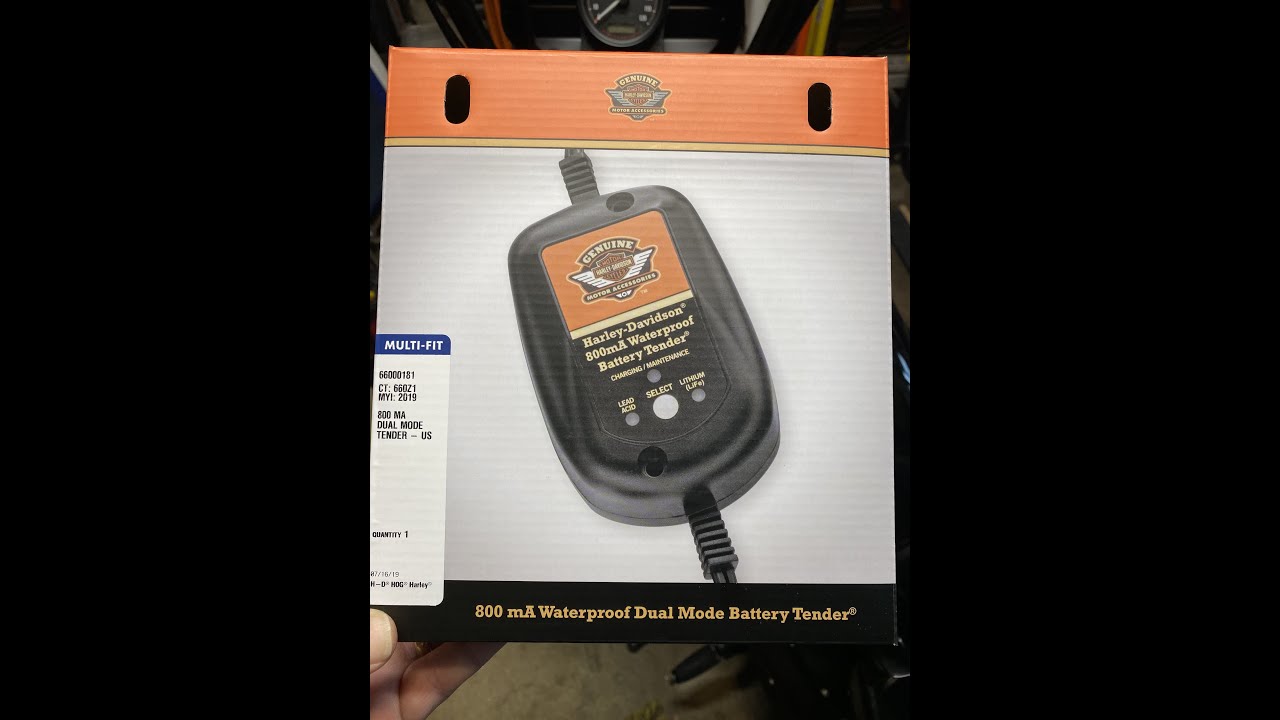
Decided I needed one of those battery tender things, a trickle charger. Looked around a bit, figured I might as well get the one with the Harley name on it. Seemed simple enough, and honestly, I like keeping things matching when I can. Felt like it was made for the bike, you know?
Hooking Up the Trickle Charger
When the charger arrived, it was pretty straightforward. Just the main unit, a cable to plug into the wall, and then the part that connects to the bike. Mine came with two options for the bike end: one set of regular alligator clips, and another little cable you could attach permanently to the battery terminals, with a plug sticking out for easy access later.
Here’s what I did:
- First, I located the battery on my bike. Depending on your model, it might be under the seat or behind a side cover. Took a few minutes to get the cover off.
- I decided to install that permanent connector cable, the pigtail thing. Seemed less hassle in the long run. Just had to unscrew the battery terminal bolts a bit, slip the ring connectors from the pigtail underneath, and tighten them back down. Red to positive, black to negative. Simple stuff, just gotta make sure they’re snug.
- Then I tucked the plug end of that pigtail somewhere easy to reach, but out of the way. Usually zip-tied it neatly to the frame somewhere near the side.
- After that, connecting the charger itself was dead easy. Plugged the charger unit into the wall socket.
- Then, I just connected the output cable from the charger unit to the pigtail I’d just installed on the bike. It just snaps right in.
Letting it Do Its Thing
Once it was all hooked up, the charger had these little lights on it. One showed it had power from the wall. Another light came on to show it was actually charging the battery. It wasn’t complicated; the lights basically tell you what’s happening. Green usually means it’s fully charged and just maintaining, amber or red often means it’s actively charging.
The whole point of this thing is you can just leave it plugged in. It’s smart, apparently. Puts juice into the battery when needed, then backs off so it doesn’t overcharge it. That was the big appeal for me – set it and forget it.
So, I left it connected pretty much all winter last year. Checked on it now and then, saw the green light, knew it was doing its job. Felt good knowing the bike wasn’t just slowly dying in the garage.
Come spring, time for that first ride. Went out, disconnected the charger from the pigtail (left the pigtail on the bike, of course), hit the ignition… and she fired right up. First try. No hesitation, no weak cranking. Just that solid Harley rumble. Made the whole process worth it. No more battery drama before a ride. It just works.