")
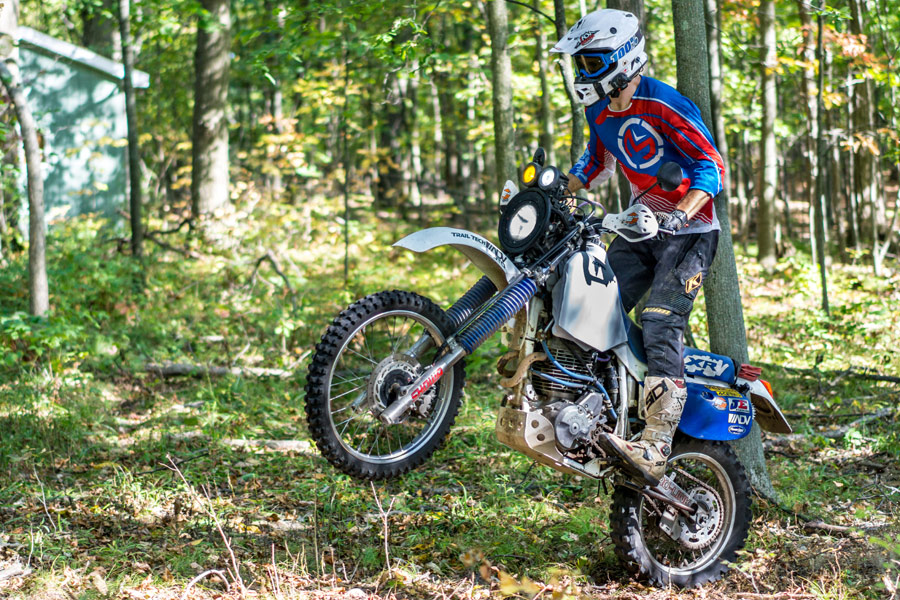
Alright, let me tell you about getting this XR650L sorted out. It wasn’t exactly a basket case when I got it, but it definitely needed some attention to make it mine and reliable for the kind of riding I wanted to do.
Getting Started: The Teardown
First thing, I rolled it into the garage and just stared at it for a bit. Made a mental list, then started pulling things off. The seat came off, then the tank – gotta drain the gas first, obviously. Then all the plastics, side panels, fenders, headlight shroud. It’s amazing how much bike is hidden under all that stuff. I laid everything out, trying to keep bolts and bits somewhat organized in magnetic trays. That helps later, trust me.
Engine and Carb Work
The engine seemed okay, compression felt decent. But everyone knows the stock carb settings on these are super lean. So, I pulled the carburetor. That was a bit fiddly, wrestling it out from between the frame and engine. Took it apart completely on the bench. Cleaned every little jet and passage with carb cleaner and compressed air. I put in slightly bigger jets – a main and a pilot jet, based on what folks online recommend for opening up the airflow. While I was in there, I did the ‘Dave’s Mod’ – drilled the slide vacuum port a tiny bit bigger and shimmed the needle. Also ripped out all the smog pump stuff, all that extra plumbing, and put on block-off plates. Makes the engine bay look much cleaner and supposedly helps it run a bit better.
Suspension and Wheels
The suspension felt kinda mushy. I decided not to go crazy with expensive upgrades just yet. Pulled the forks off, drained the old, nasty oil. Put in fresh fork oil, a slightly heavier weight than stock. For the rear shock, I just cleaned it up real good and checked the linkage bearings. They felt okay, so I greased them up. Pulled the wheels off too. The bearings felt gritty, so I popped the old ones out and pressed in new wheel bearings, front and rear. Spooned on some more aggressive knobby tires while the wheels were off. Balancing them was a bit of a pain with stick-on weights, but got it close enough.
Chassis and Controls
With everything stripped off, I gave the frame a good cleaning. Checked all the welds I could see, looked for cracks – luckily, it all looked solid. Just wiped it down. I wasn’t planning on a full repaint. I ditched the stock handlebars, they felt like wet noodles. Put on some stronger aluminum bars with a bit more rise. New grips, of course. Checked the clutch and throttle cables, lubed them up. The stock footpegs are tiny, like little metal Chiclets. Swapped those for some wider platform pegs. Much better feel when standing up.
Little Things: Fuel, Air, and Spark
The stock tank is okay for short trips, but I wanted more range. Got a bigger aftermarket plastic tank. Bolting that on was straightforward. Tossed the stock air filter and put in a foam filter that you can clean and re-oil. Also checked the airbox snorkel, made sure it was clear. Put in a new spark plug. Checked the battery terminals, cleaned them up, made sure the battery was holding a charge.
Putting It Back Together
Then came the reassembly. Started bolting things back on. The bigger tank needed a little fiddling to get seated right. Connected the fuel lines. Put the carb back in – still fiddly. Connected the cables. Bolted the plastics back on, the seat. Connected the battery. It started looking like a motorcycle again. I double-checked all the bolts I could remember touching, making sure everything was snug.
Final Touches and First Ride
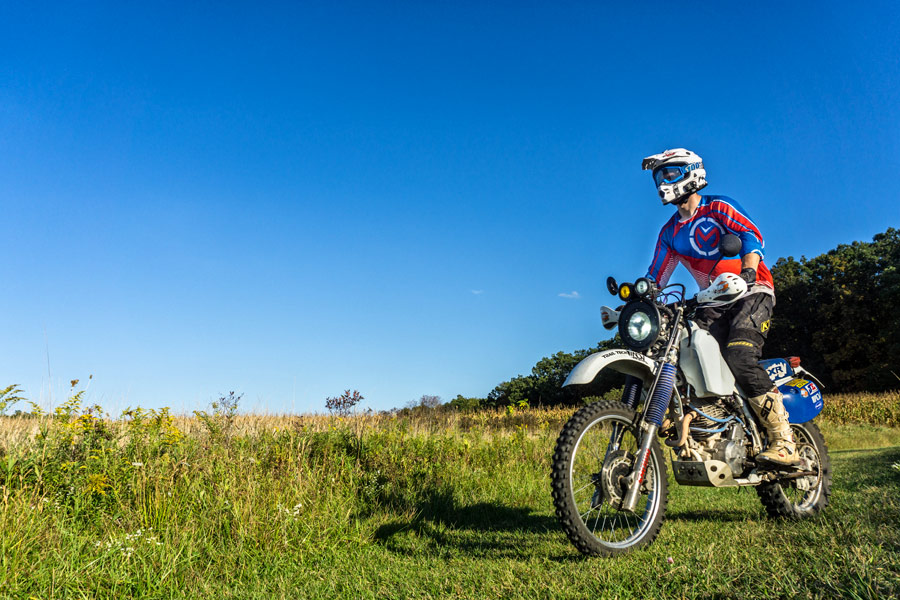
Stood back and looked it over. Adjusted the chain tension. Checked the tire pressure. Filled the new tank with fresh gas. Turned the key, pulled the choke, hit the starter… and it fired right up! Let it warm up, listening for any weird noises. Bliped the throttle – yeah, definitely sounds throatier with the carb mods. Took it for a quick spin around the block. Felt good. The new bars felt way better, the wider pegs were solid. The engine definitely felt crisper off the bottom. Still gotta fine-tune the carb settings probably, but it was a huge improvement.
So yeah, that was the process. Lots of cleaning, checking, replacing worn bits, and adding a few common upgrades. Nothing too radical, just making the old XR650L a bit more capable and reliable for hitting the trails. Took a few weekends, but worth it.