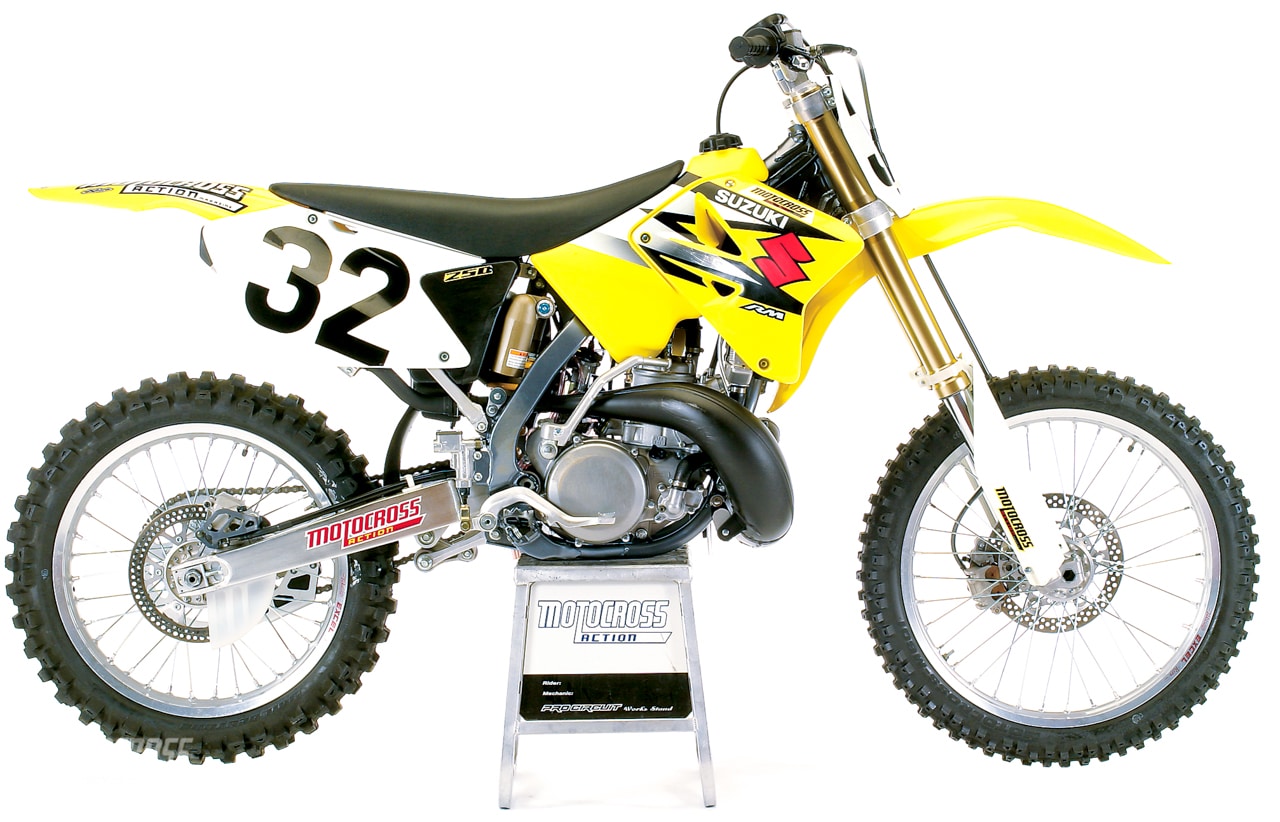
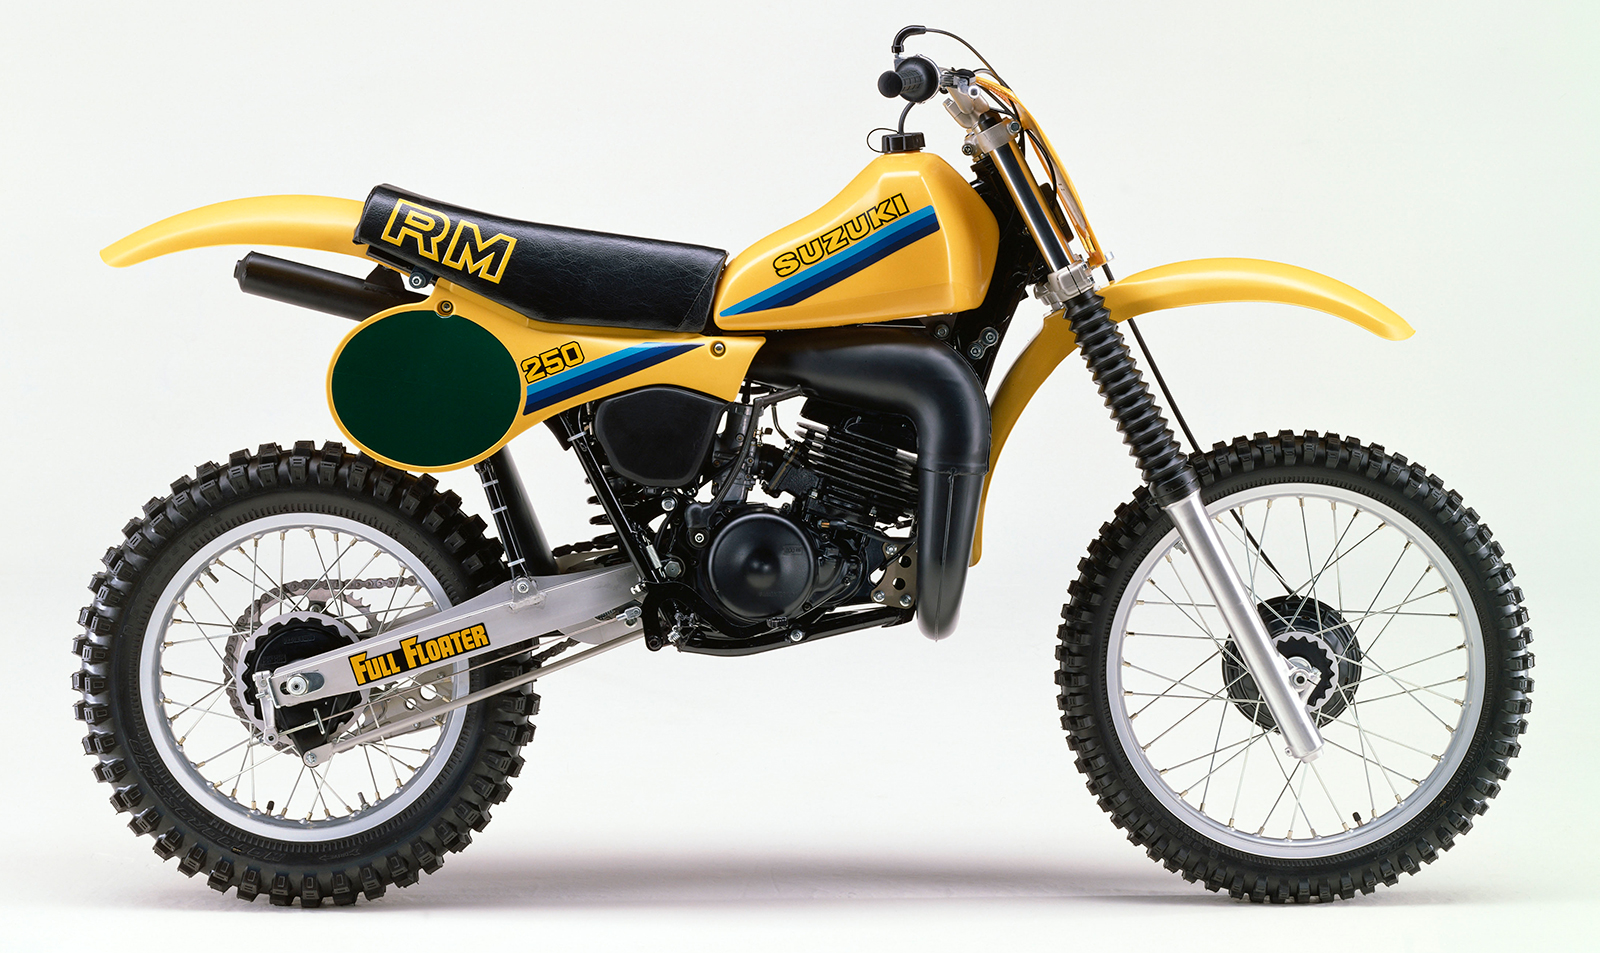
Getting Started with the Suzuki 250 Two-Stroke
Alright, so I finally decided to tackle that old Suzuki 250 two-stroke engine I had sitting in the corner. It’s been whispering my name for months, you know how it is. Figured it was time to get my hands dirty again.

First thing, I dragged the whole bike into the workshop. Well, dragged might be generous, more like wrestled it into position. Then I started stripping things down. Got the seat off, tank off, plastics piled up in a corner. Just wanted clear access to the motor itself. Didn’t take too long, these older bikes are pretty simple.
Pulling the Engine and Teardown
Next up was getting the engine out of the frame. Disconnected the exhaust pipe, the carb, all the cables and wires. Always label stuff, even if you think you’ll remember. Trust me on that one. Undid the main engine mounting bolts, gave it a wiggle, and carefully eased the motor out onto my workbench. Much easier to work on it this way.
Once it was on the bench, I started the real teardown. Pulled the head off first. Looked inside, pretty standard carbon buildup on the piston crown and head. Cylinder came off next. Checked the bore, few light scratches but nothing too scary. Piston skirts looked okay too. Popped the circlips out – always a fun job, chasing those little things around – and pushed the wrist pin out to get the piston off the rod. Checked the small end bearing, felt smooth enough.
Cleaning and Checking Parts
Then came the messy part: cleaning. Spent ages with degreaser, brushes, and rags. Cleaned the piston grooves, scraped the old gasket material off the cylinder base and head surfaces. You gotta get those surfaces perfectly clean for the new gaskets to seal right. Flushed out the crankcase best I could without splitting the cases this time around. Checked the reed valve petals, they looked alright, sealing okay against the cage.
Decided what needed replacing. Here’s the basic list:

- New piston rings: The old ones were probably fine, but why risk it?
- New wrist pin bearing: Again, cheap insurance.
- Full gasket set: Head gasket, base gasket, exhaust gasket. Never reuse old gaskets, especially on a two-stroke.
- New spark plug: Obvious one.
Didn’t go for a new piston this time, the original seemed within spec and wasn’t scored badly. Maybe next time if this doesn’t hold up.
Putting It Back Together
Reassembly is usually quicker than taking things apart. Carefully installed the new wrist pin bearing, got the piston back on the connecting rod, making sure the arrow on the piston crown pointed towards the exhaust port. Fought with the circlips again until they snapped nicely into place. Oiled up the new rings and compressed them carefully as I slid the cylinder back down over the piston. Patience is key here, don’t want to snap a ring.
Put the new base gasket in place first, of course. Then the head gasket and the cylinder head. Torqued the head nuts down in the right sequence, going in steps to make sure it clamped evenly. Bolted the reed block and intake manifold back on. Popped in the new spark plug.
Back in the Frame and First Fire-Up
Manhandled the engine back into the frame, bolted it up. Reconnected everything – exhaust, carb, fuel line, wiring. Double-checked all the connections. Mixed up some fresh premix fuel, probably a bit rich on the oil for the first run, just to be safe.
Okay, moment of truth. Turned the fuel tap on, pulled the choke. Gave it a few kicks. Nothing. Kicked again. Heard a pop. Few more kicks and she sputtered to life! Smoked like crazy, like a proper two-stroke should on startup. Let it warm up a bit, then started playing with the idle screw on the carb to get it settled down.

It runs! Sounds crisp enough. Still needs some proper heat cycles and maybe some fine-tuning on the carb jetting once I can actually ride it, but the main job is done. Feels good to bring an old smoker back to life. Now, onto the next stage… getting the rest of the bike sorted!
