
Okay, here’s my blog post about painting a custom Harley tank:
Alright, gearheads and art lovers, gather ’round! Today, I’m diving deep into my recent project: giving a Harley tank a killer custom paint job. It wasn’t easy, but man, was it satisfying.
Prepping the Canvas (aka the Tank)
First things first, I removed the tank from the bike. Gotta be careful here, disconnect those fuel lines and any electrical stuff properly. I’m no mechanic, but even I managed that part!
Next up, the old paint. This was a beast. I used paint stripper, and let me tell you, that stuff is nasty. Wear gloves, a mask, the whole nine yards. It took a few rounds, but I finally got it down to bare metal. Then, it was sanding time. I started with some rough grit to get any remaining paint or rust off, then worked my way down to finer grits for a super smooth surface. Think baby’s bottom smooth.
- Paint stripper: Seriously, use protection.
- Sanding: Start rough, end smooth.
- Patience: It takes time, don’t rush it.
Laying Down the Base
With the tank prepped, I hit it with a good primer. This is crucial for the paint to stick properly and to prevent rust. I applied a couple of thin coats, letting each one dry completely before the next. More sanding! This time with super fine-grit paper, just to make sure the primer was perfectly even.
Time for the Fun Stuff: The Design!
This is where things get personal. I had a design in mind – classic flames with a bit of a modern twist. I am not a freehand master or anything, so, First, I sketched it out on paper, then transferred it to the tank using transfer paper. You can also use stencils if you have them. I chose some vibrant colors that I knew would pop. I am not telling you the colors I used, choose yours!

Then came the actual painting. I used an airbrush for this, but you could use spray cans too if you’re careful. I started with the base color, building it up in thin layers. Again, patience is key! Once the base was dry, I masked off the areas for the flames and sprayed those on. It took a few coats to get the colors really solid.
Protecting the Masterpiece
After all that hard work, I couldn’t just leave the paint unprotected. I applied several coats of clear coat, sanding lightly between each coat with very fine-grit paper. This not only protects the paint but also gives it a deep, glossy finish. Like a mirror!
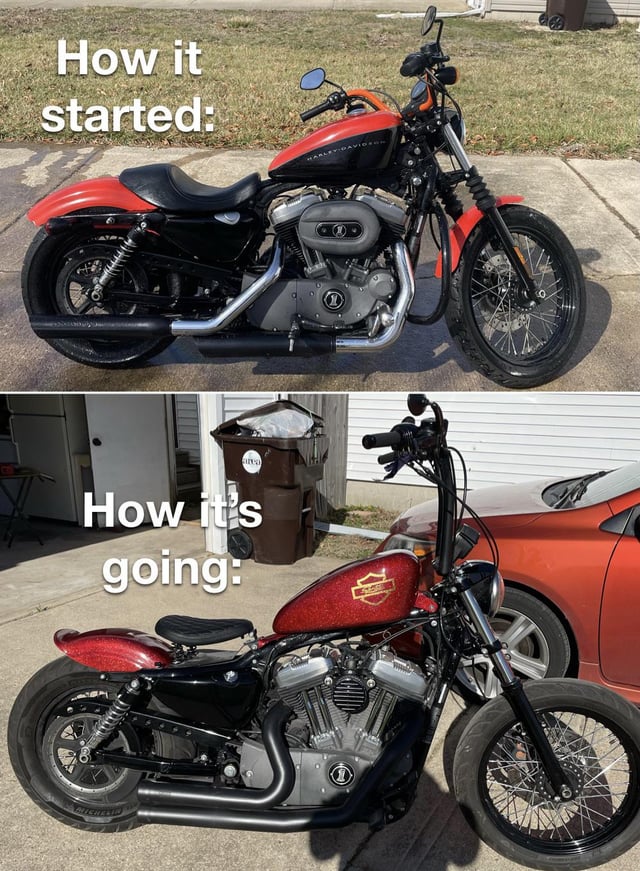
The Final Reveal
Finally, I reinstalled the tank on the bike. I have to say it, to see the finished product, gleaming in the sun, was pure magic. It totally transformed the look of the bike, and I did it all myself! It was a lot of work, no doubt, but so worth it.
So, if you’re thinking about giving your bike a custom paint job, go for it! It’s a challenge, but a rewarding one. Just remember: prep work is everything, take your time, and don’t be afraid to get creative!